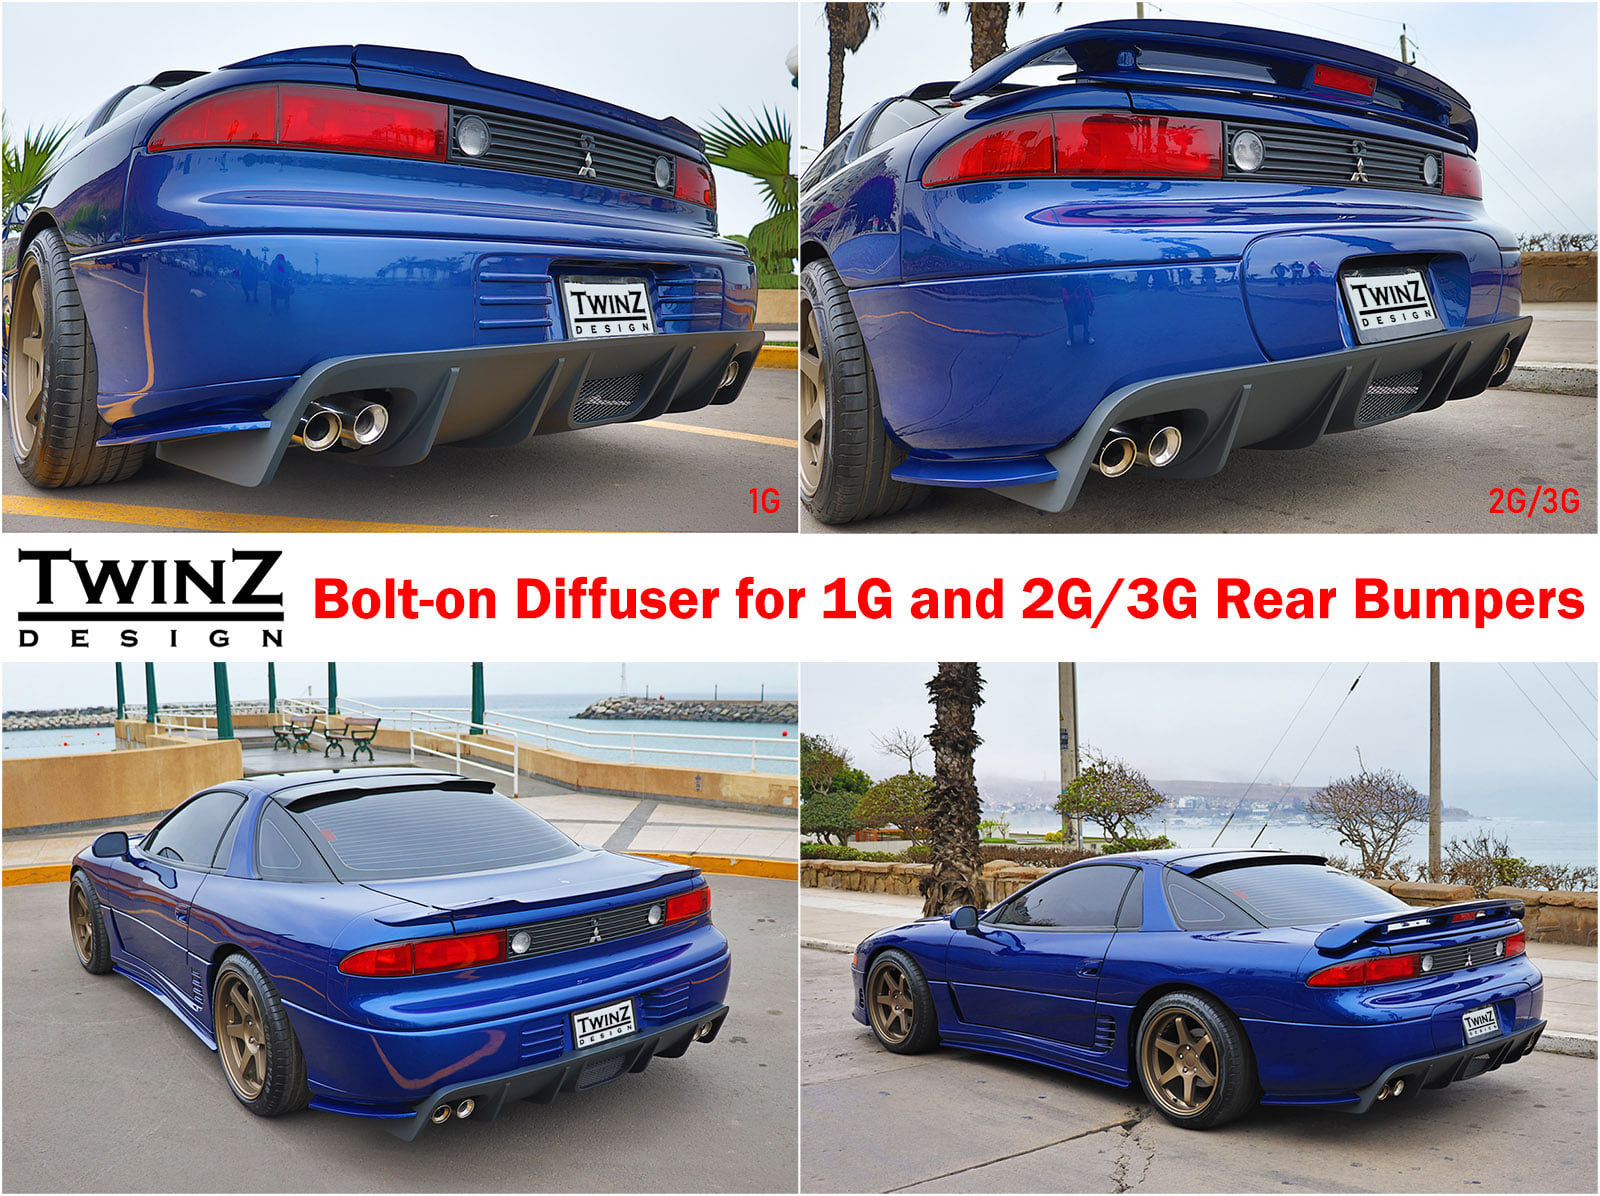
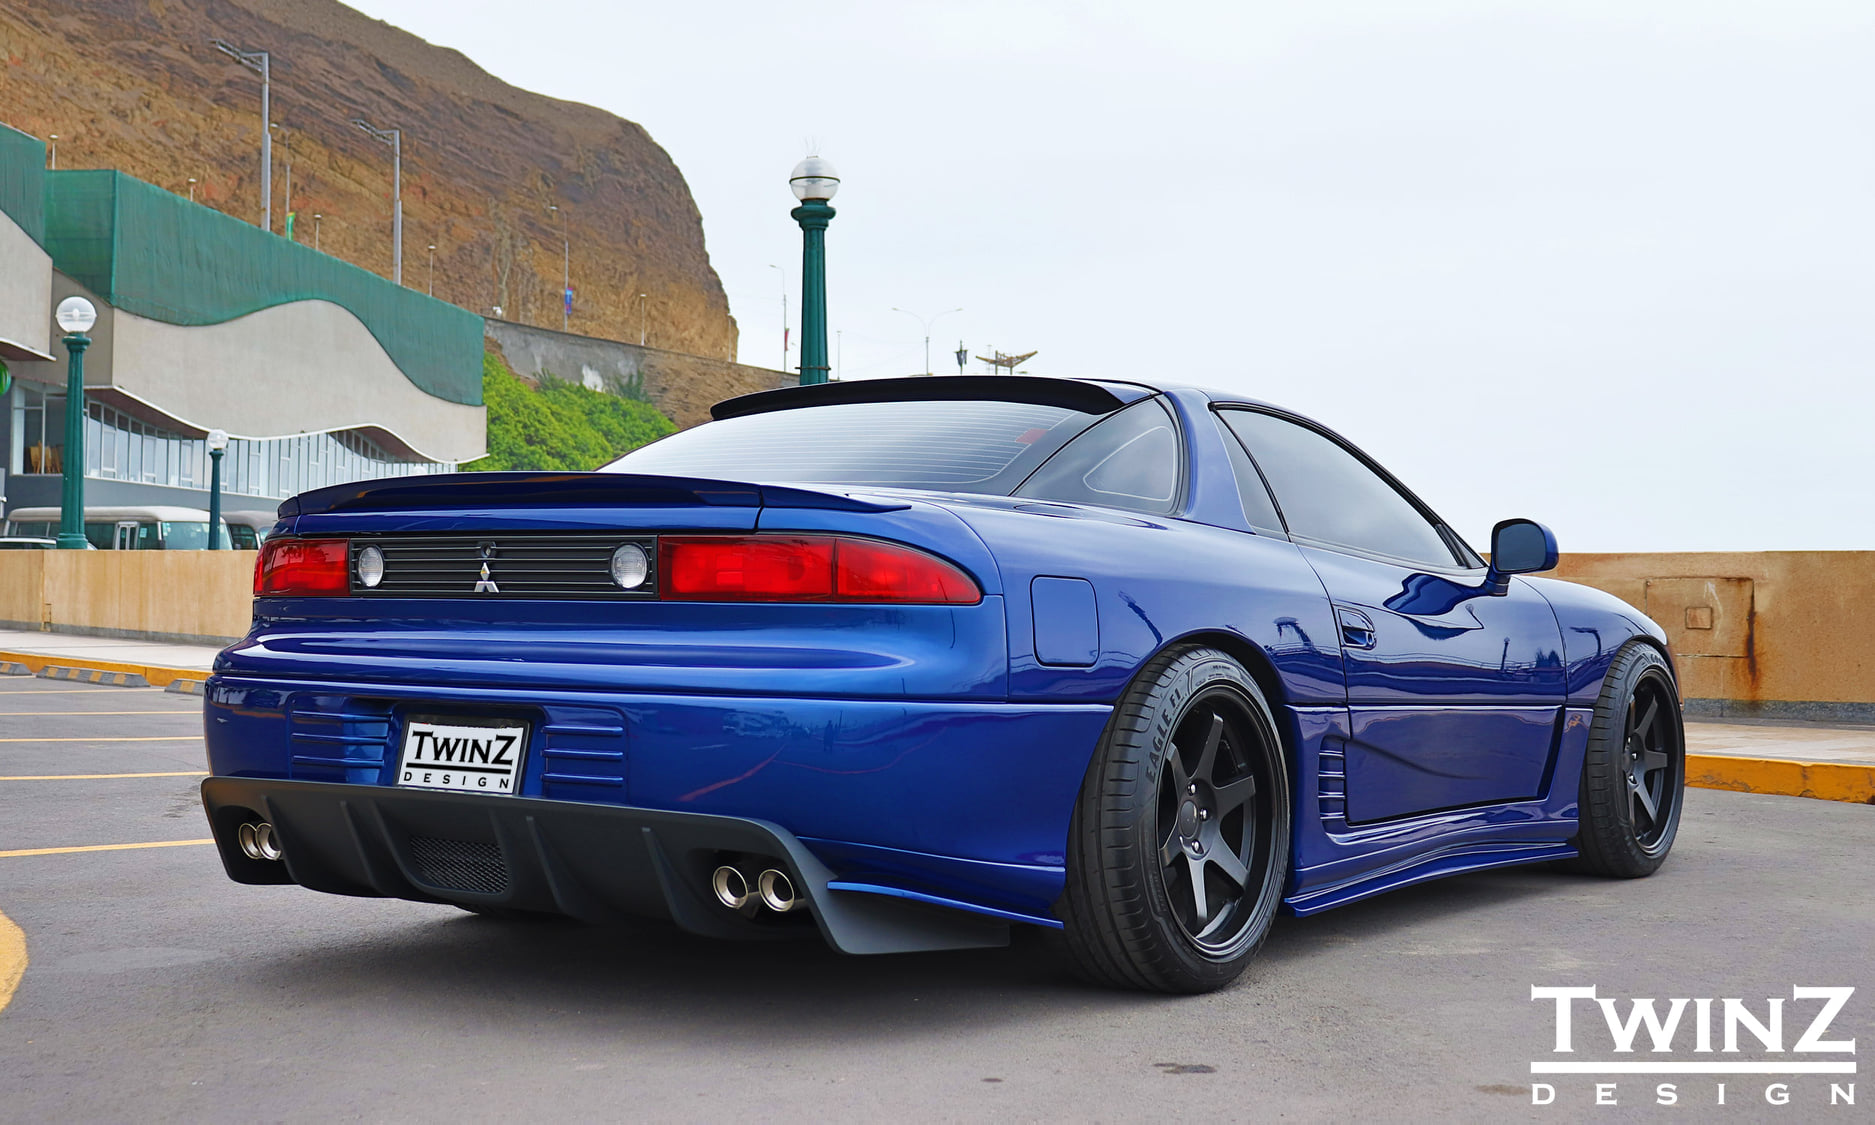
INSTALLATION GUIDE: Type 1 Rear Diffuser for Mitsubishi 3000GT/GTO
Image
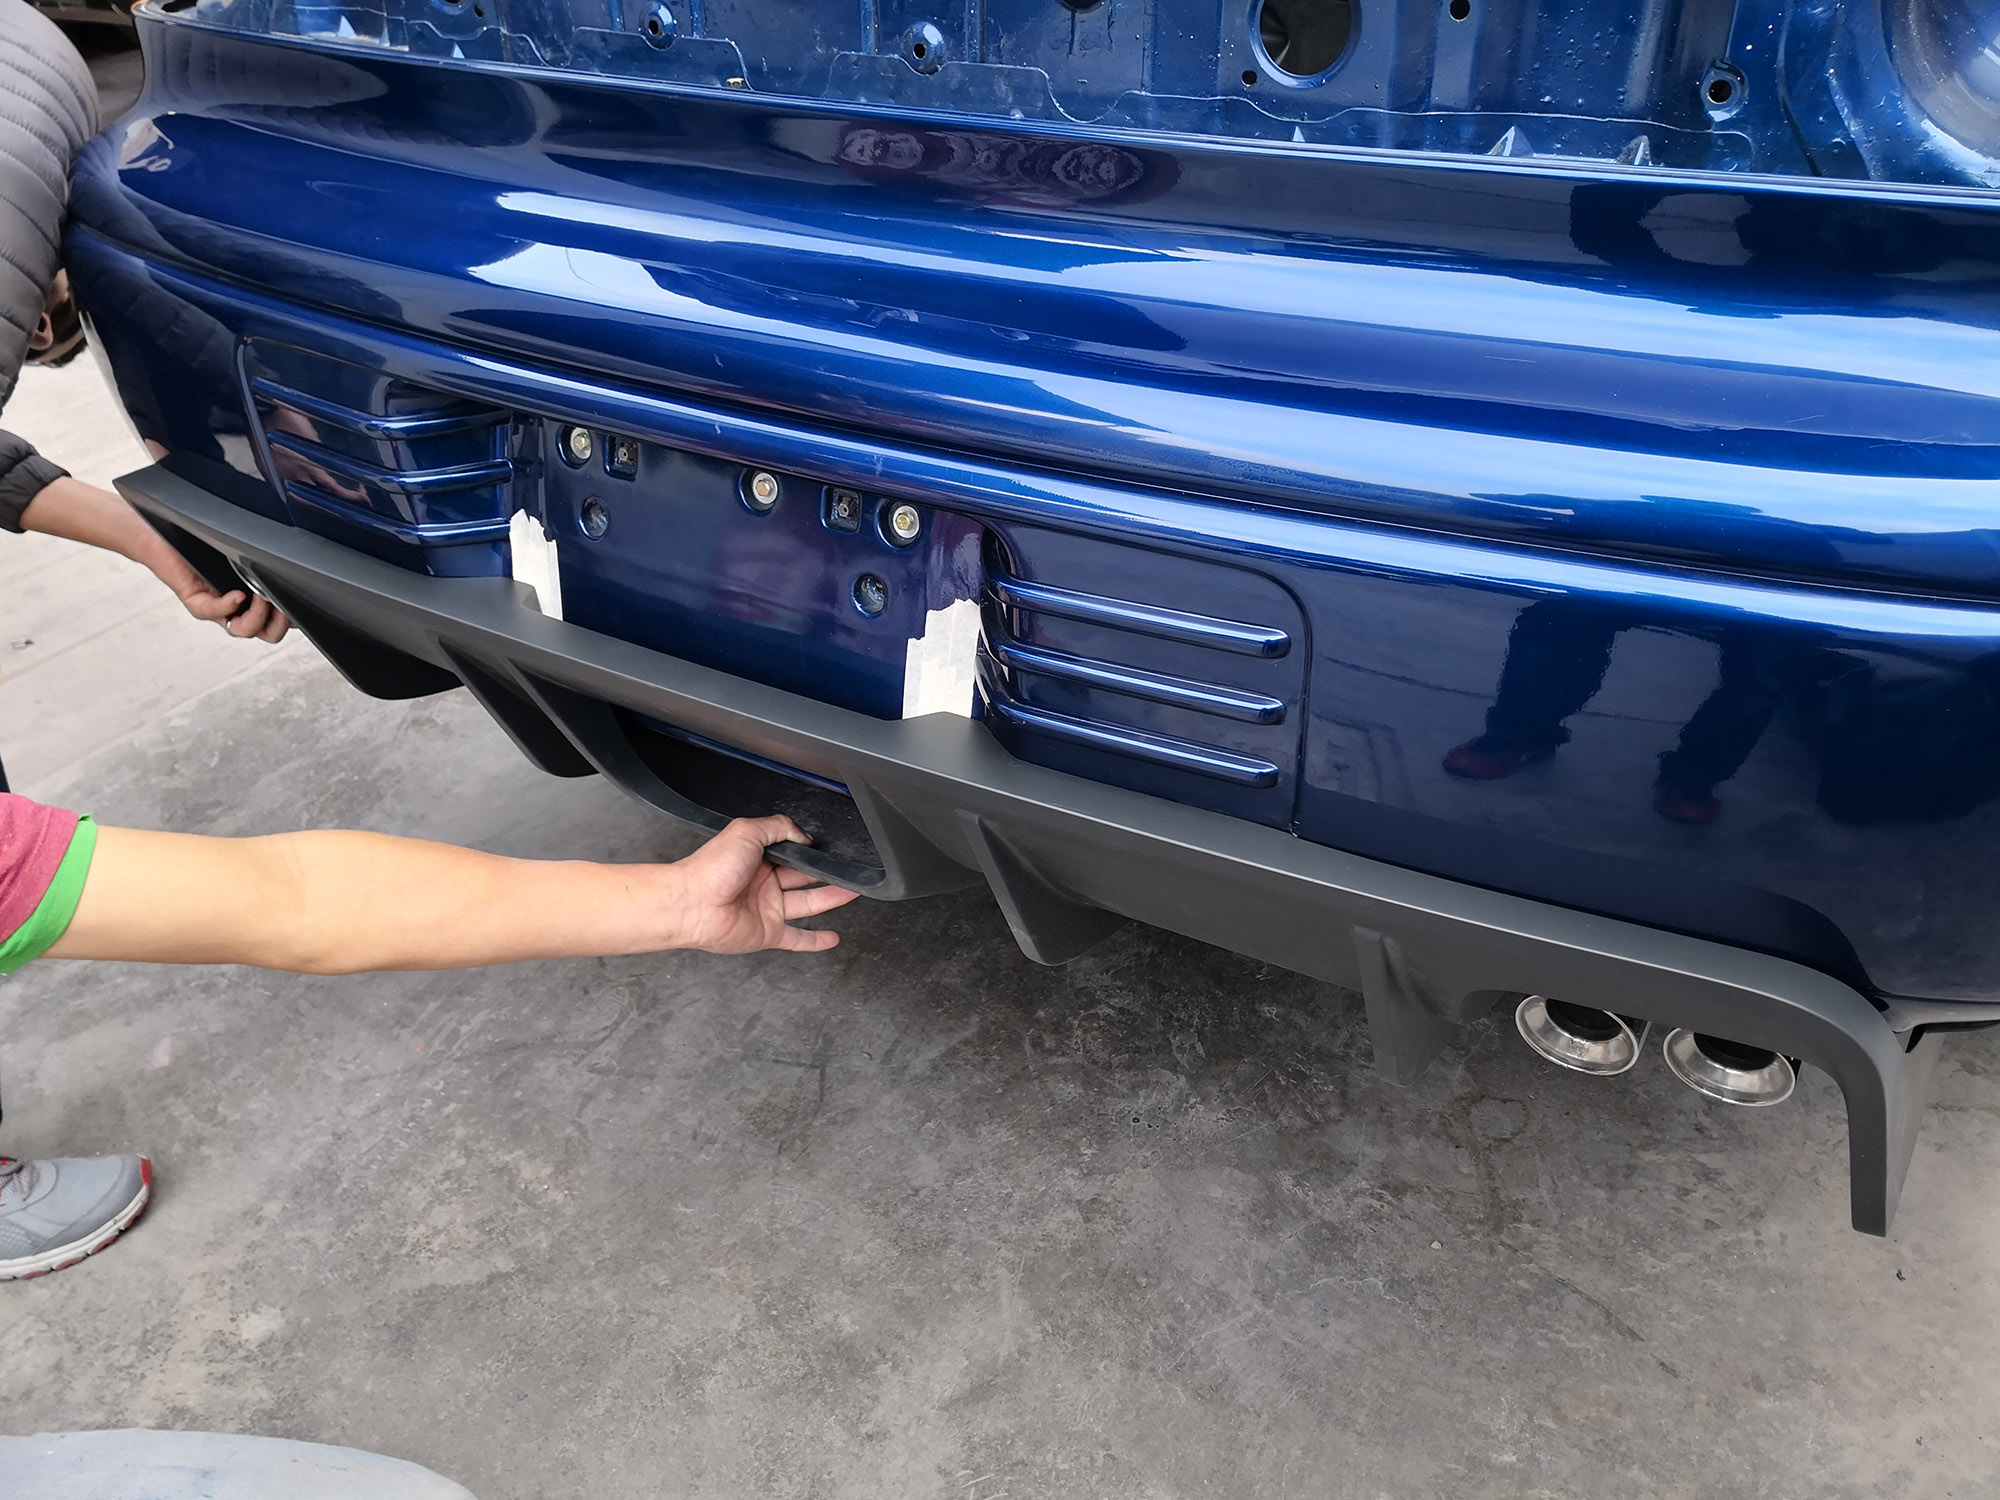
In this installation guide you will find all the steps and information to install the TwinZ Design Type 1 diffuser on the Mitsubishi 3000GT rear bumper 1G, which is a similar procedure to install the diffuser on the 2G/3G rear bumper.
- Place the diffuser making sure it sits correctly on the right position on the rear bumper.
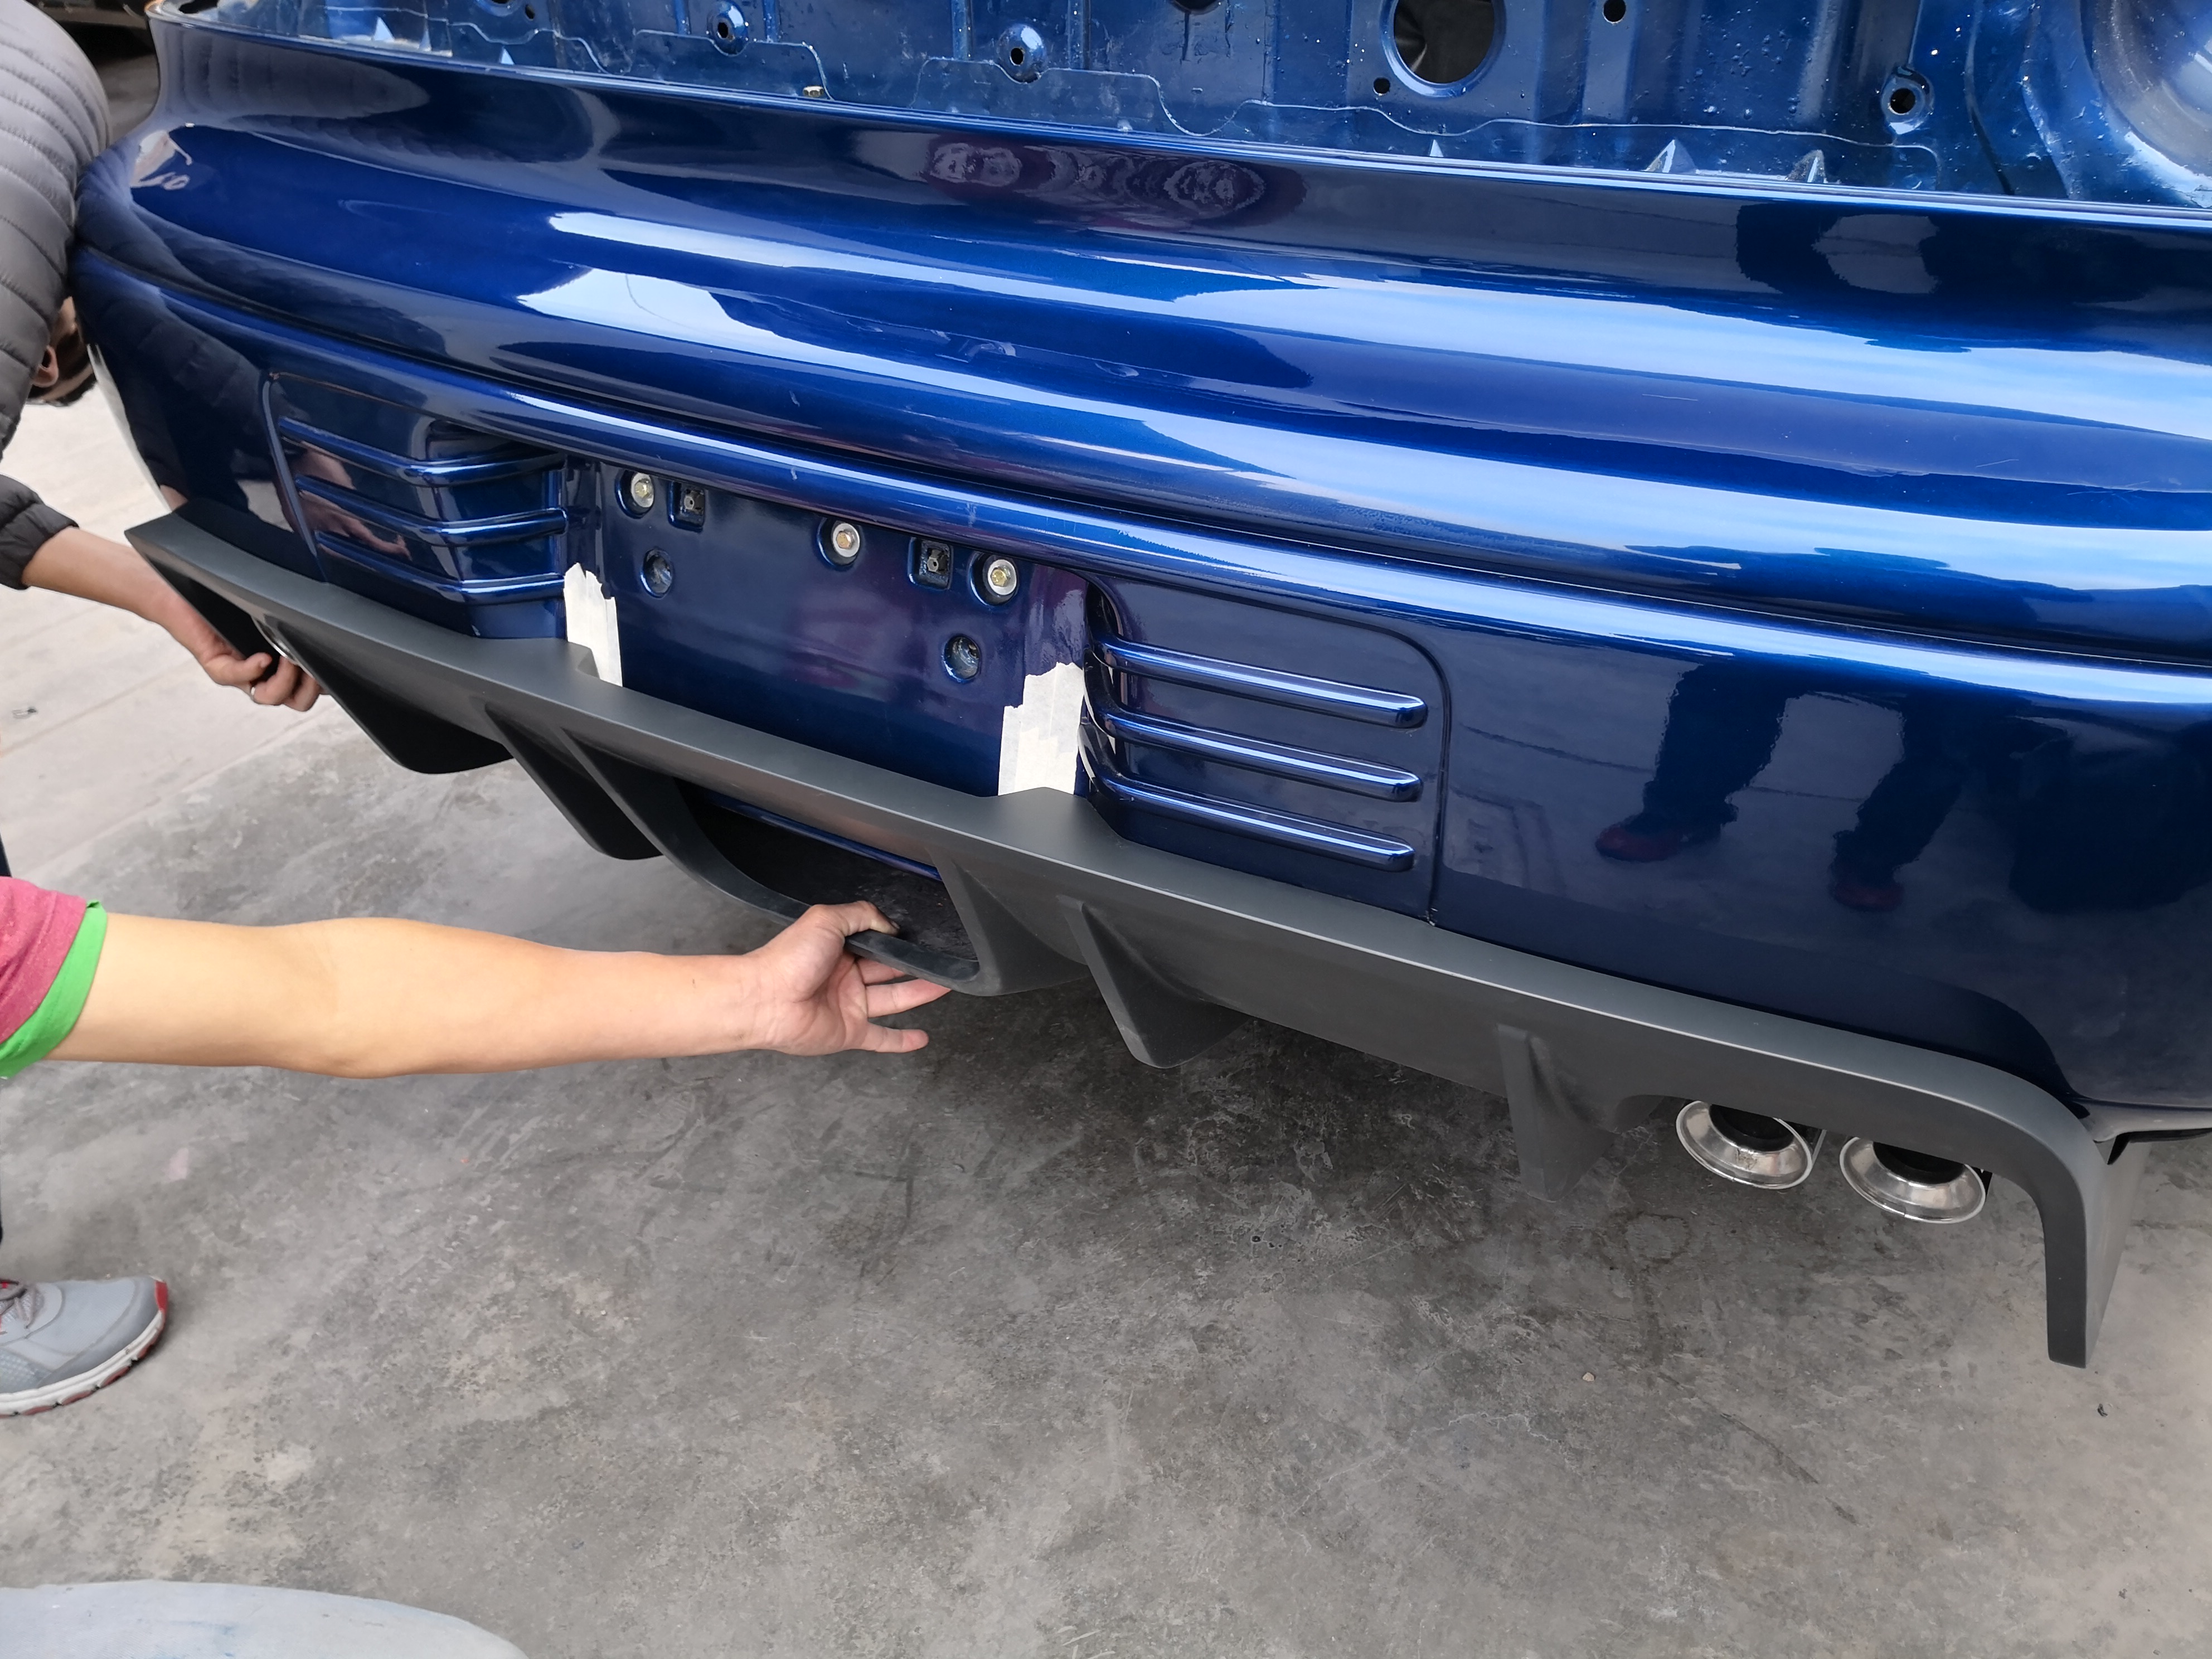
- Mark the attaching sections on the licence plate recess area.
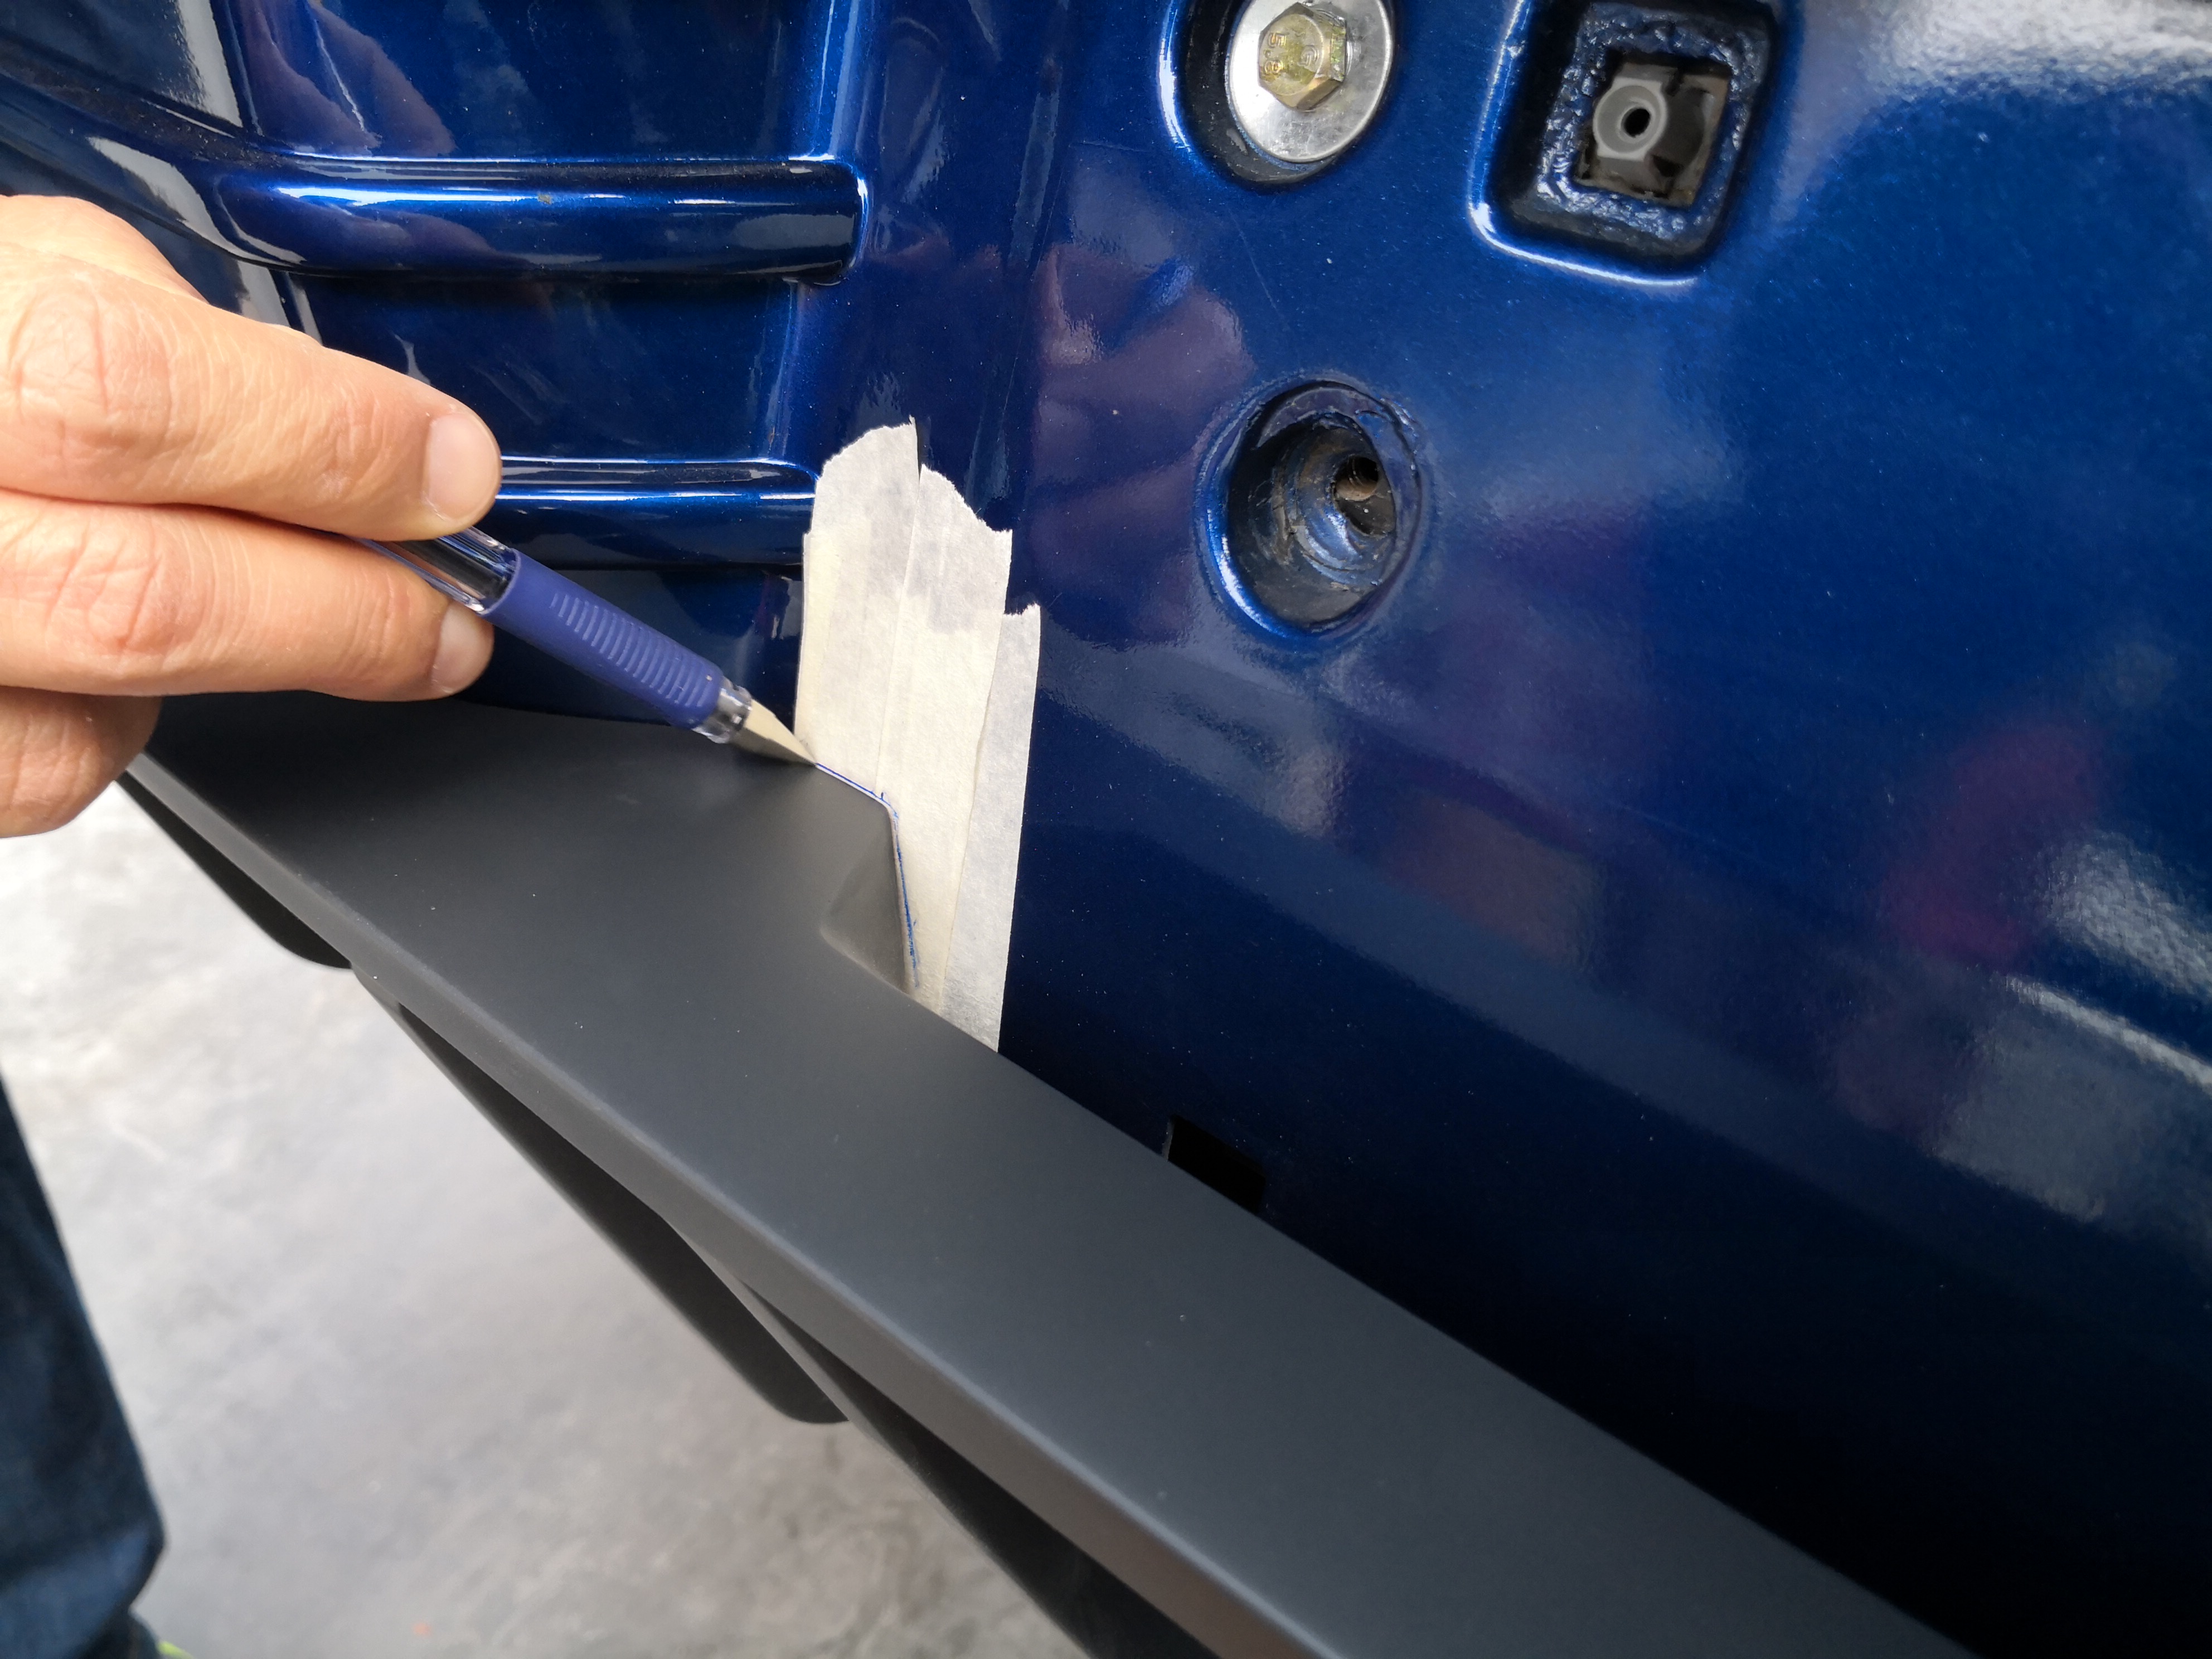
- Remove the diffuser to mark a drill point.
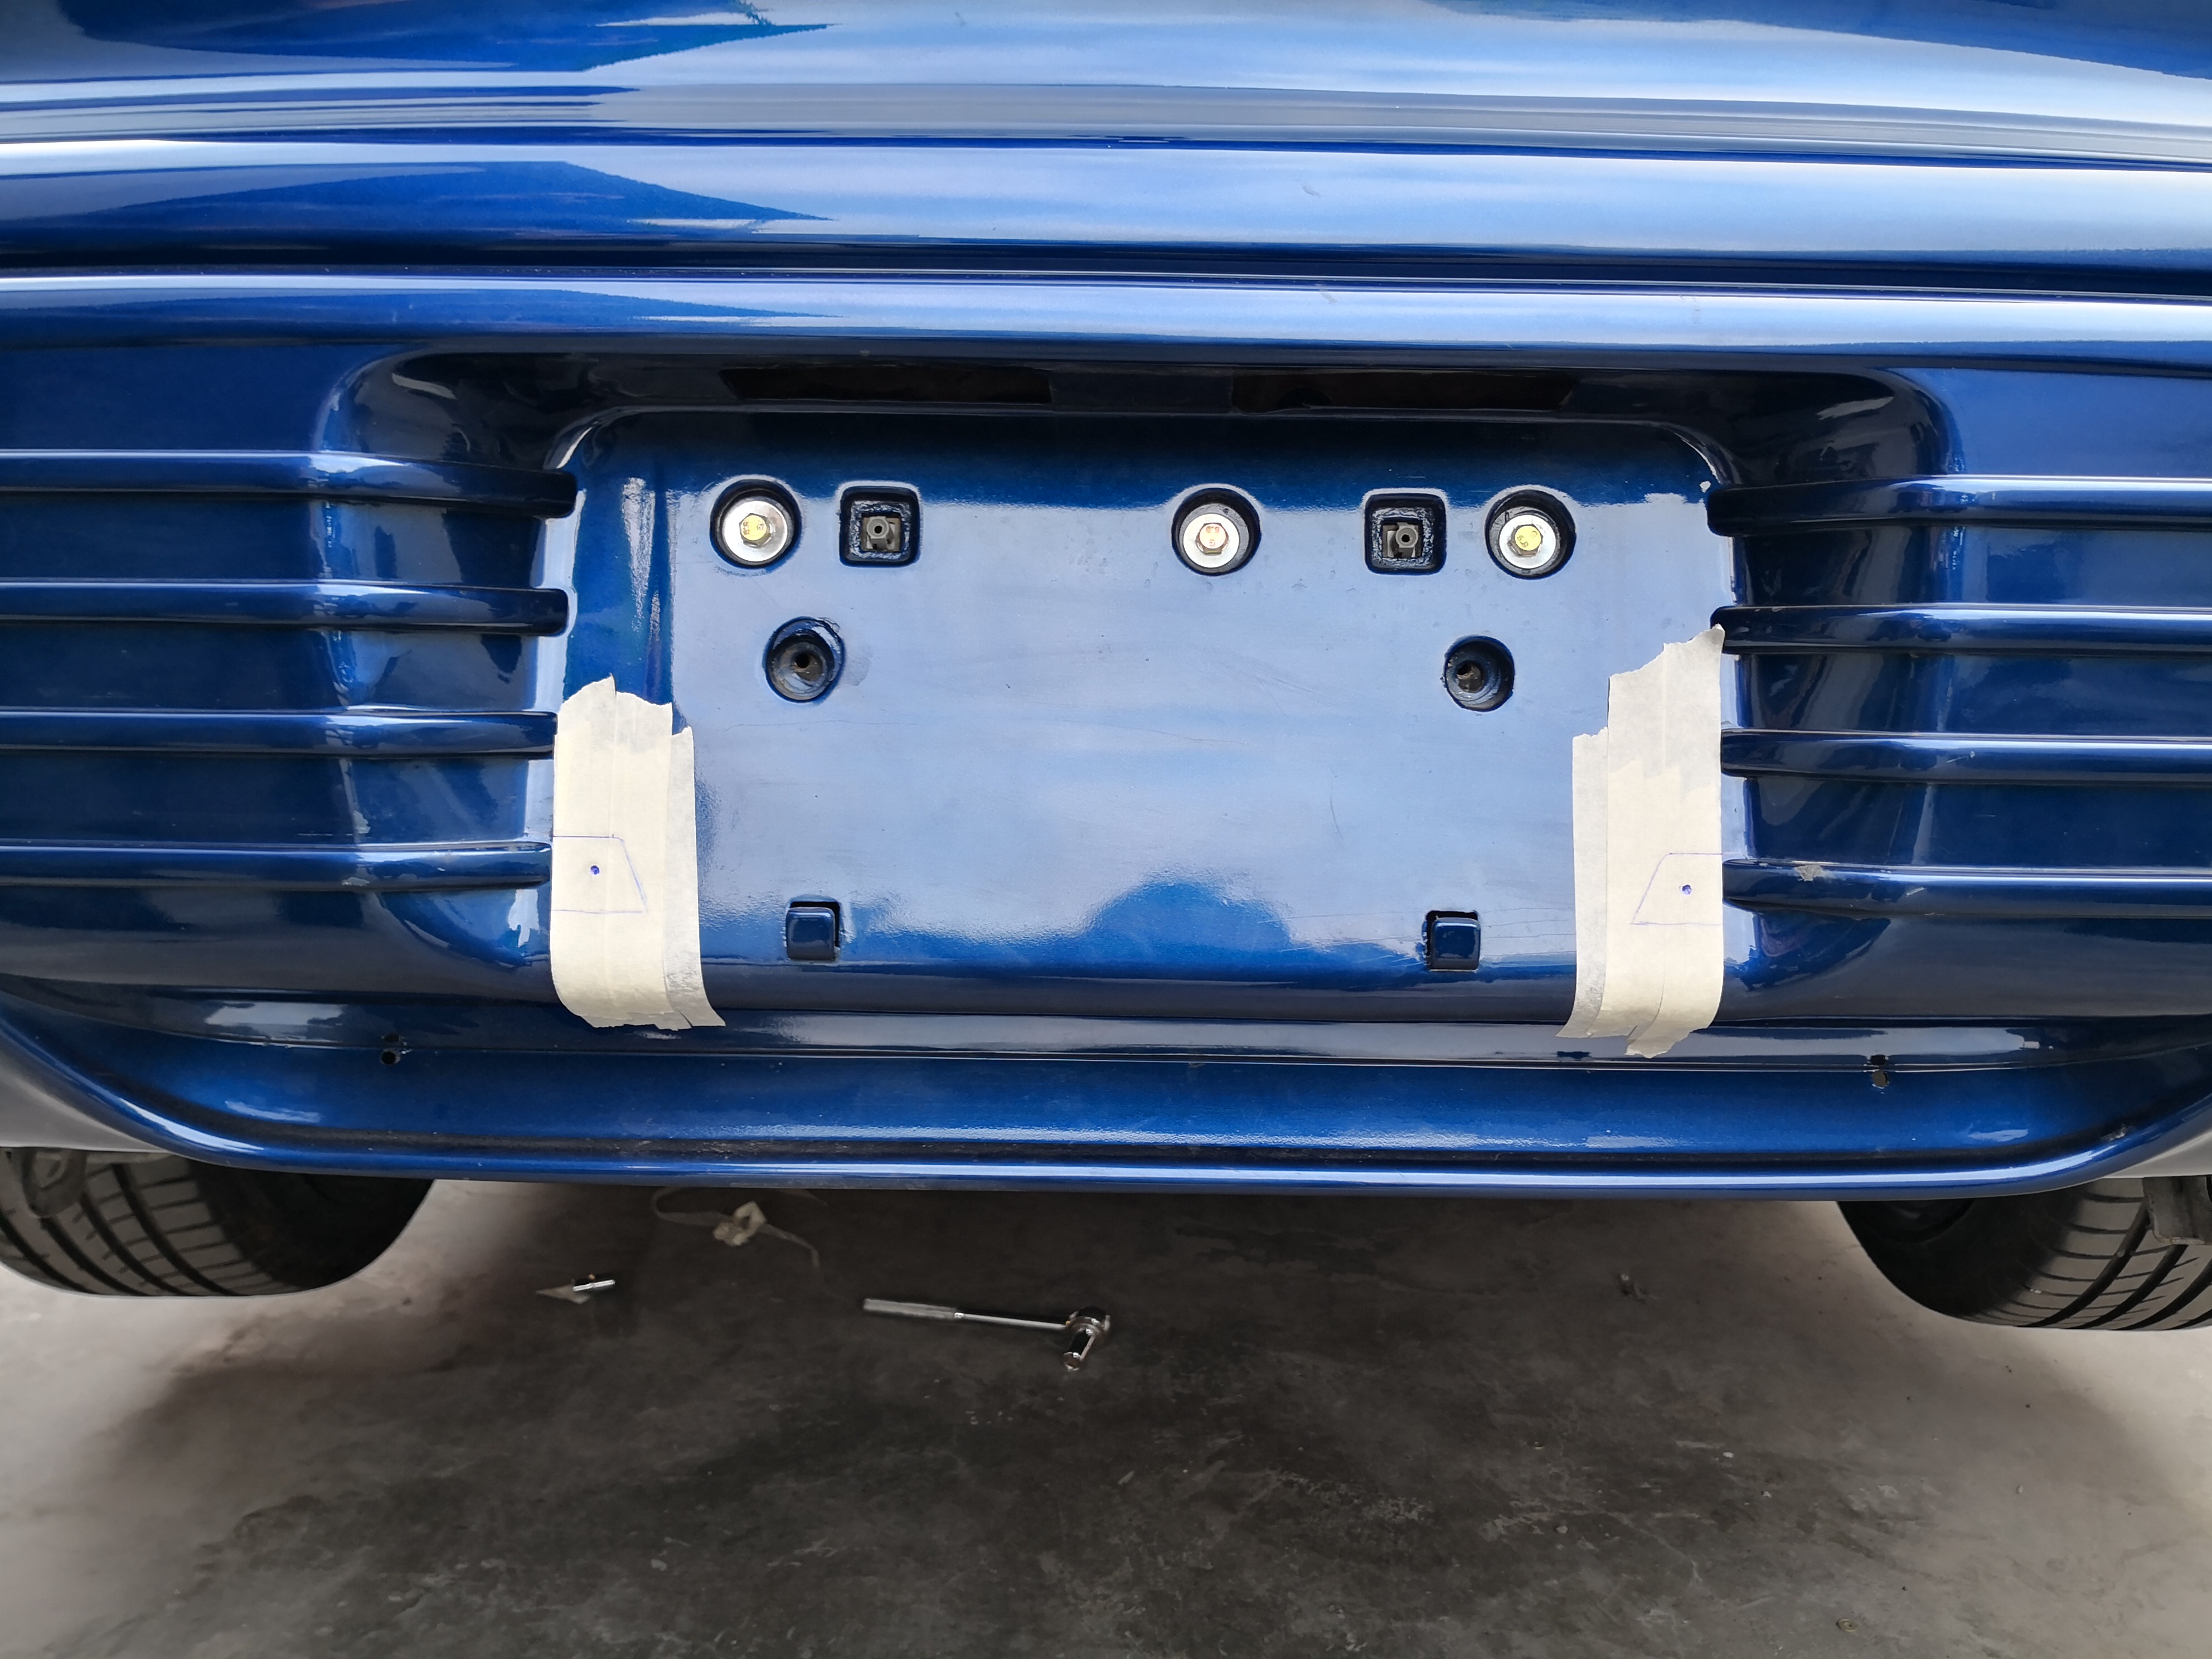
- Drill the holes marked on the bumper using a drill sized for the screws.
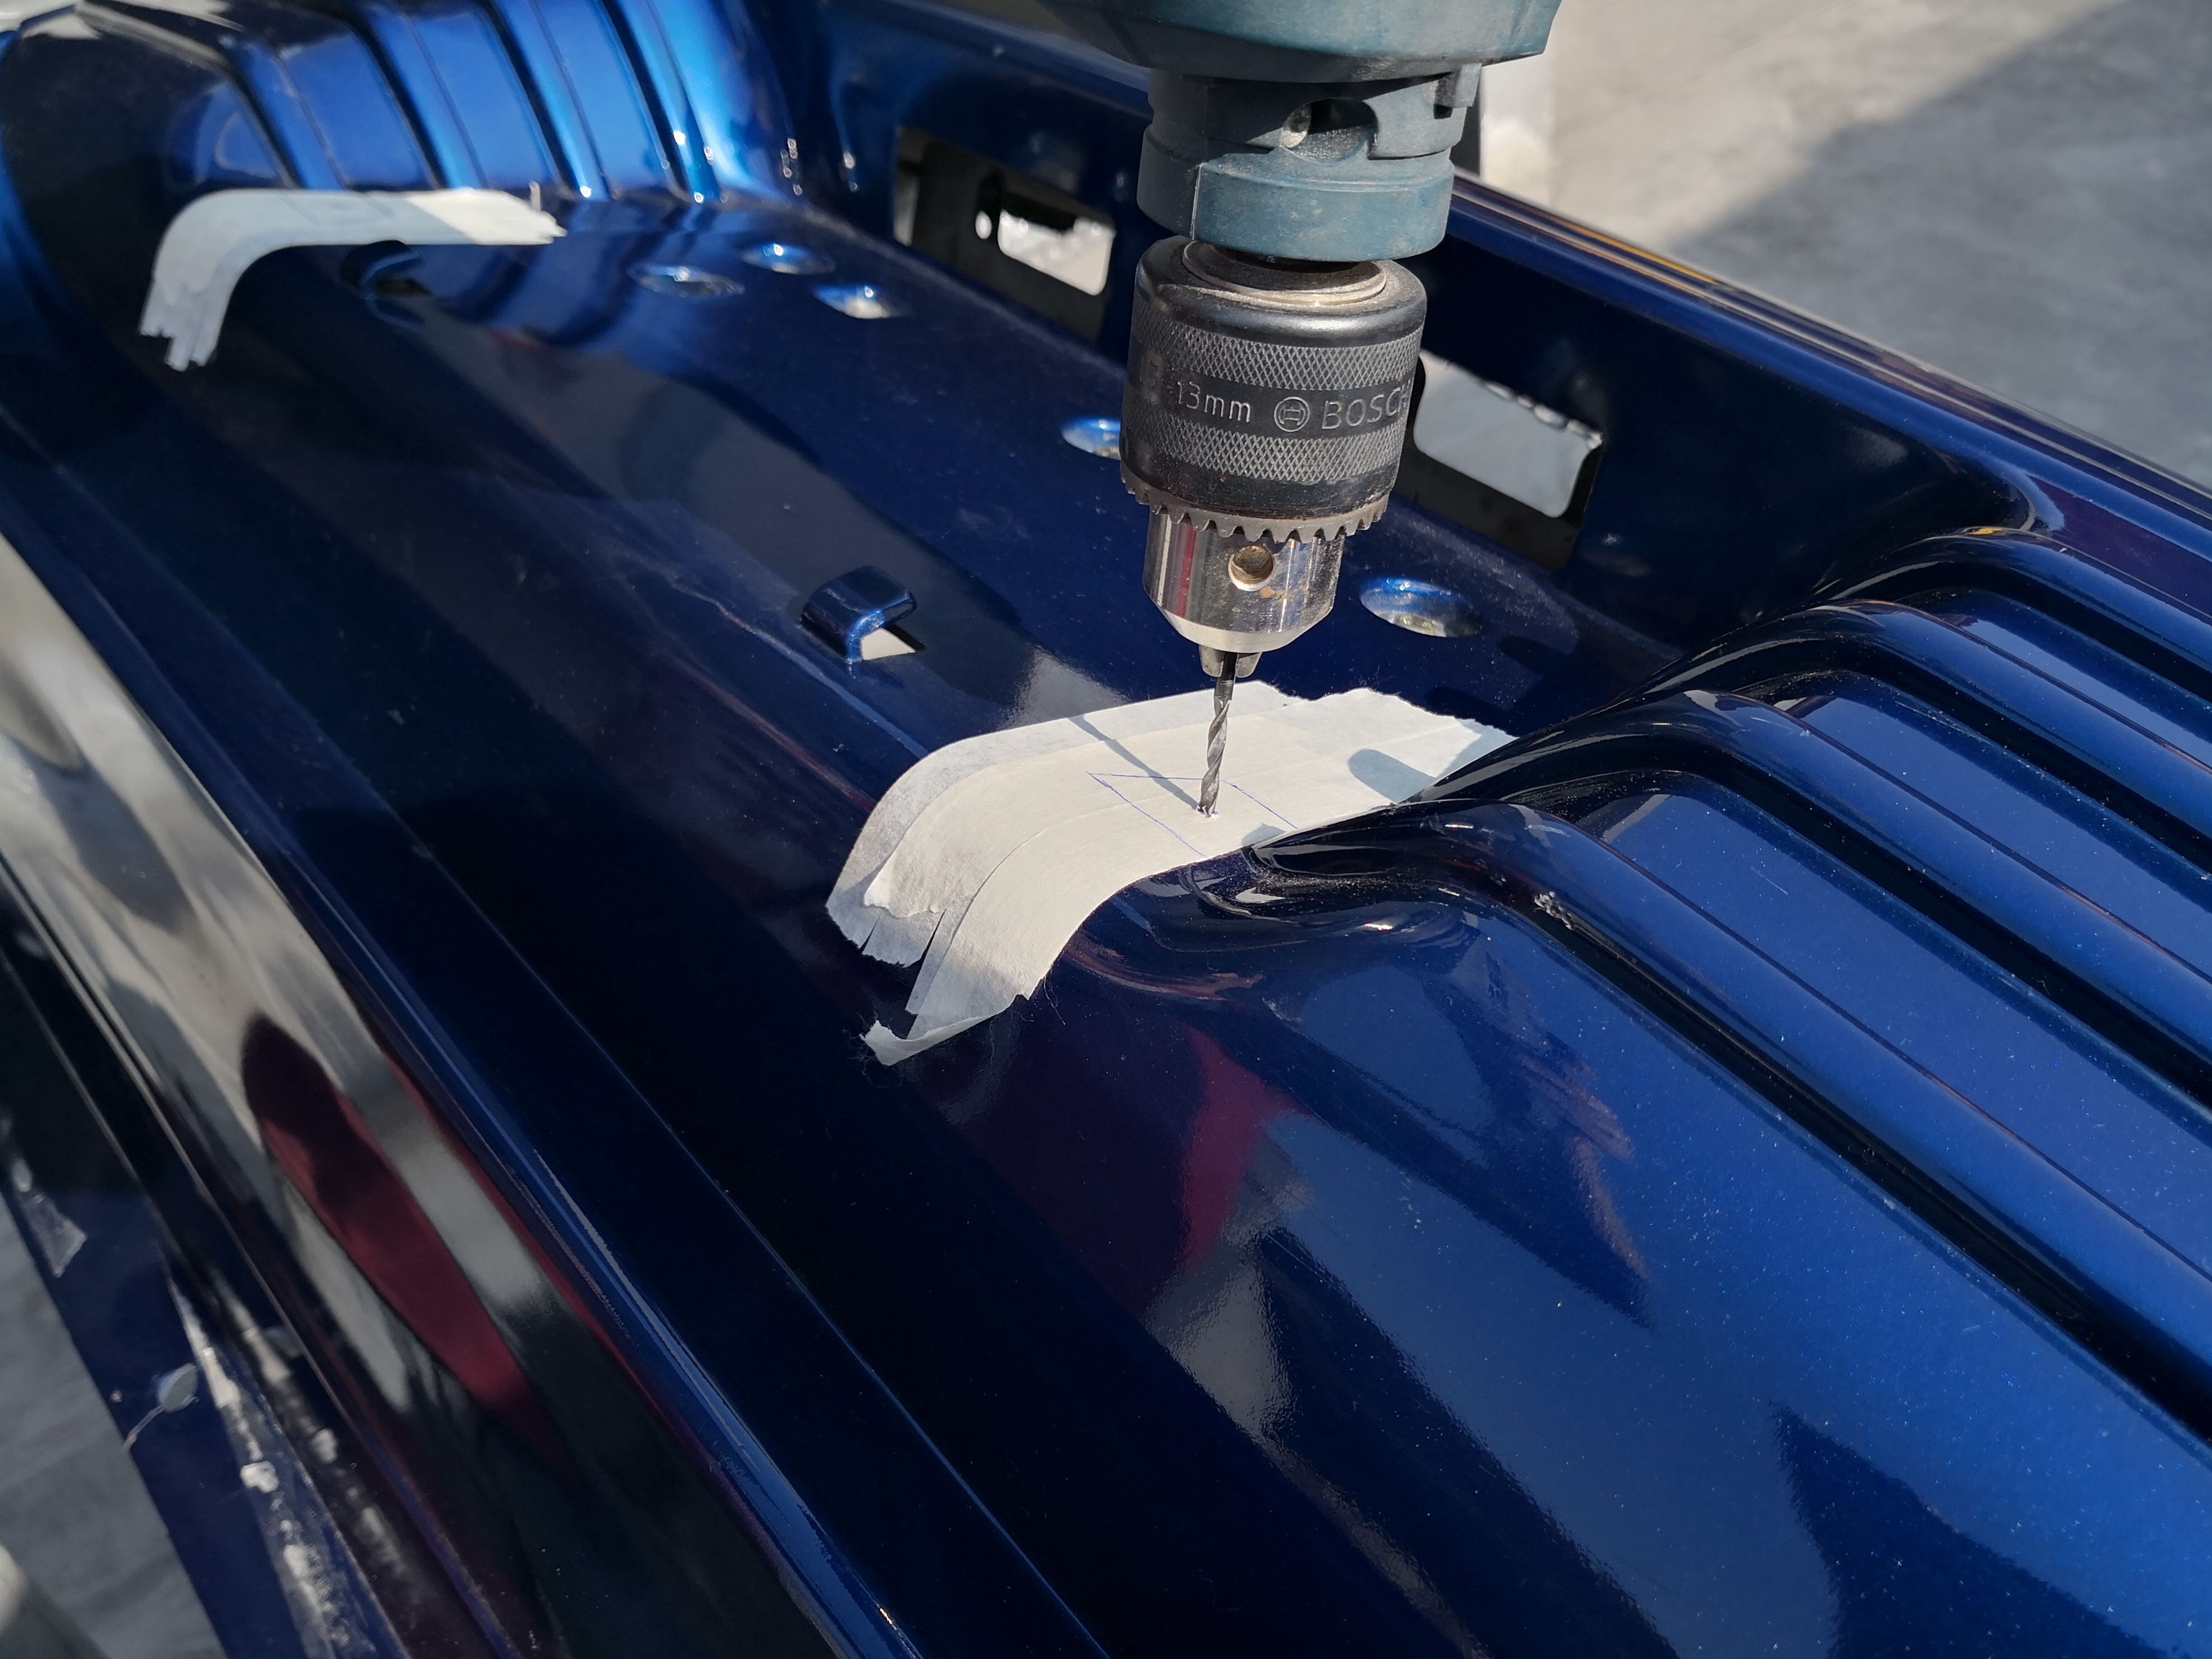
- Put the diffuser back on and used the drilled holes on the bumper to drill new holes on the diffuser attaching section.
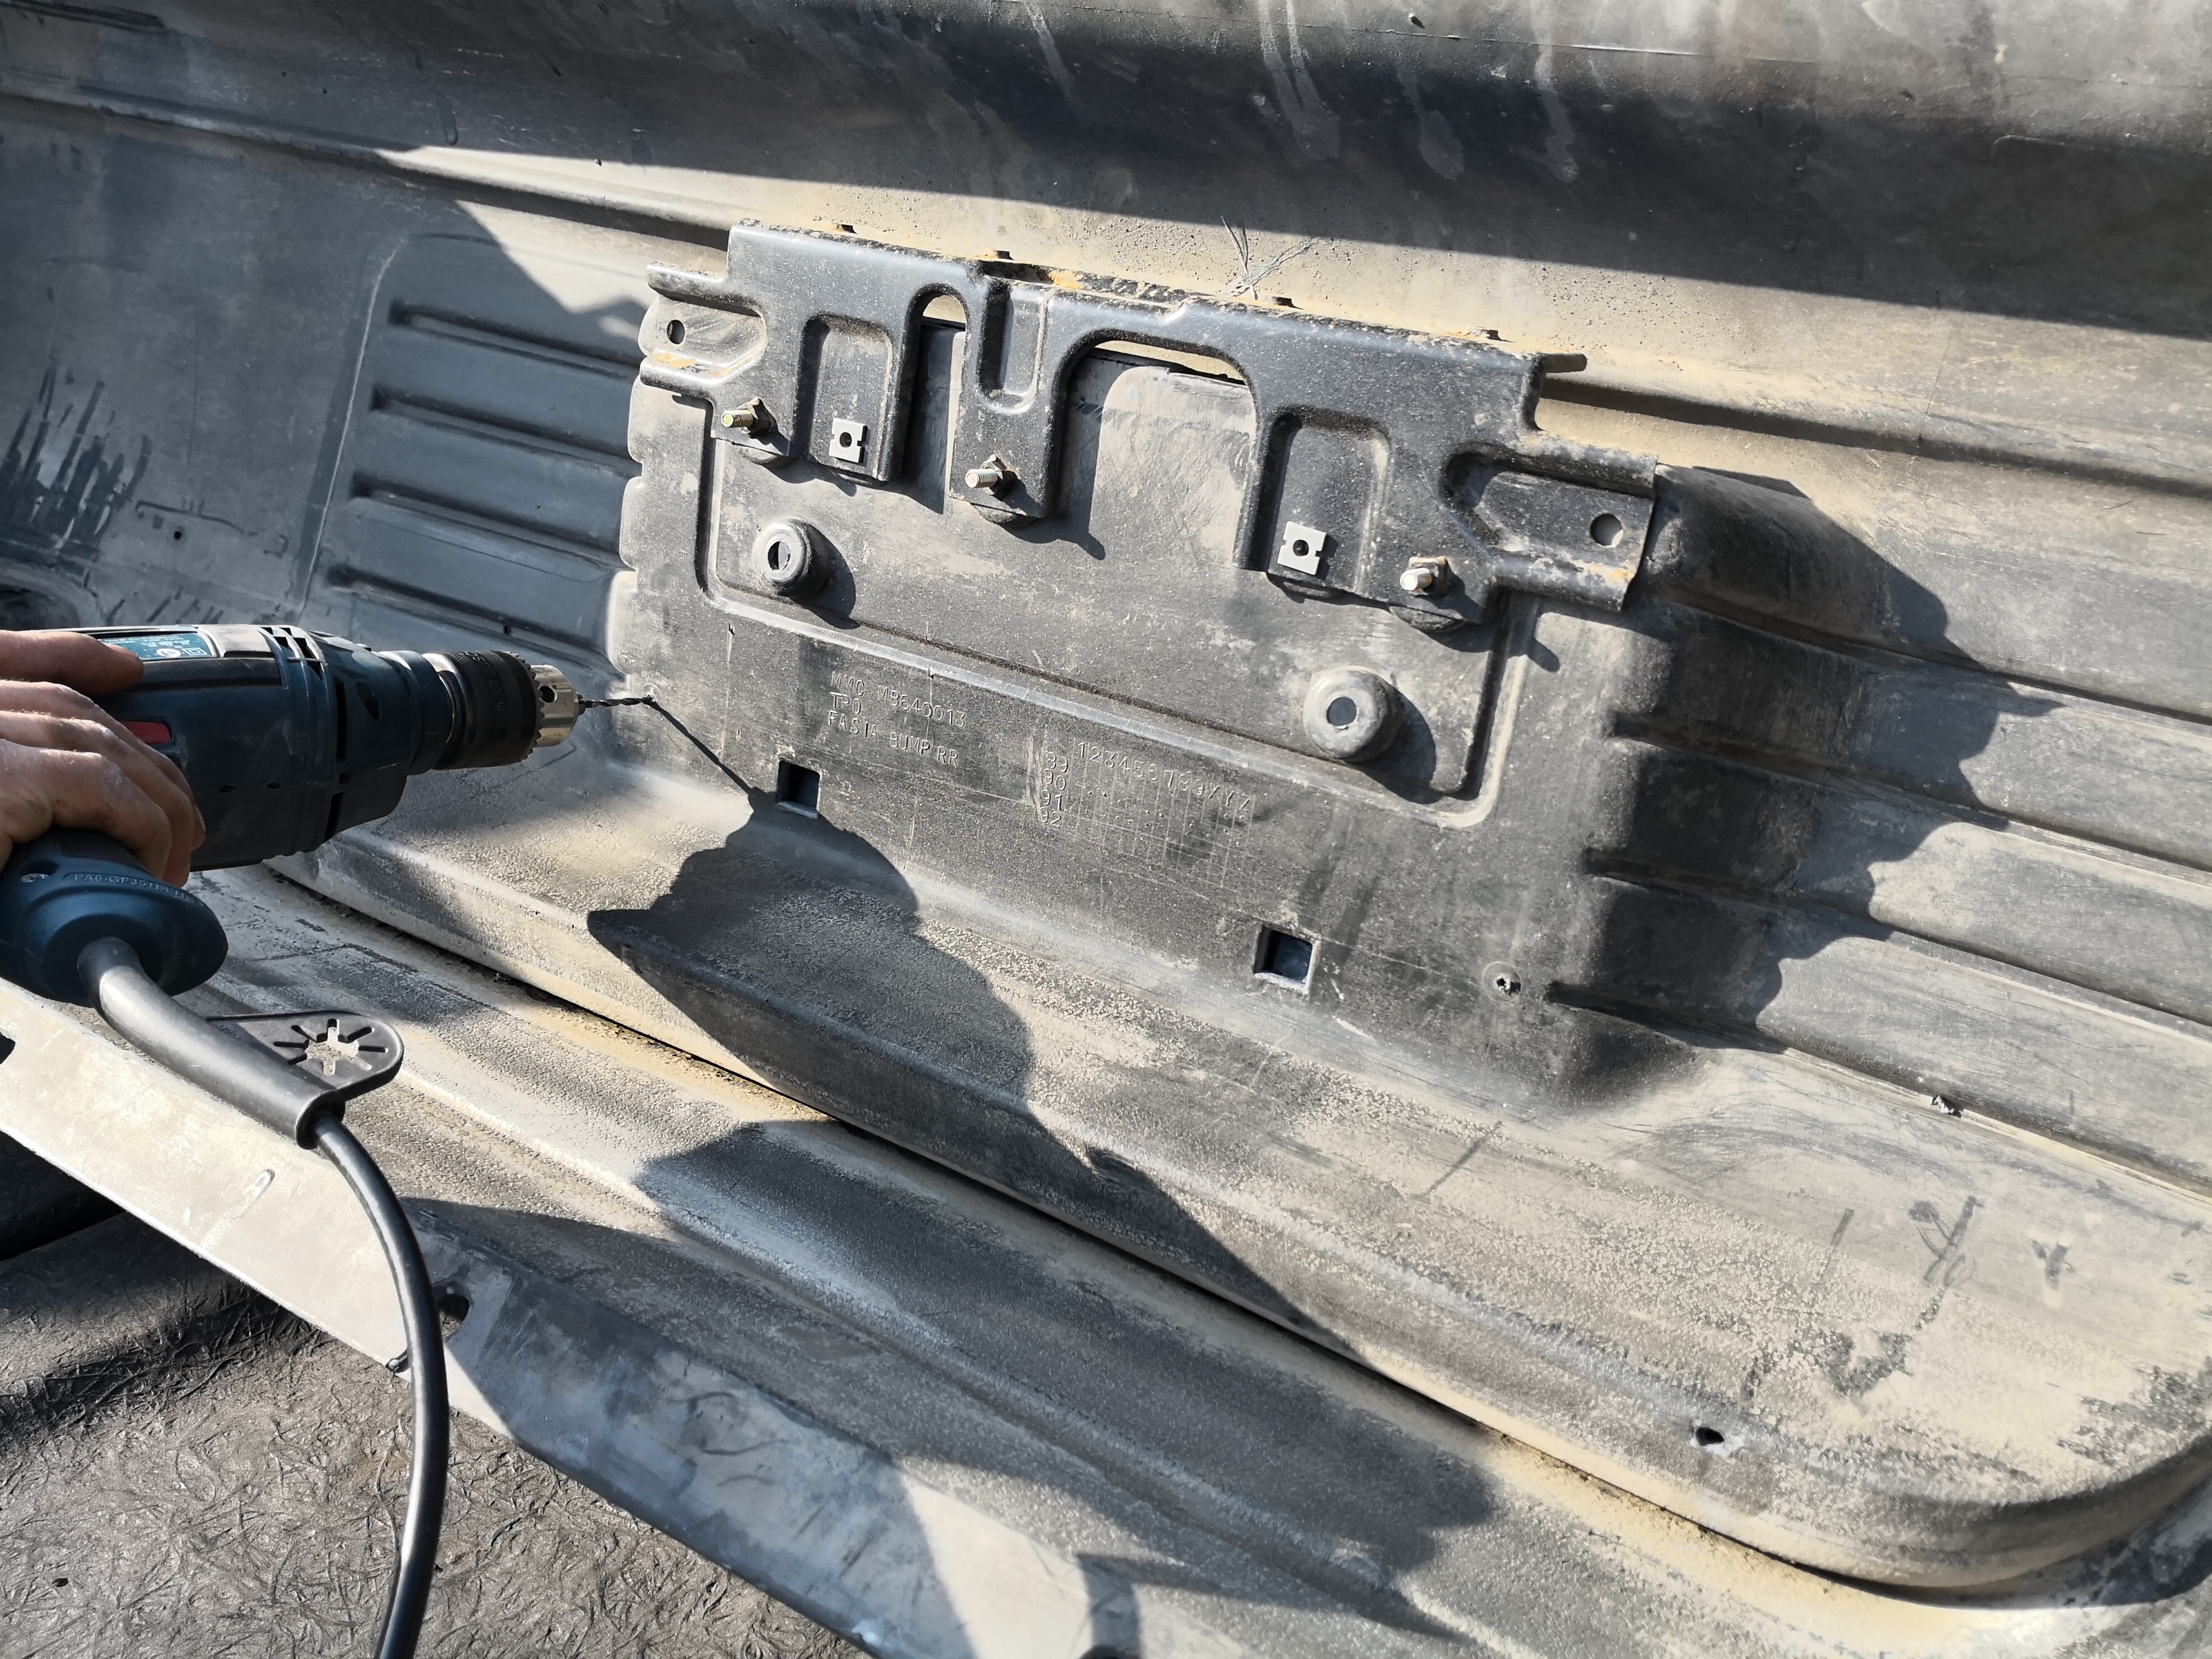
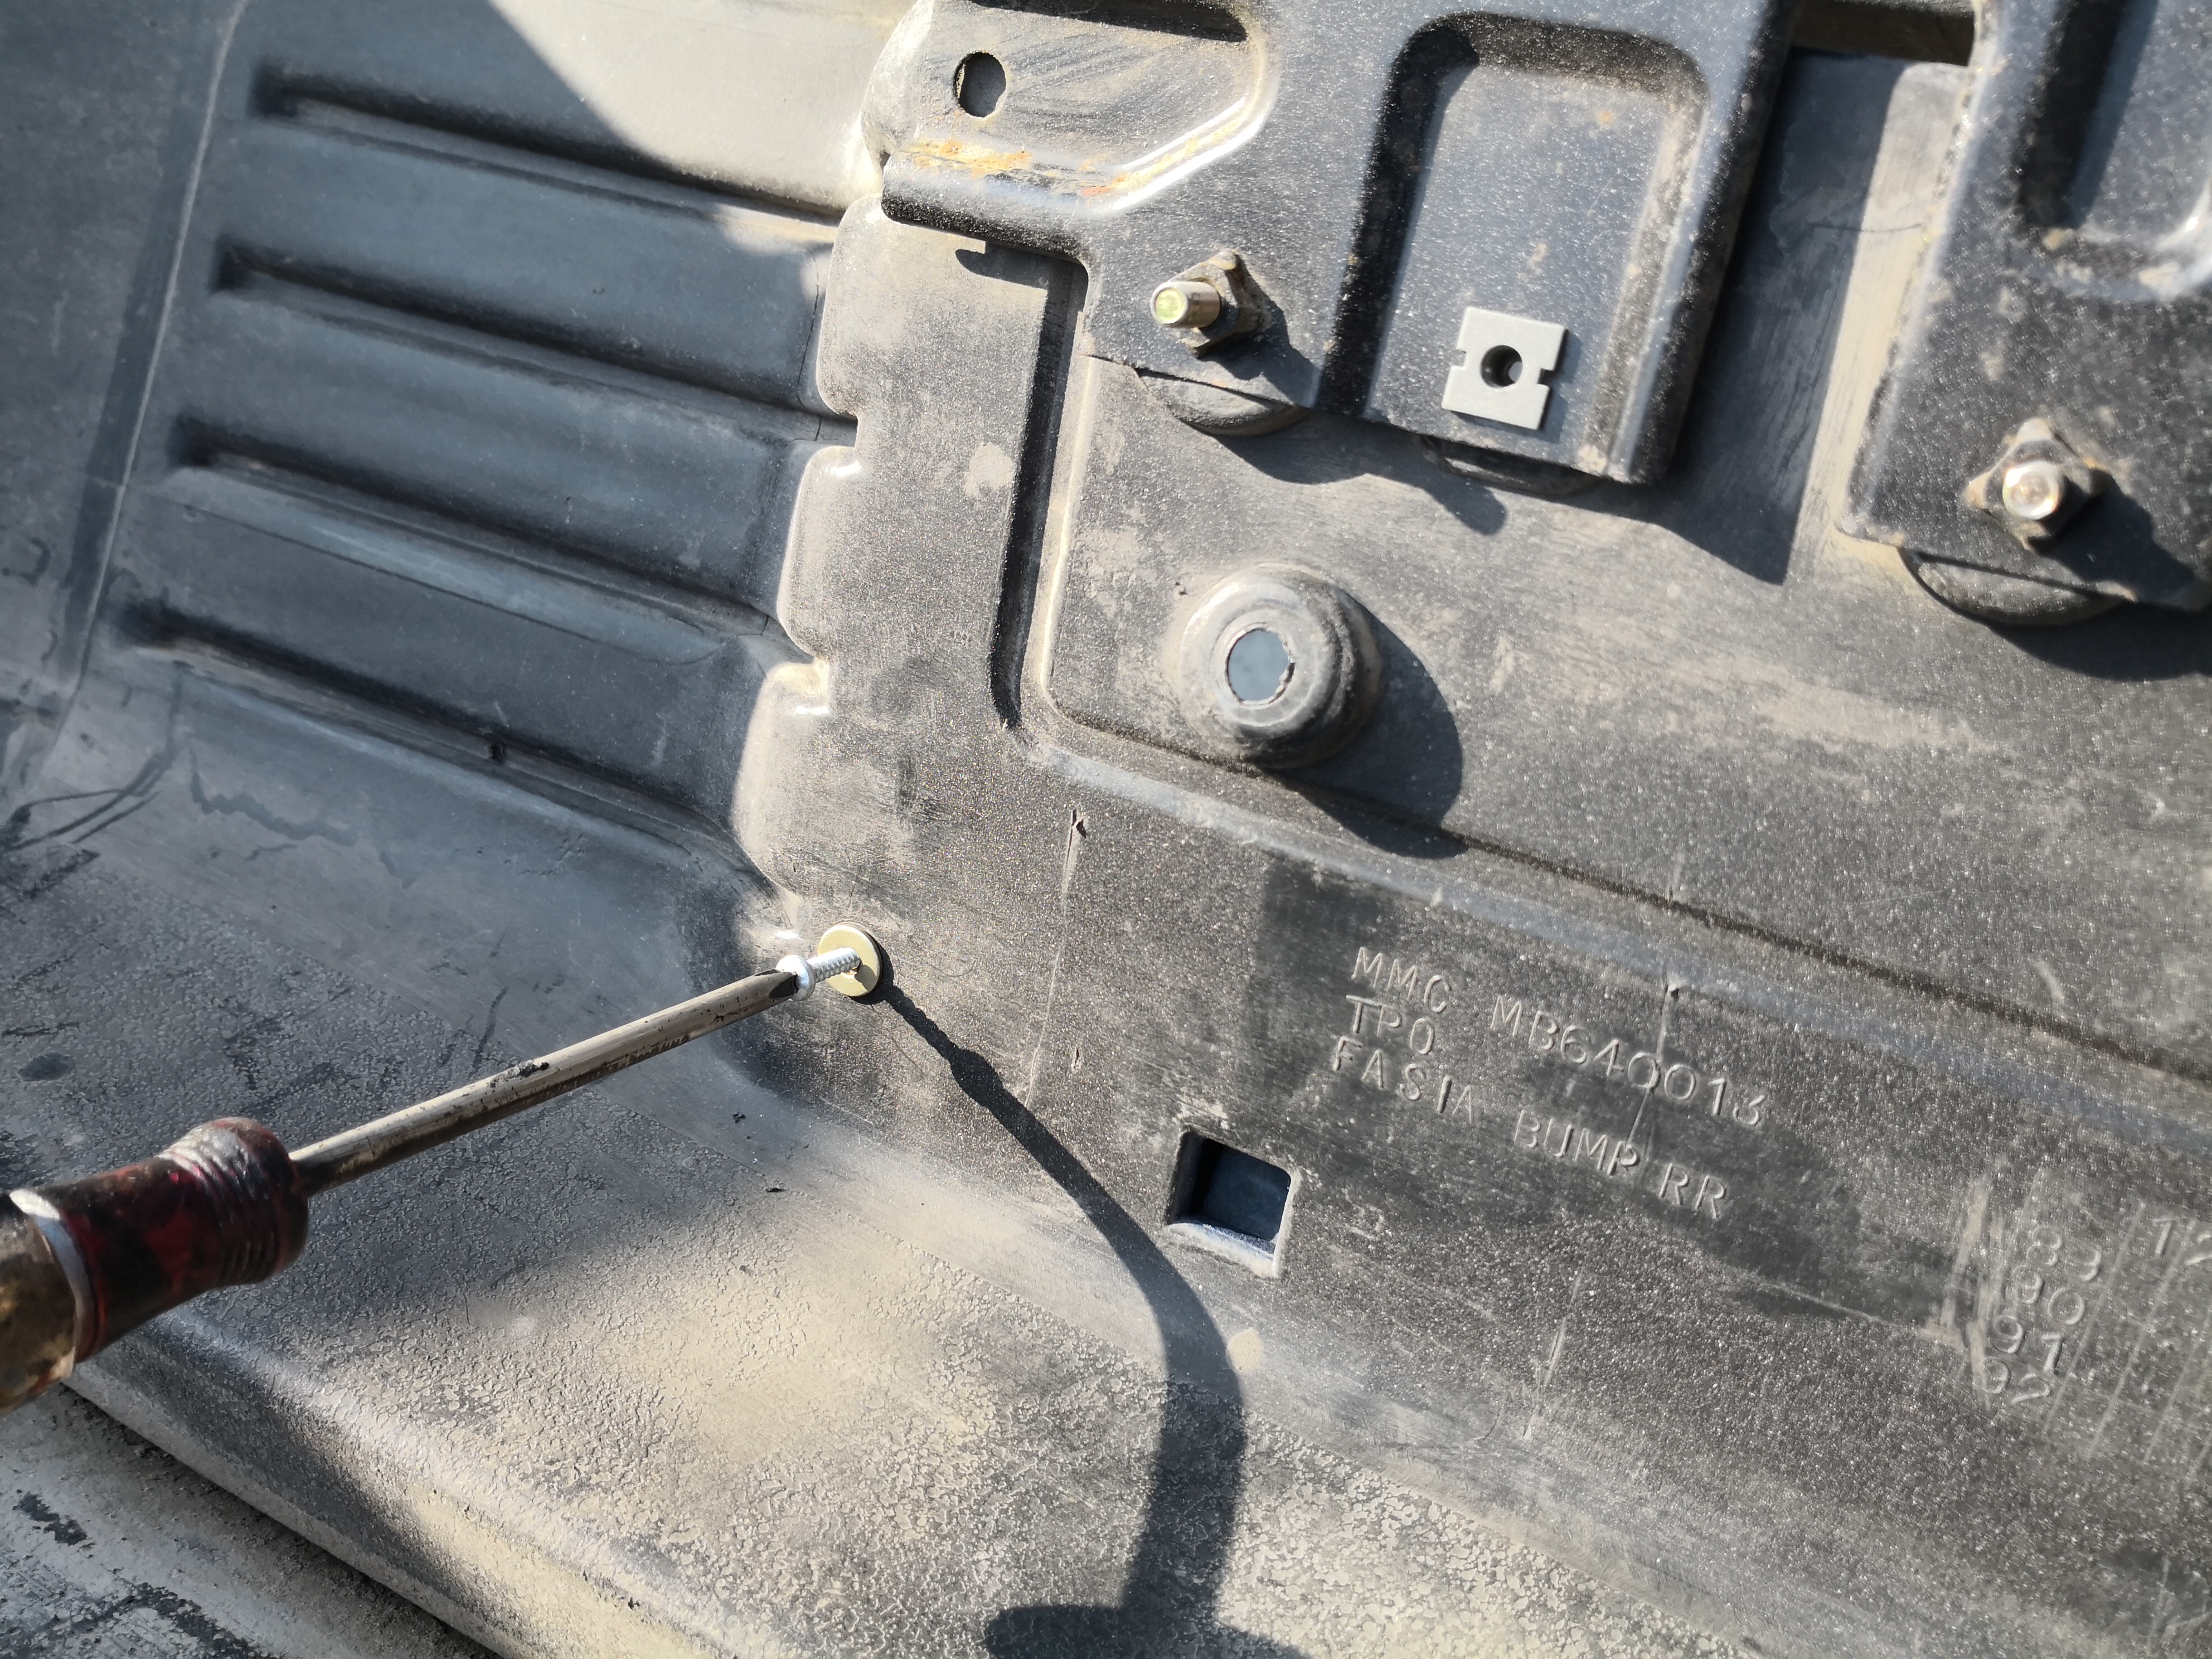
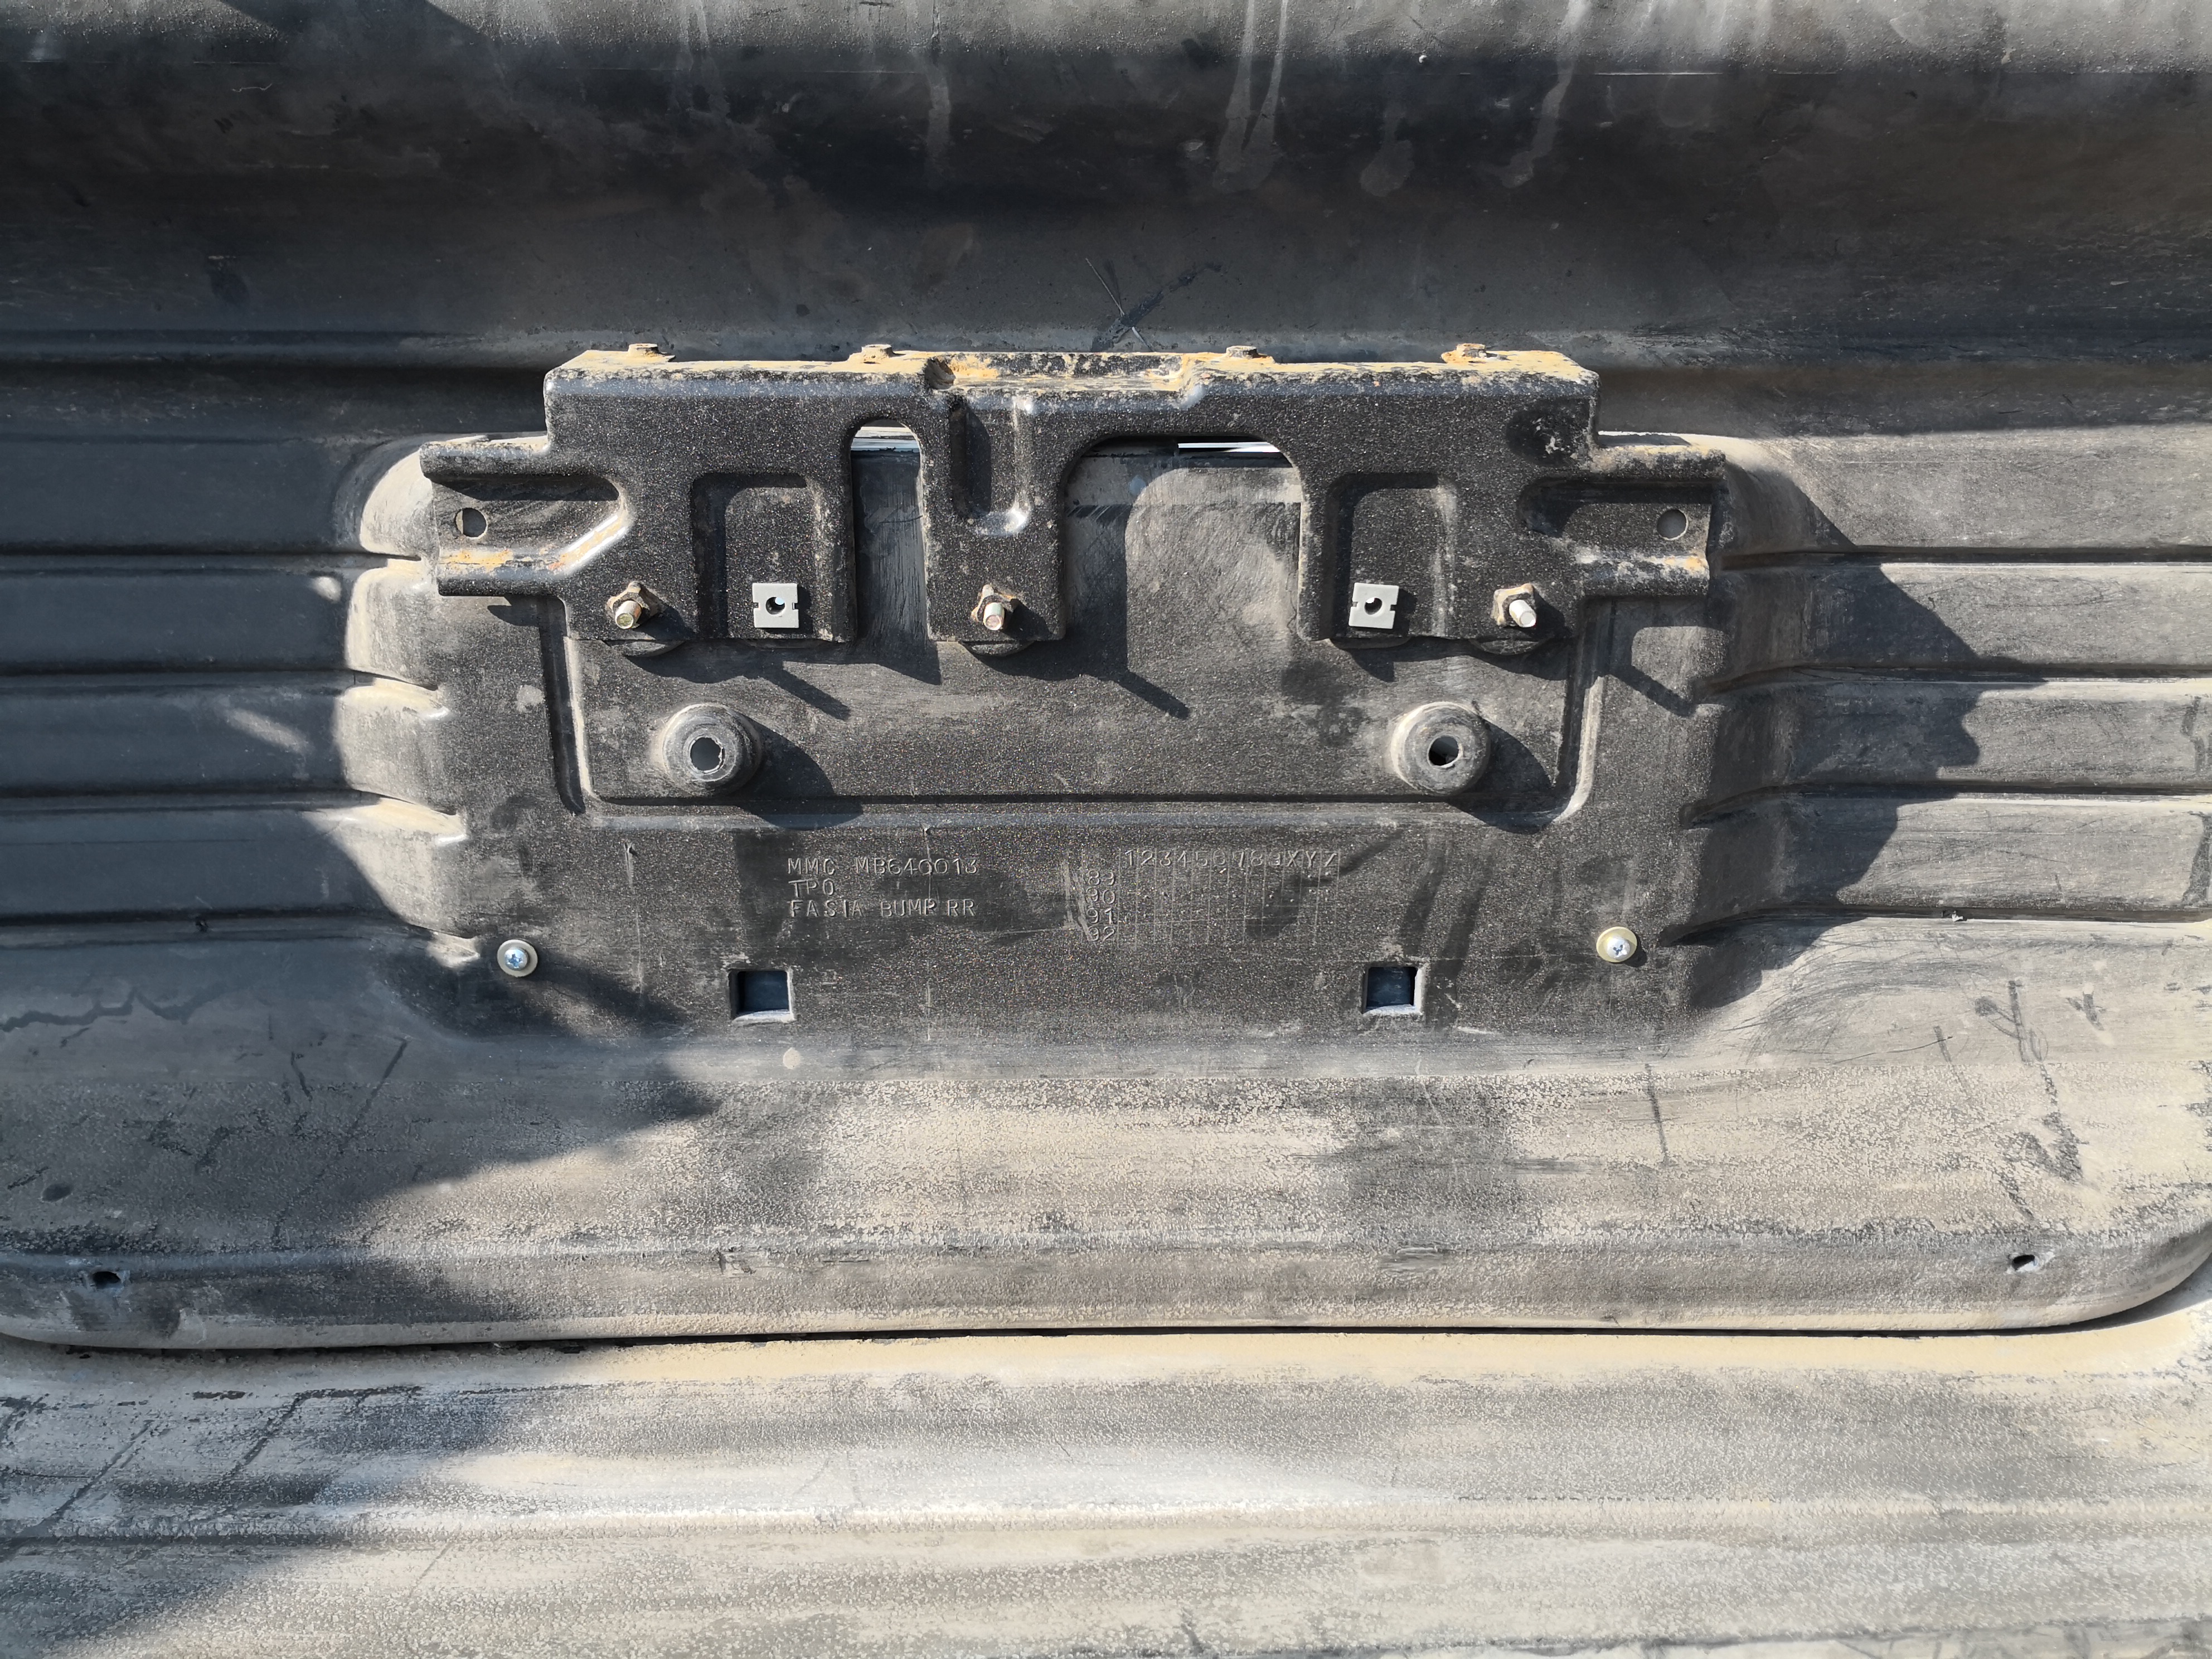
- Use 2 screws to attach the diffuser to the bumper on the license plate recess section.
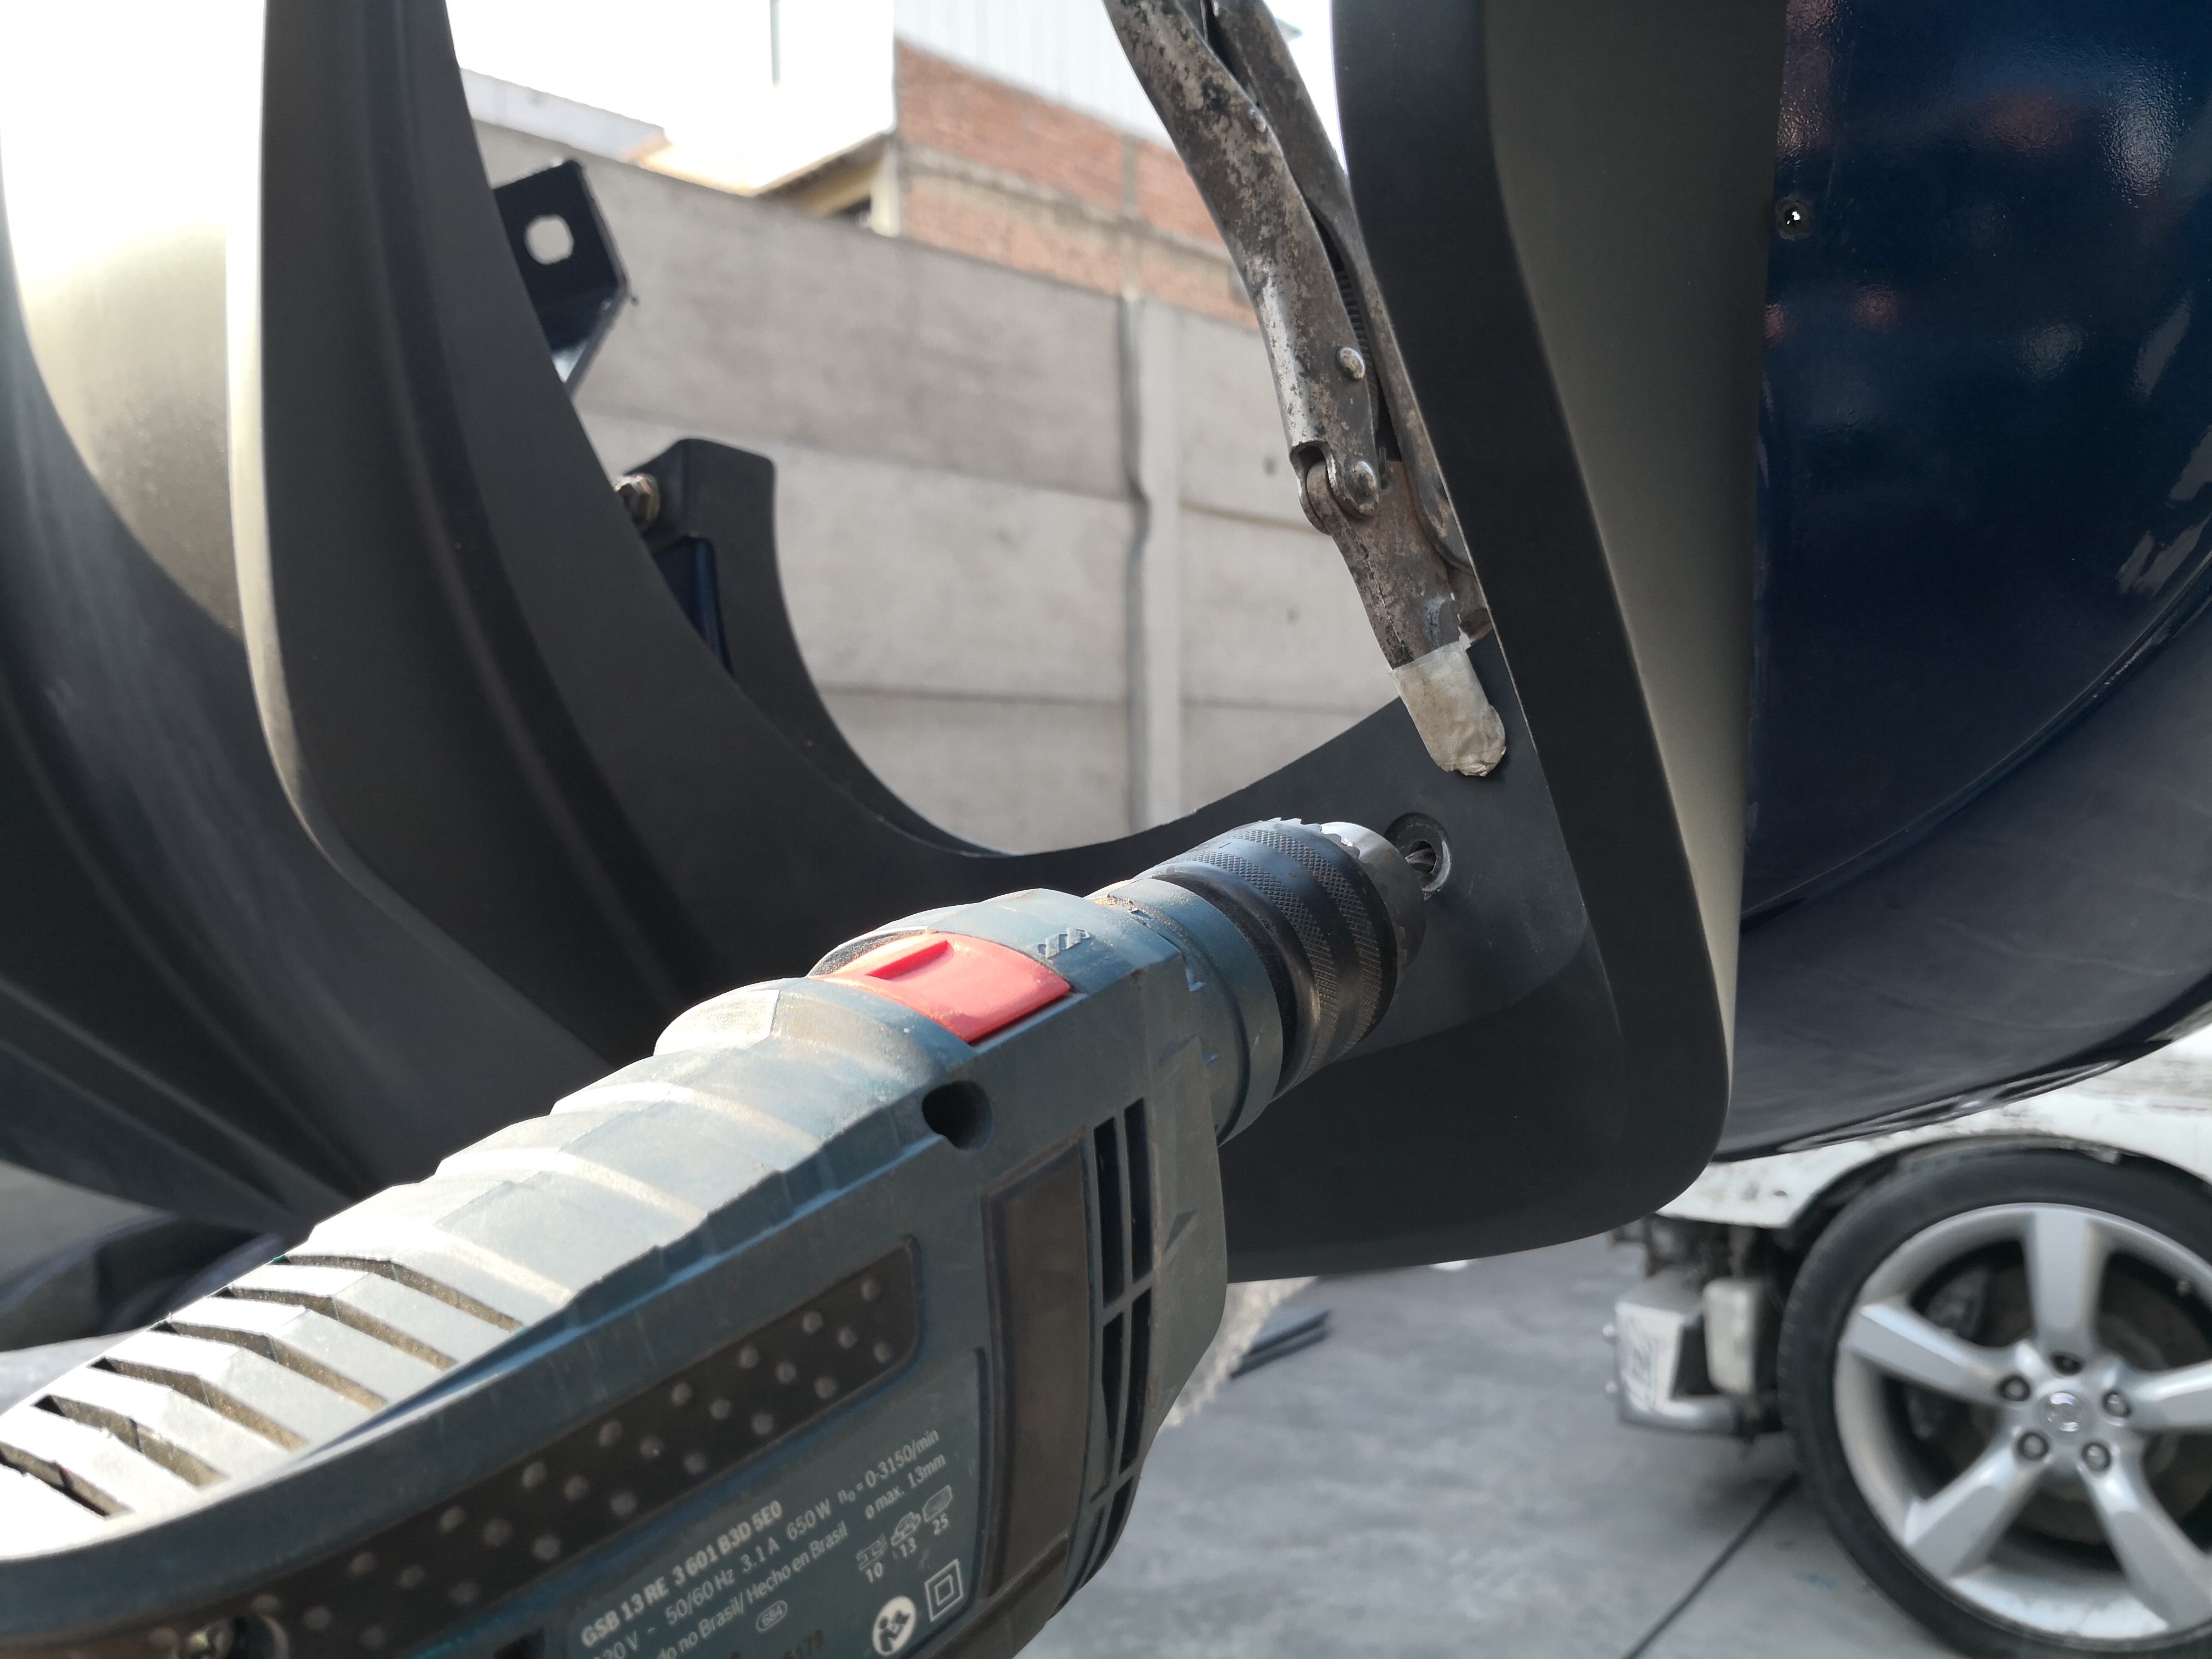
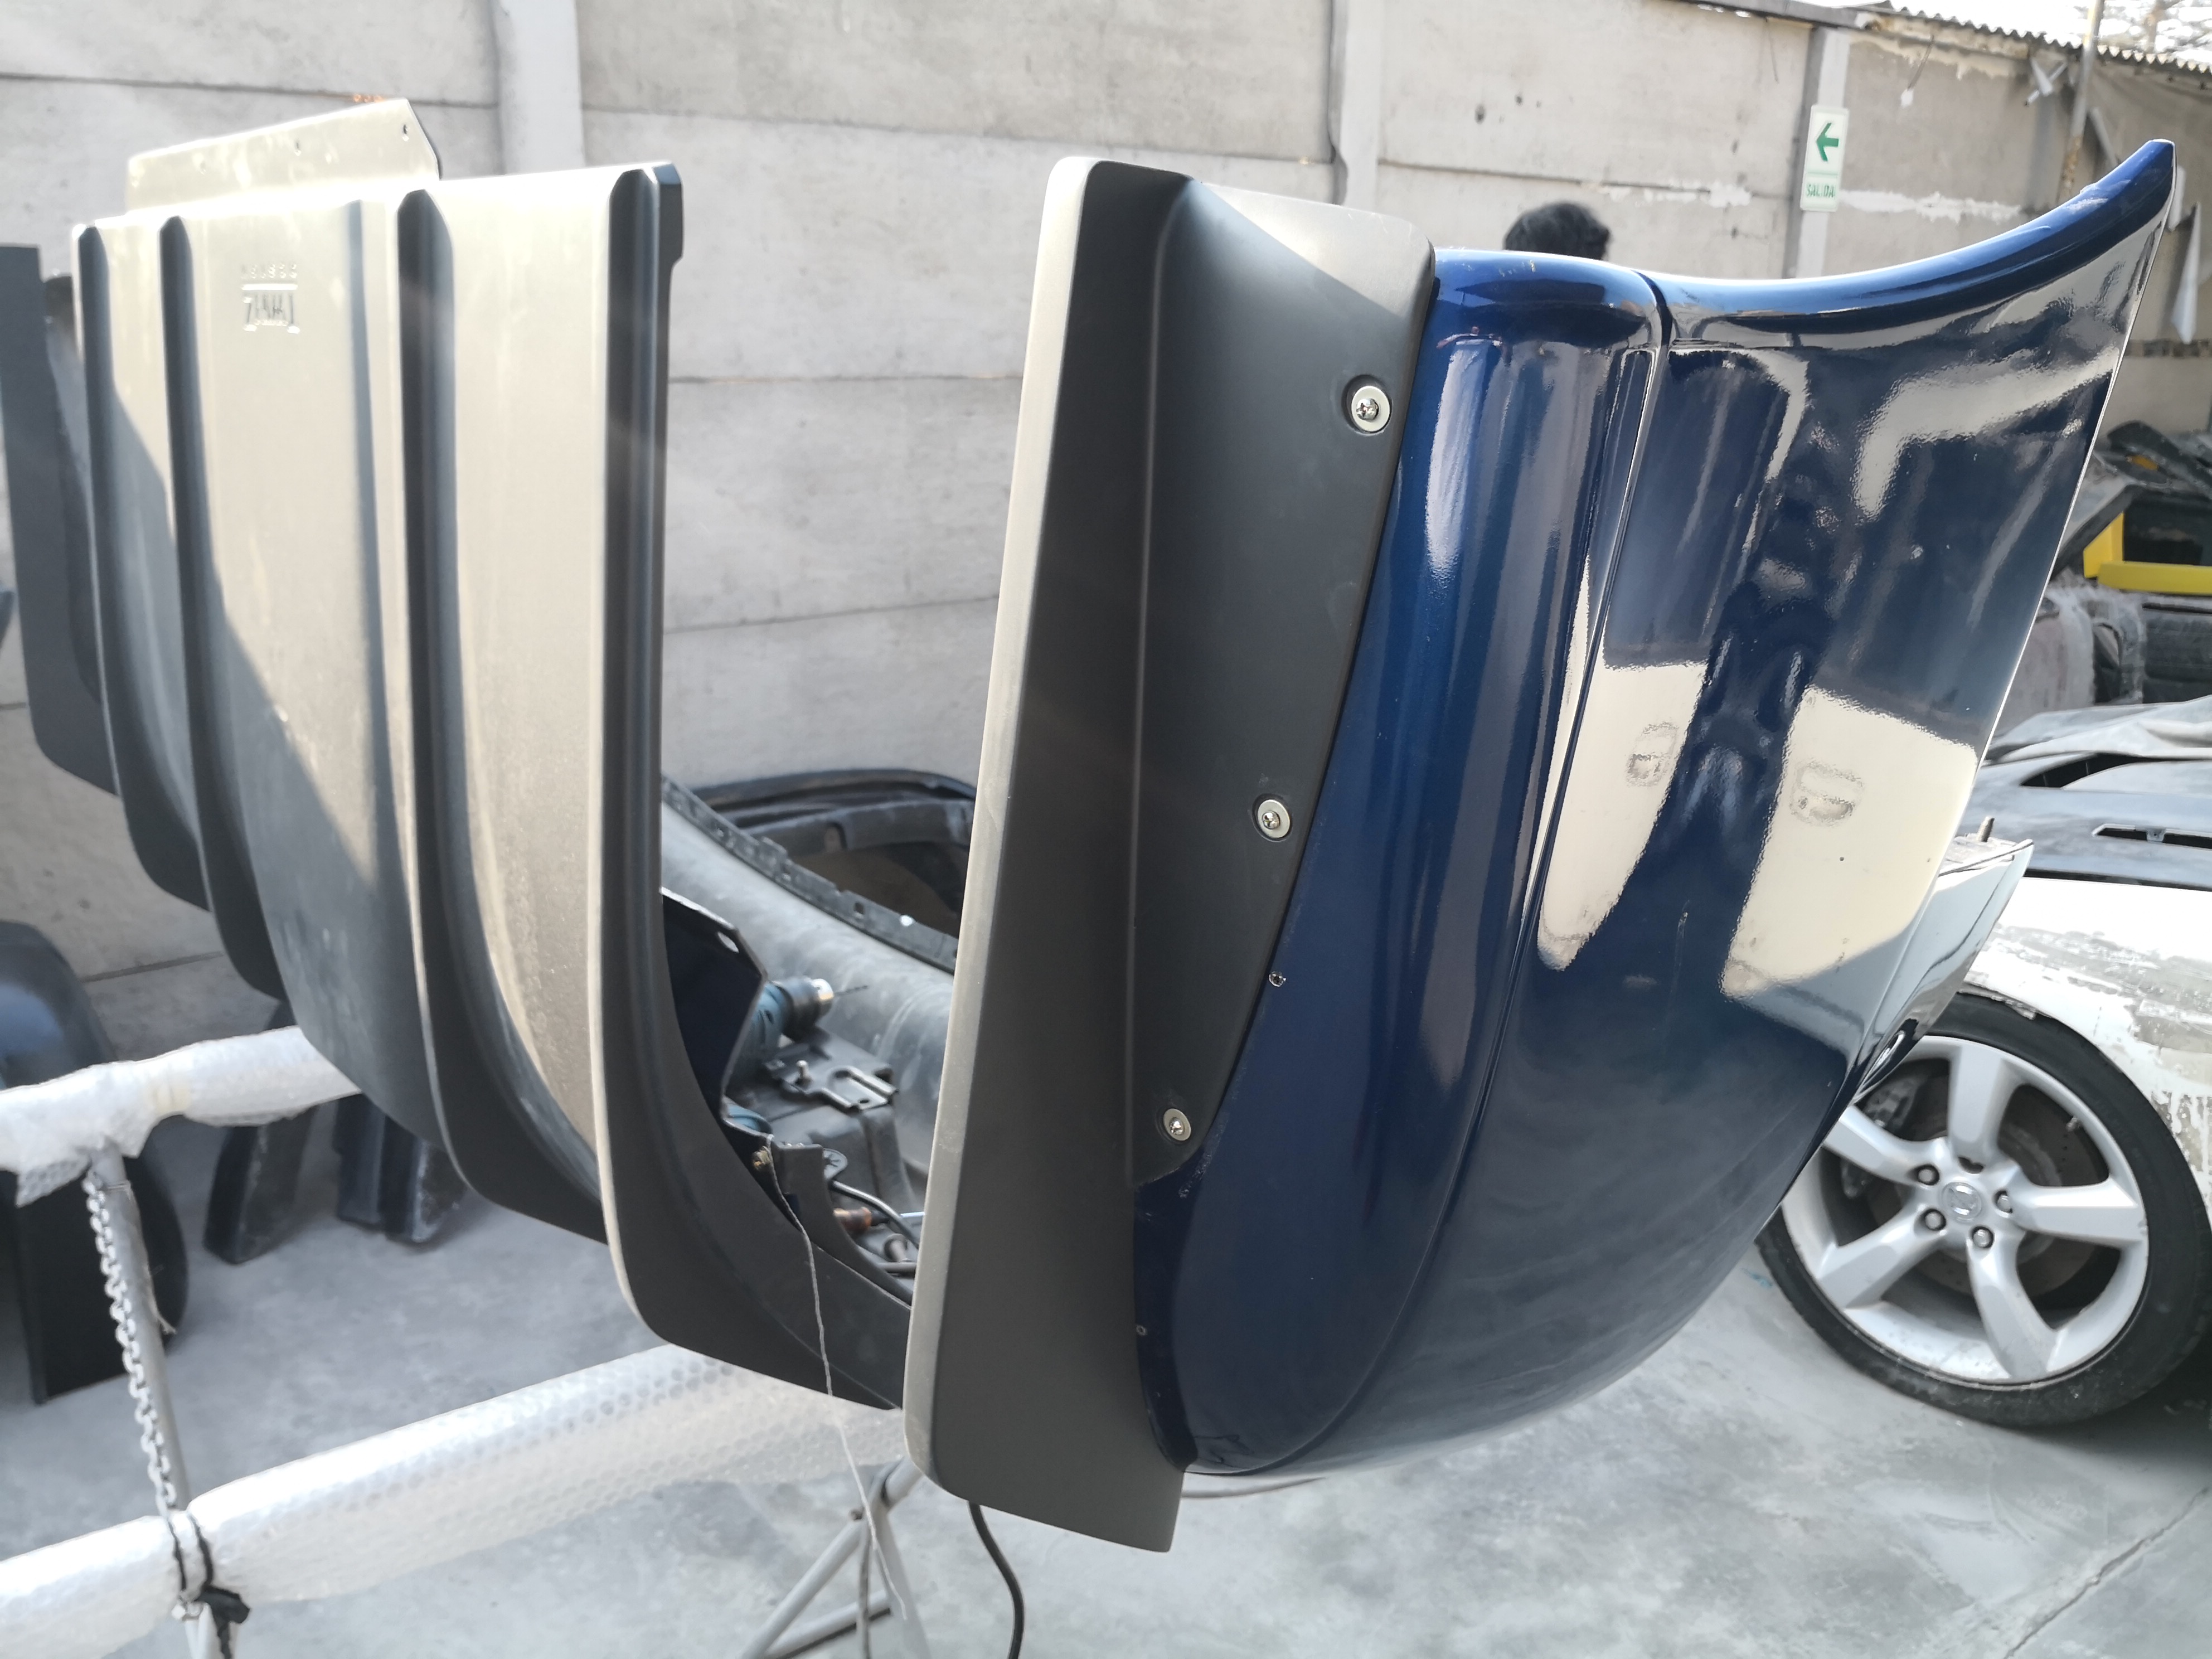
- Drill the holes on the exhaust opening sections. It’s very important to do it on an angle (as showed on the picture), so when you put the bolts, they will help forcing the diffuser to get pressed against the bumper to get a better sealed result.
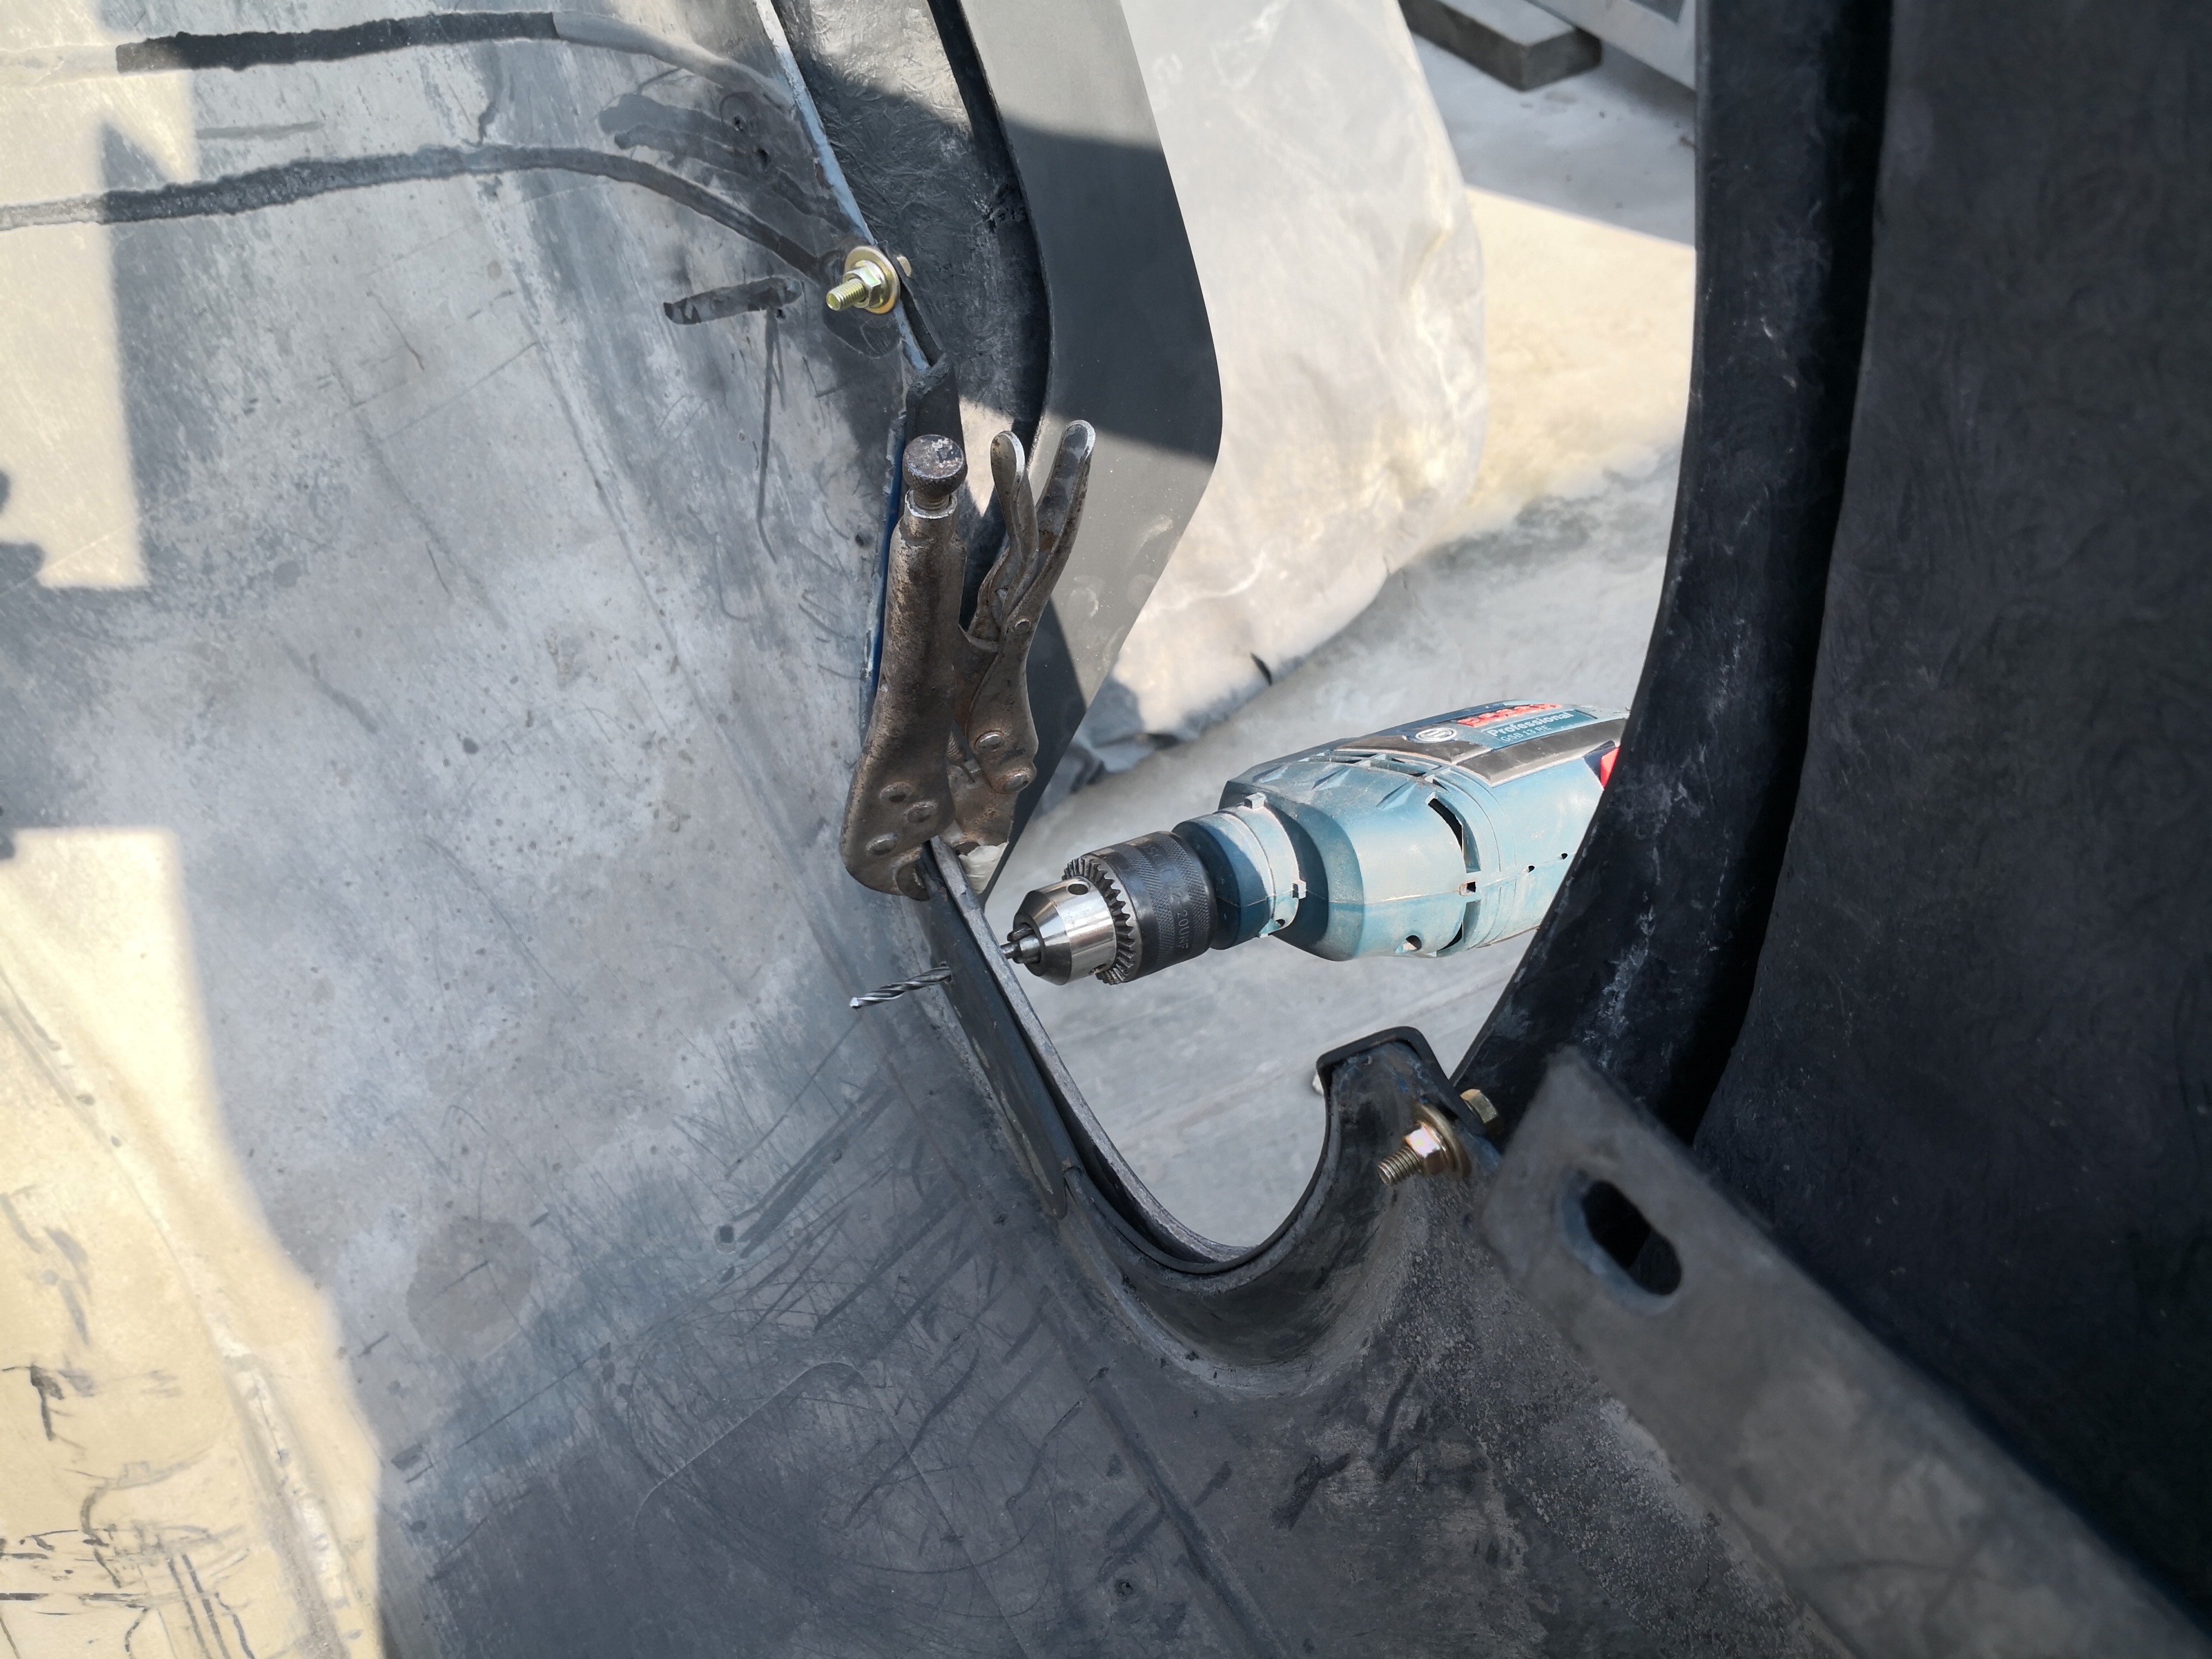
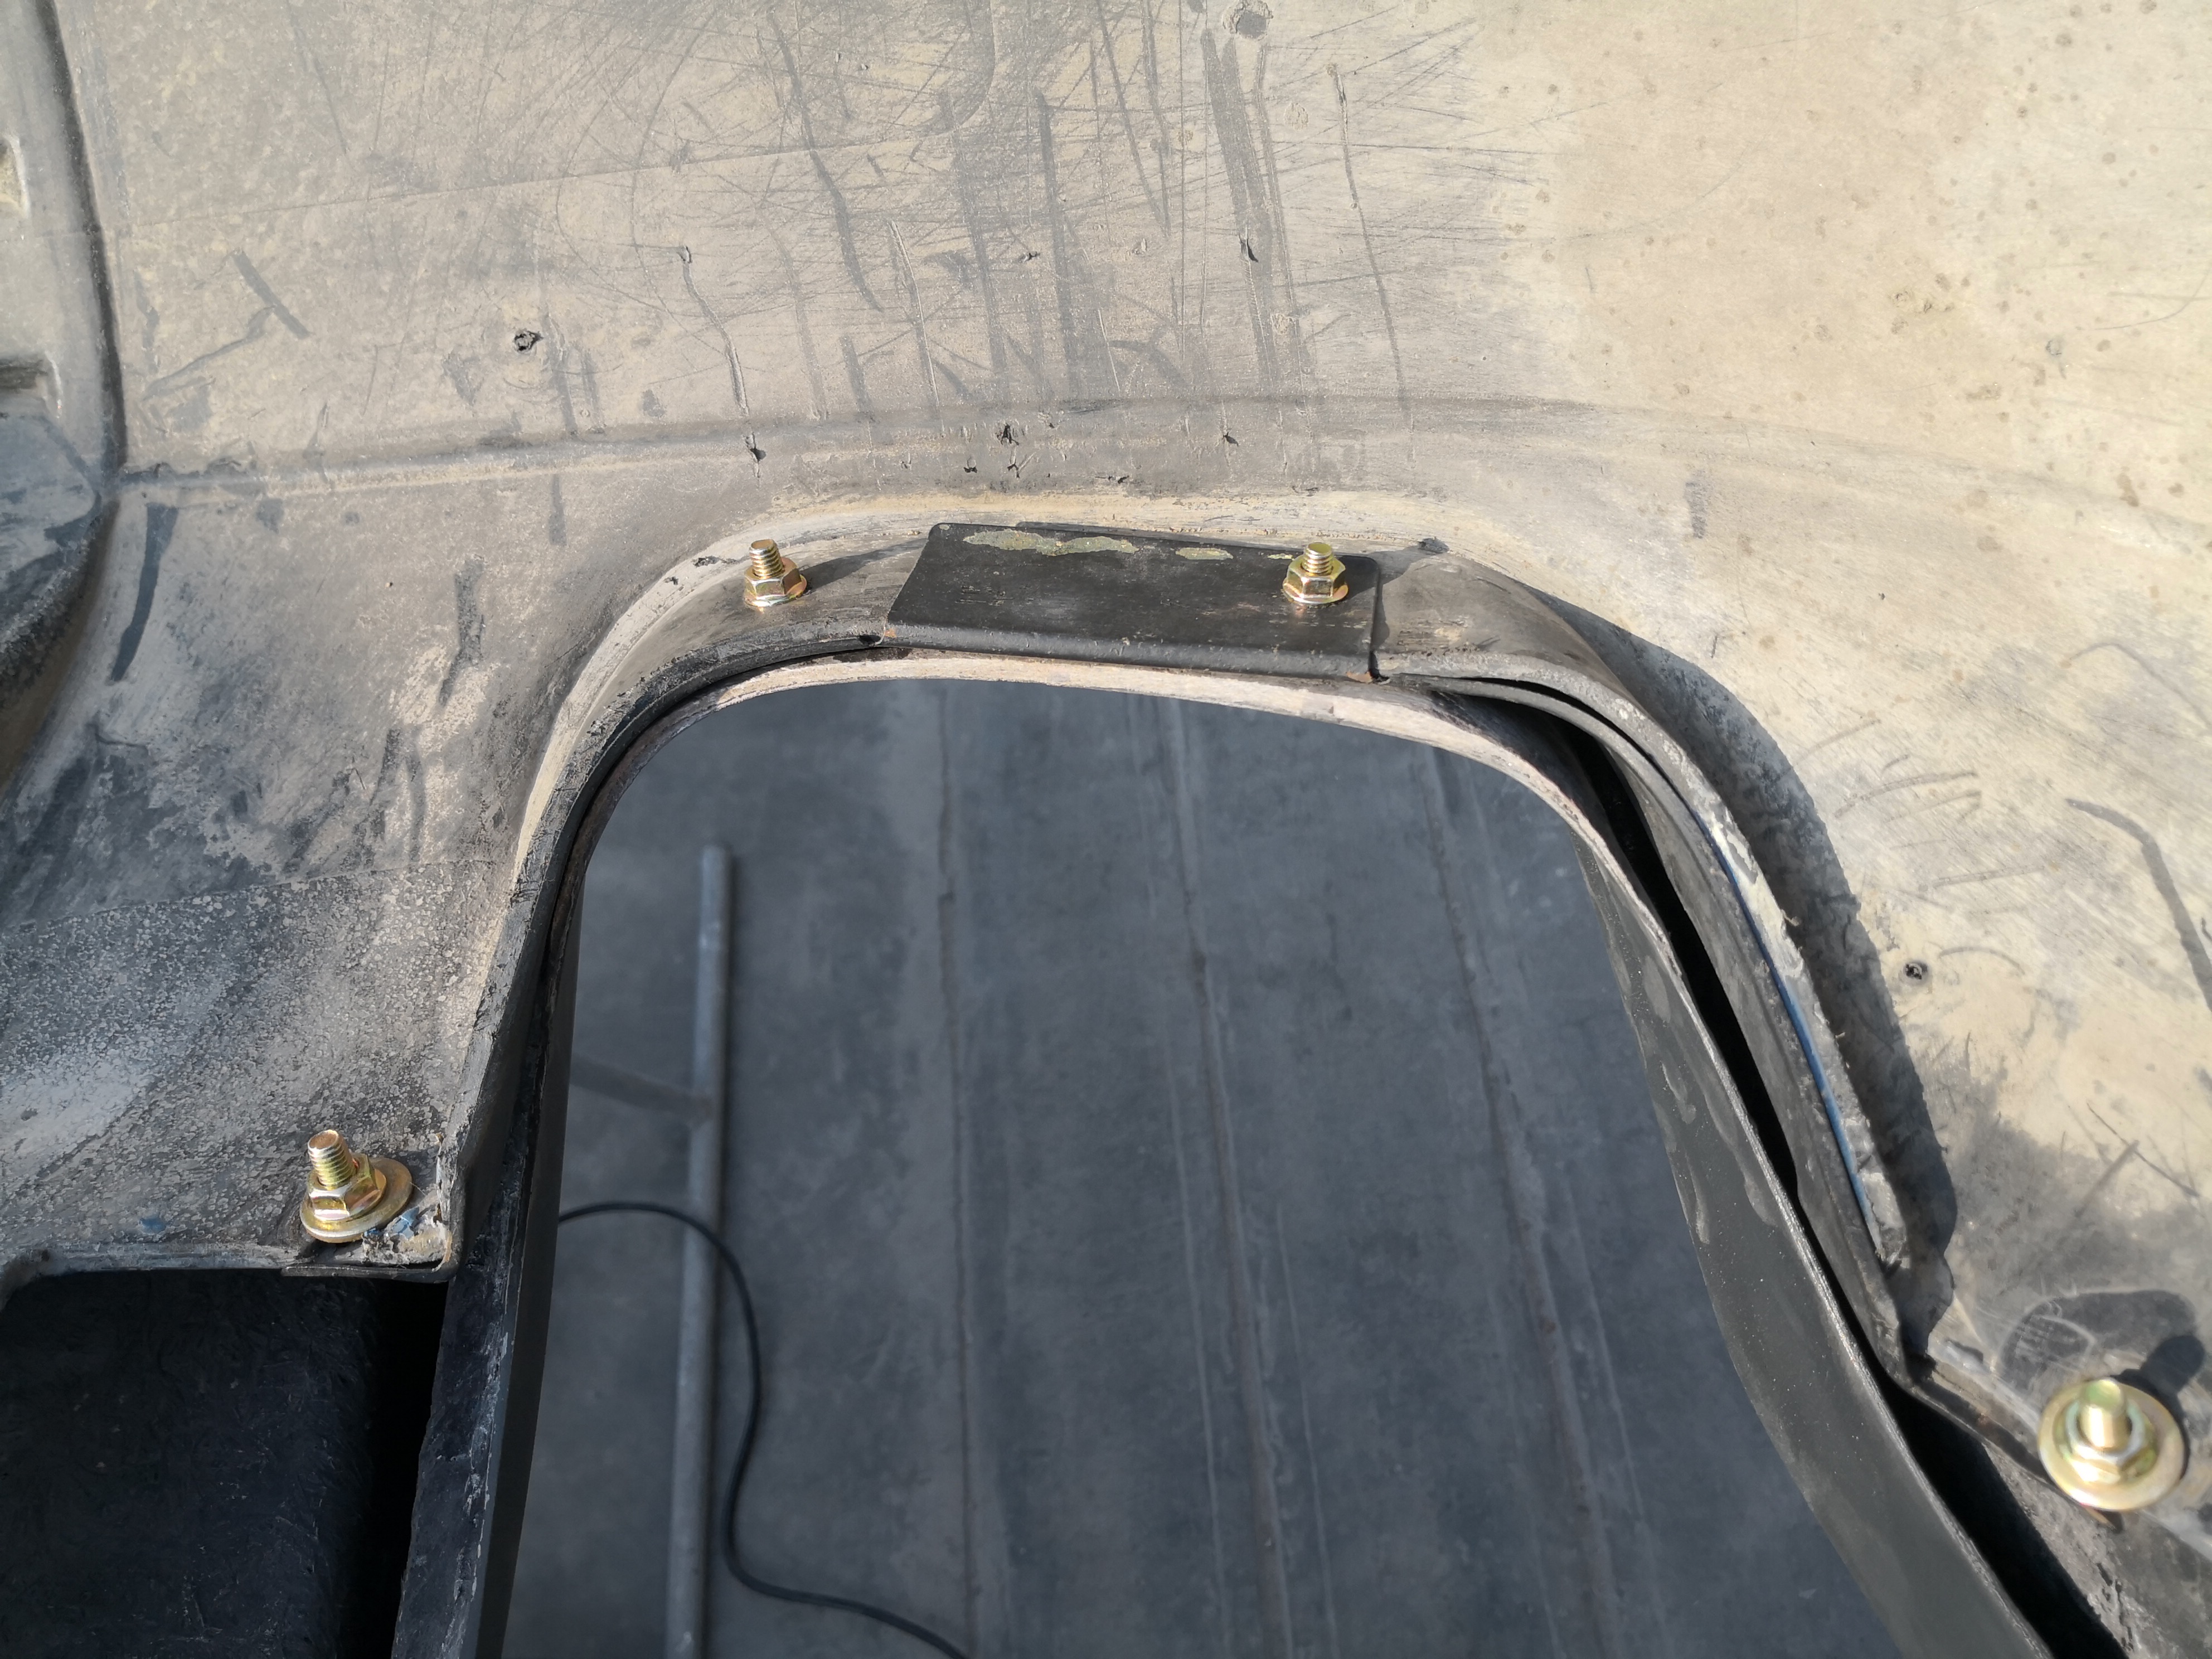
- Measure around 90mm from the line on the lower part of the bumper and mark the position where the side fins section of the diffuser would be attached, then mark the bolt positions and make the holes for the stove bolts.
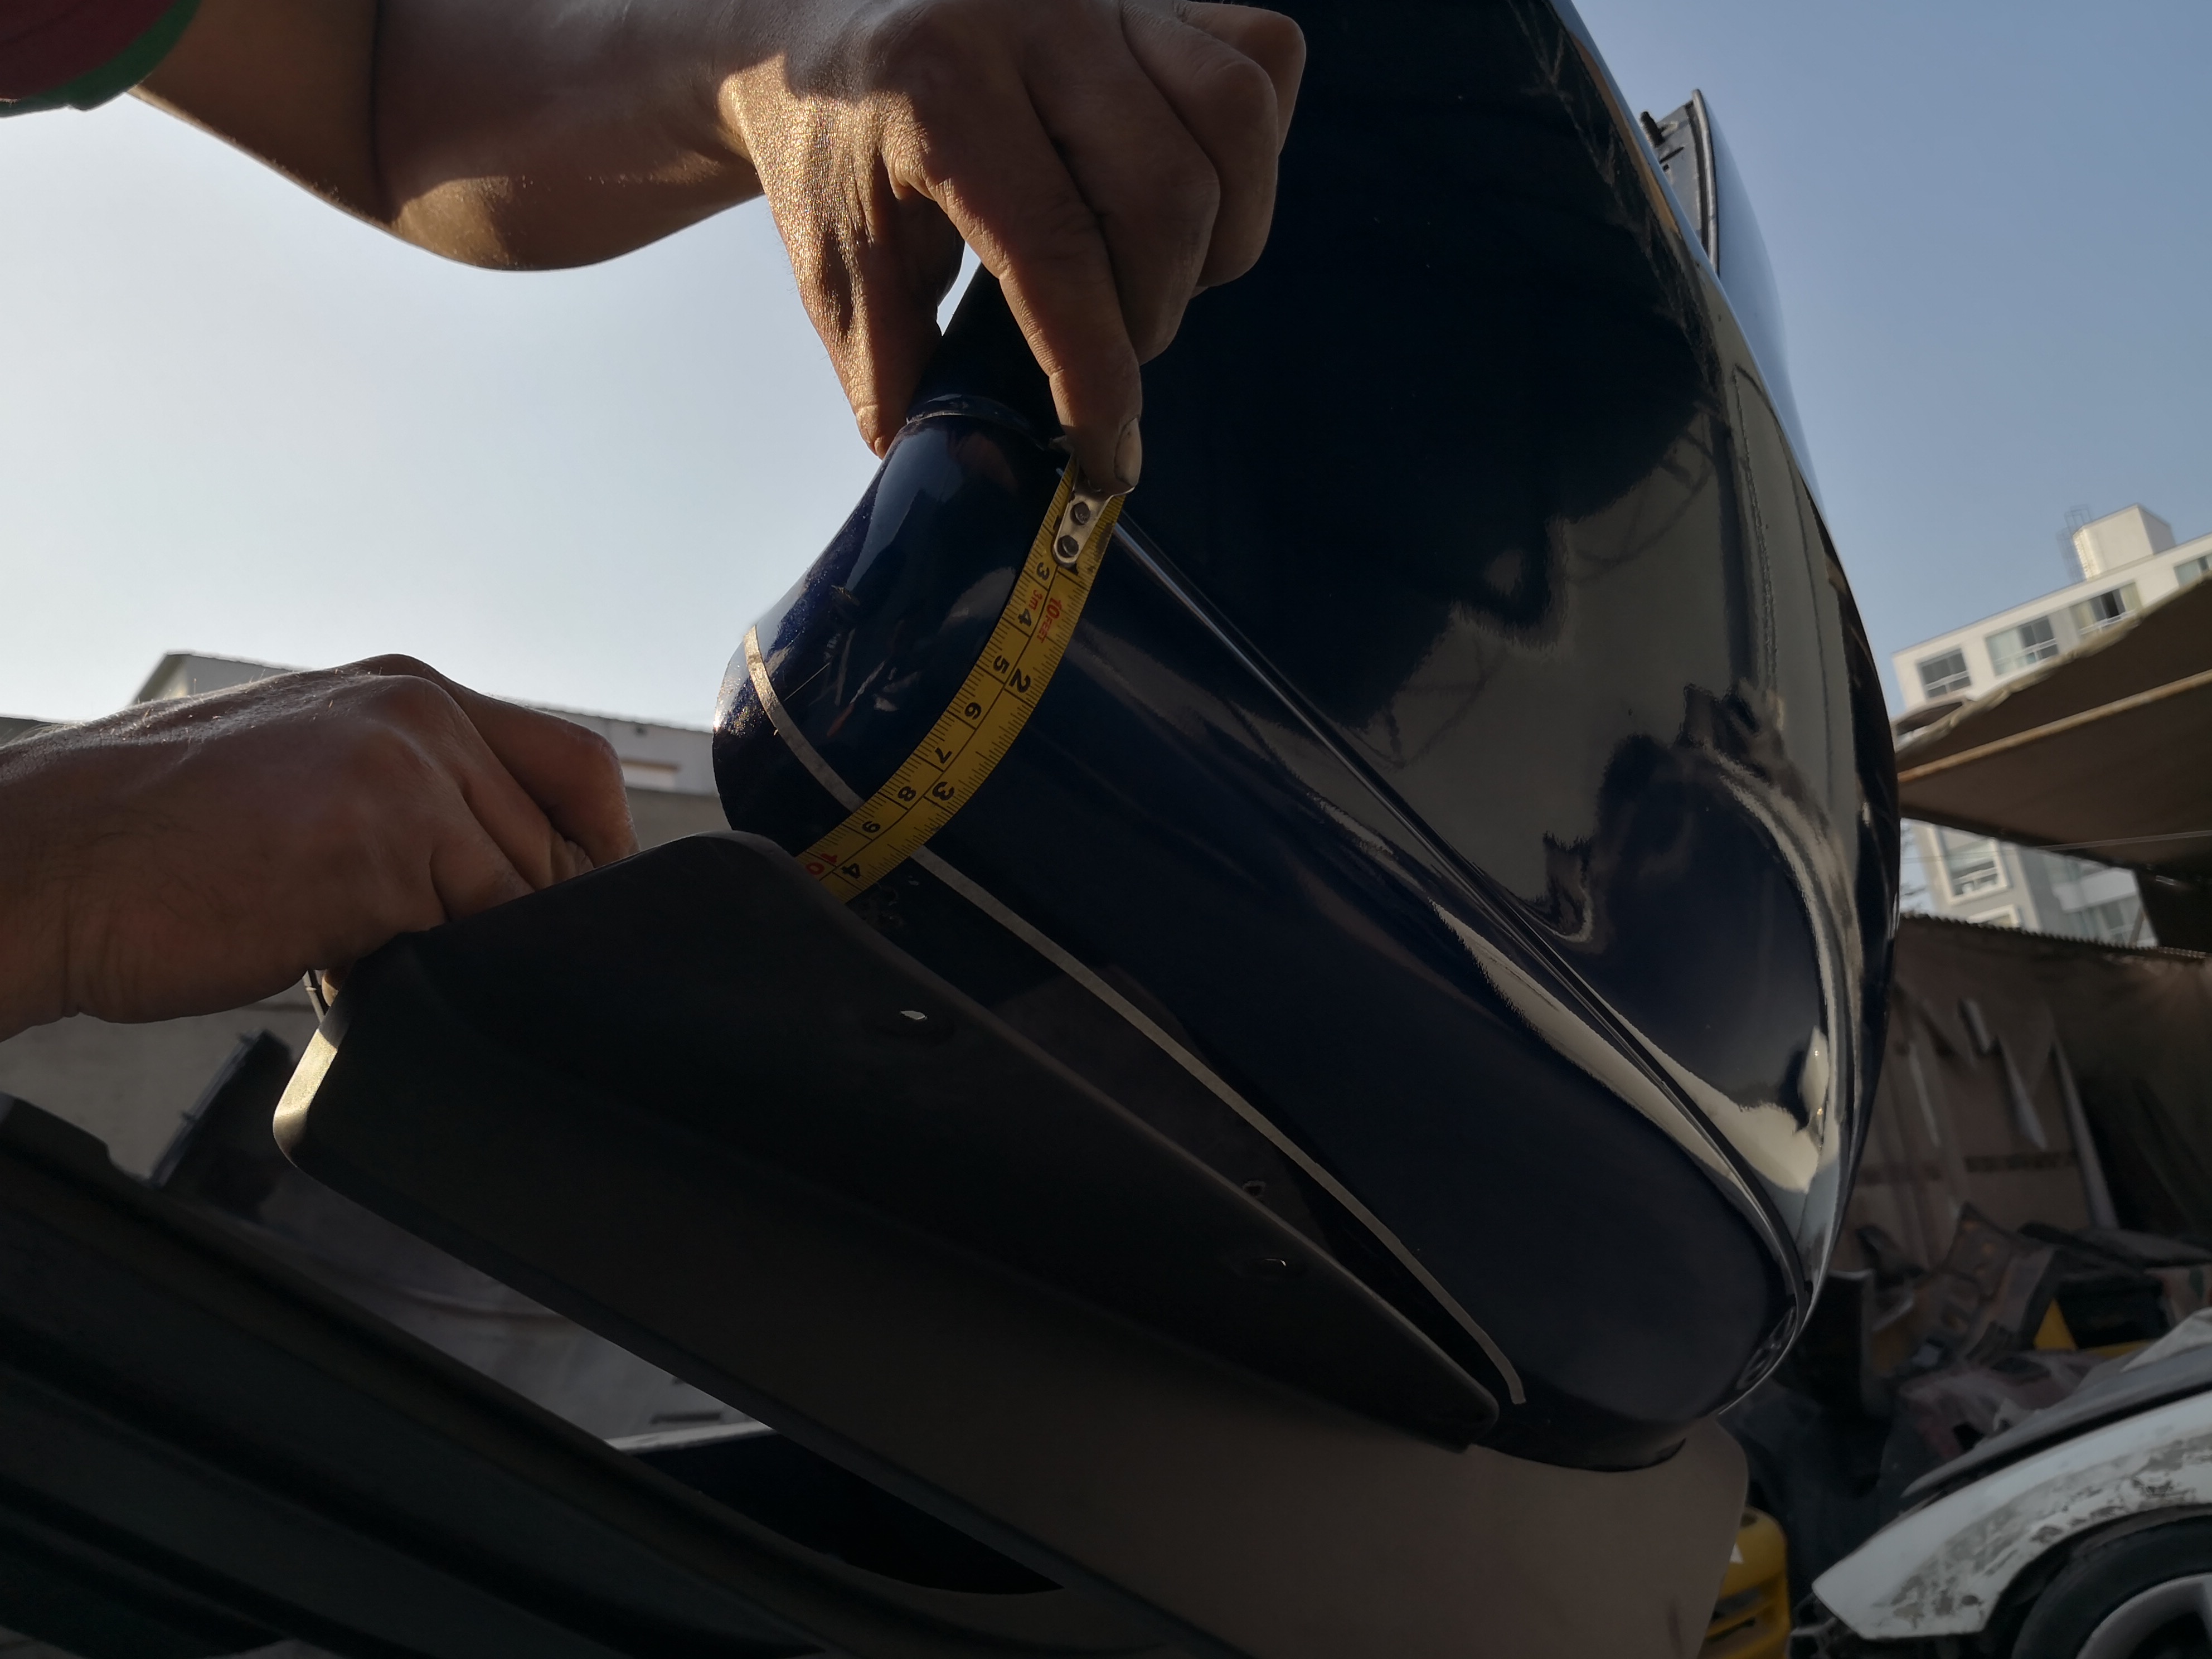
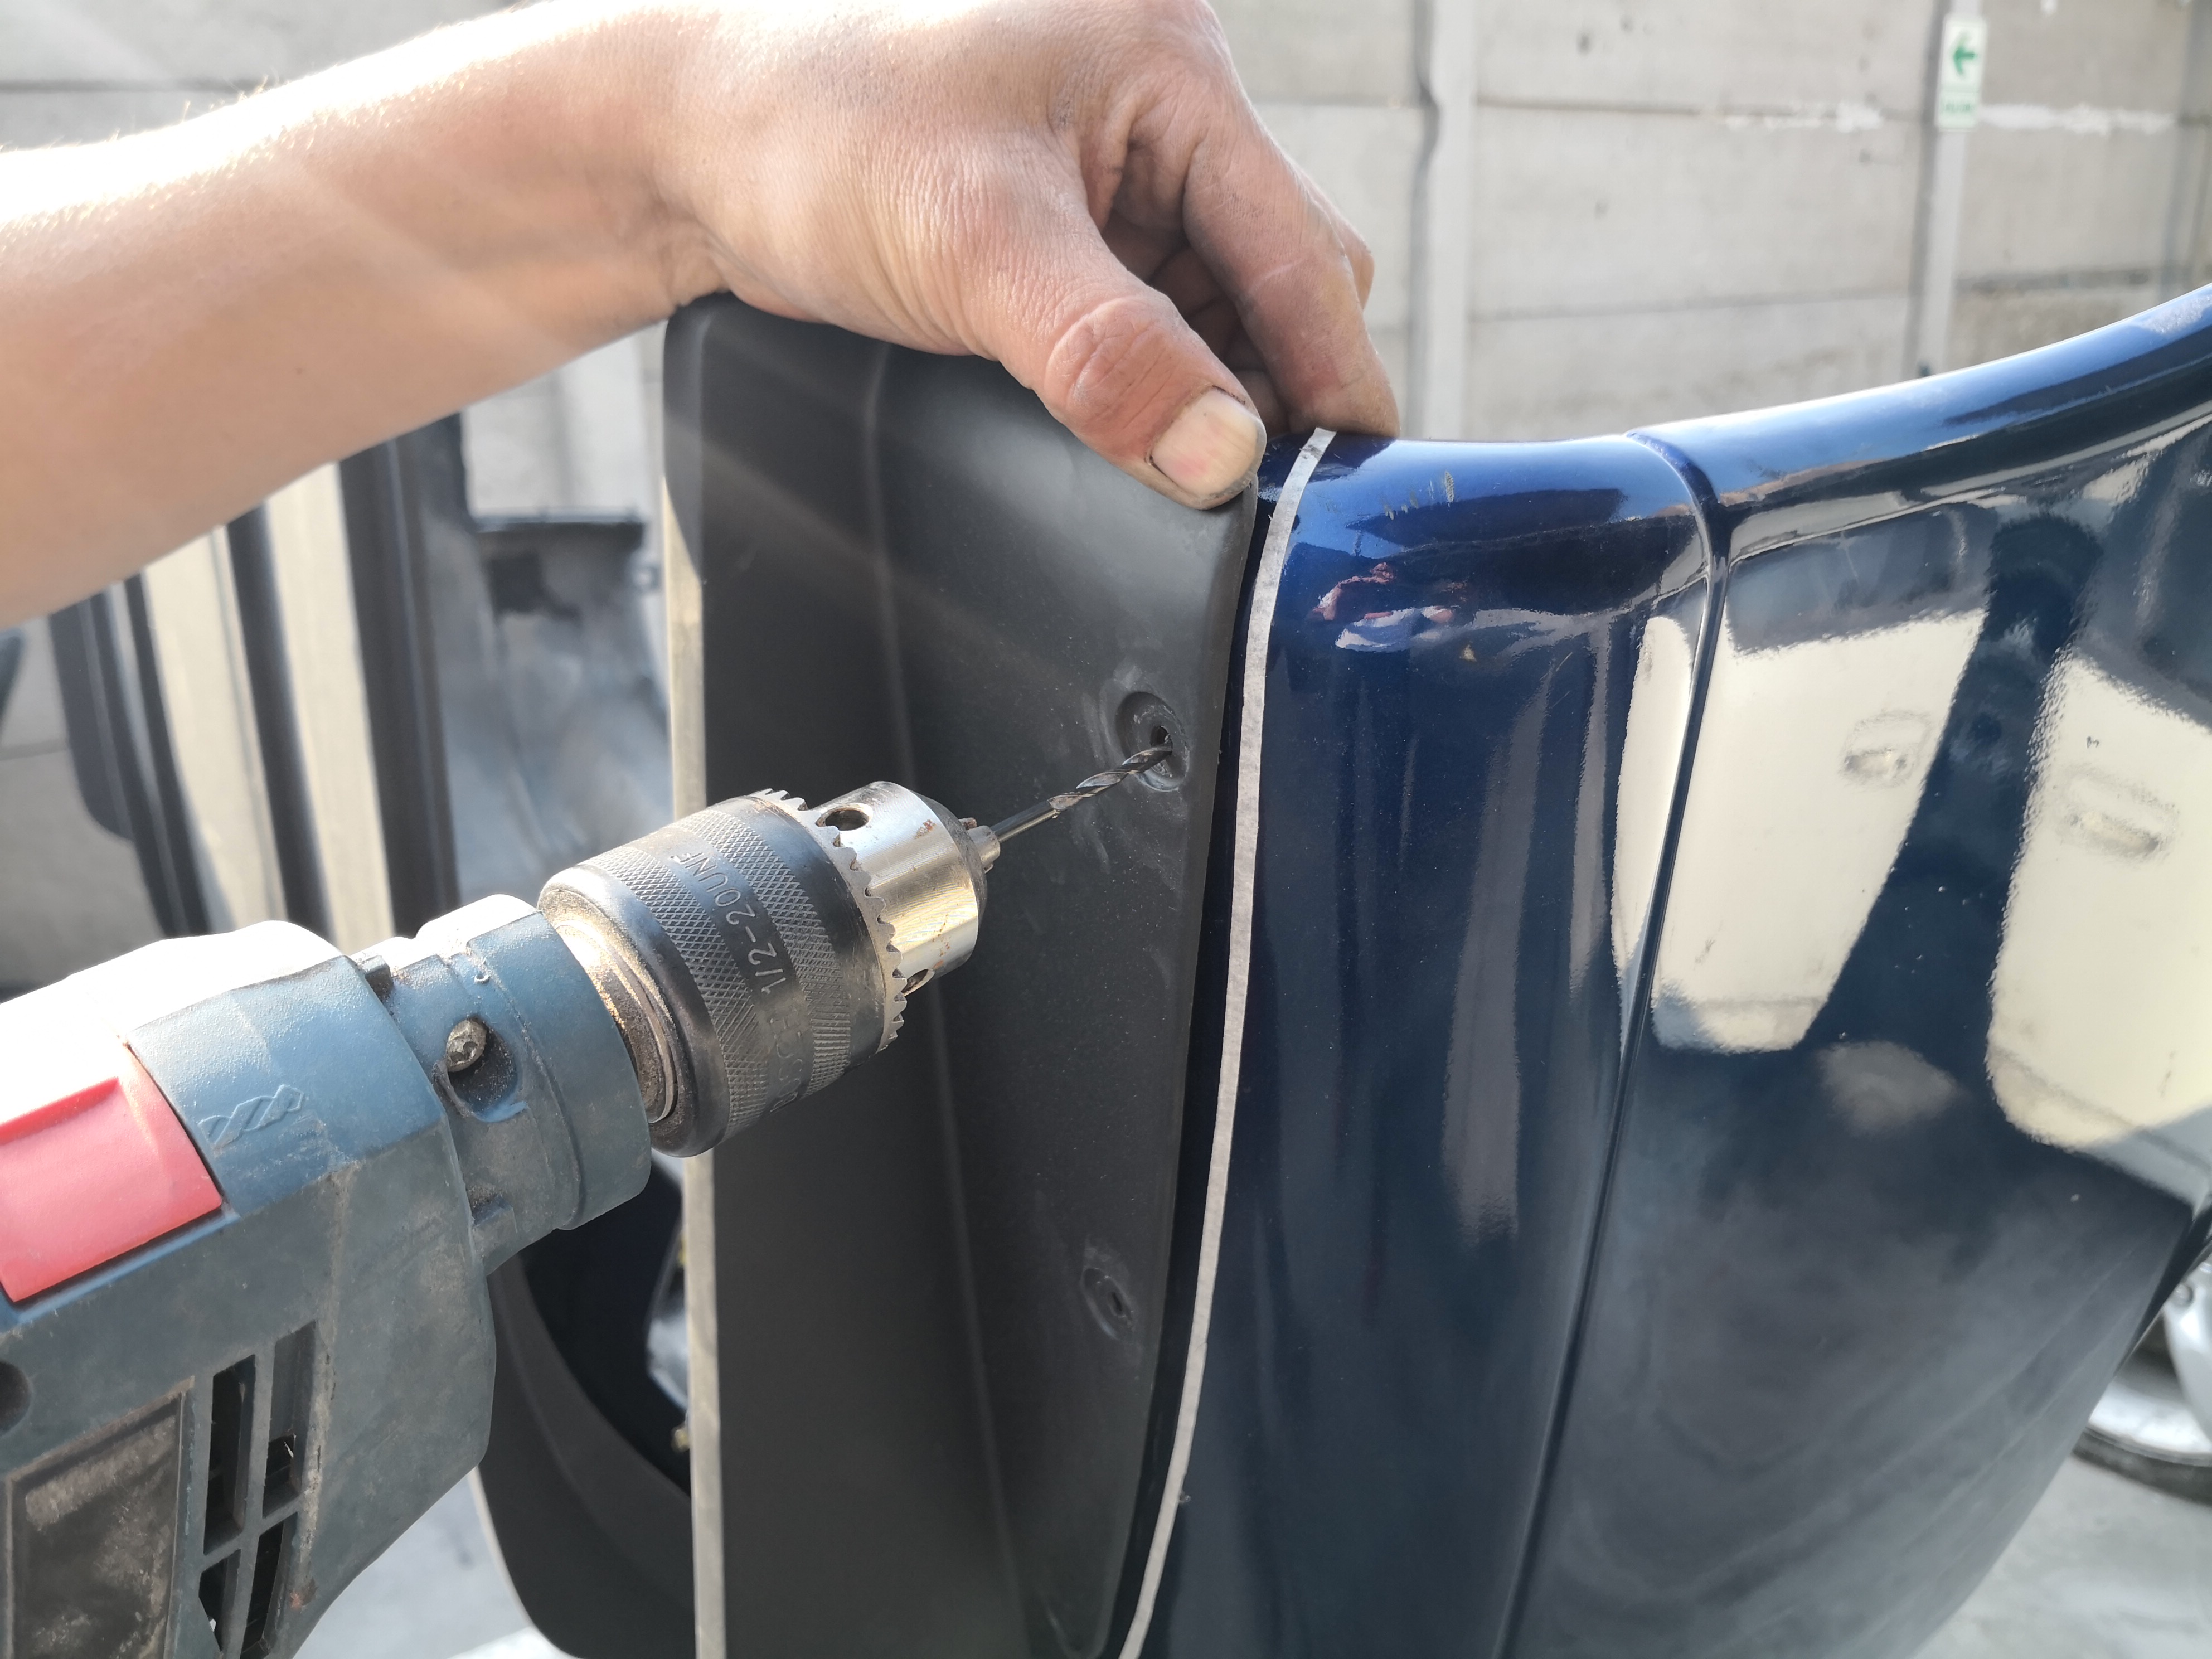
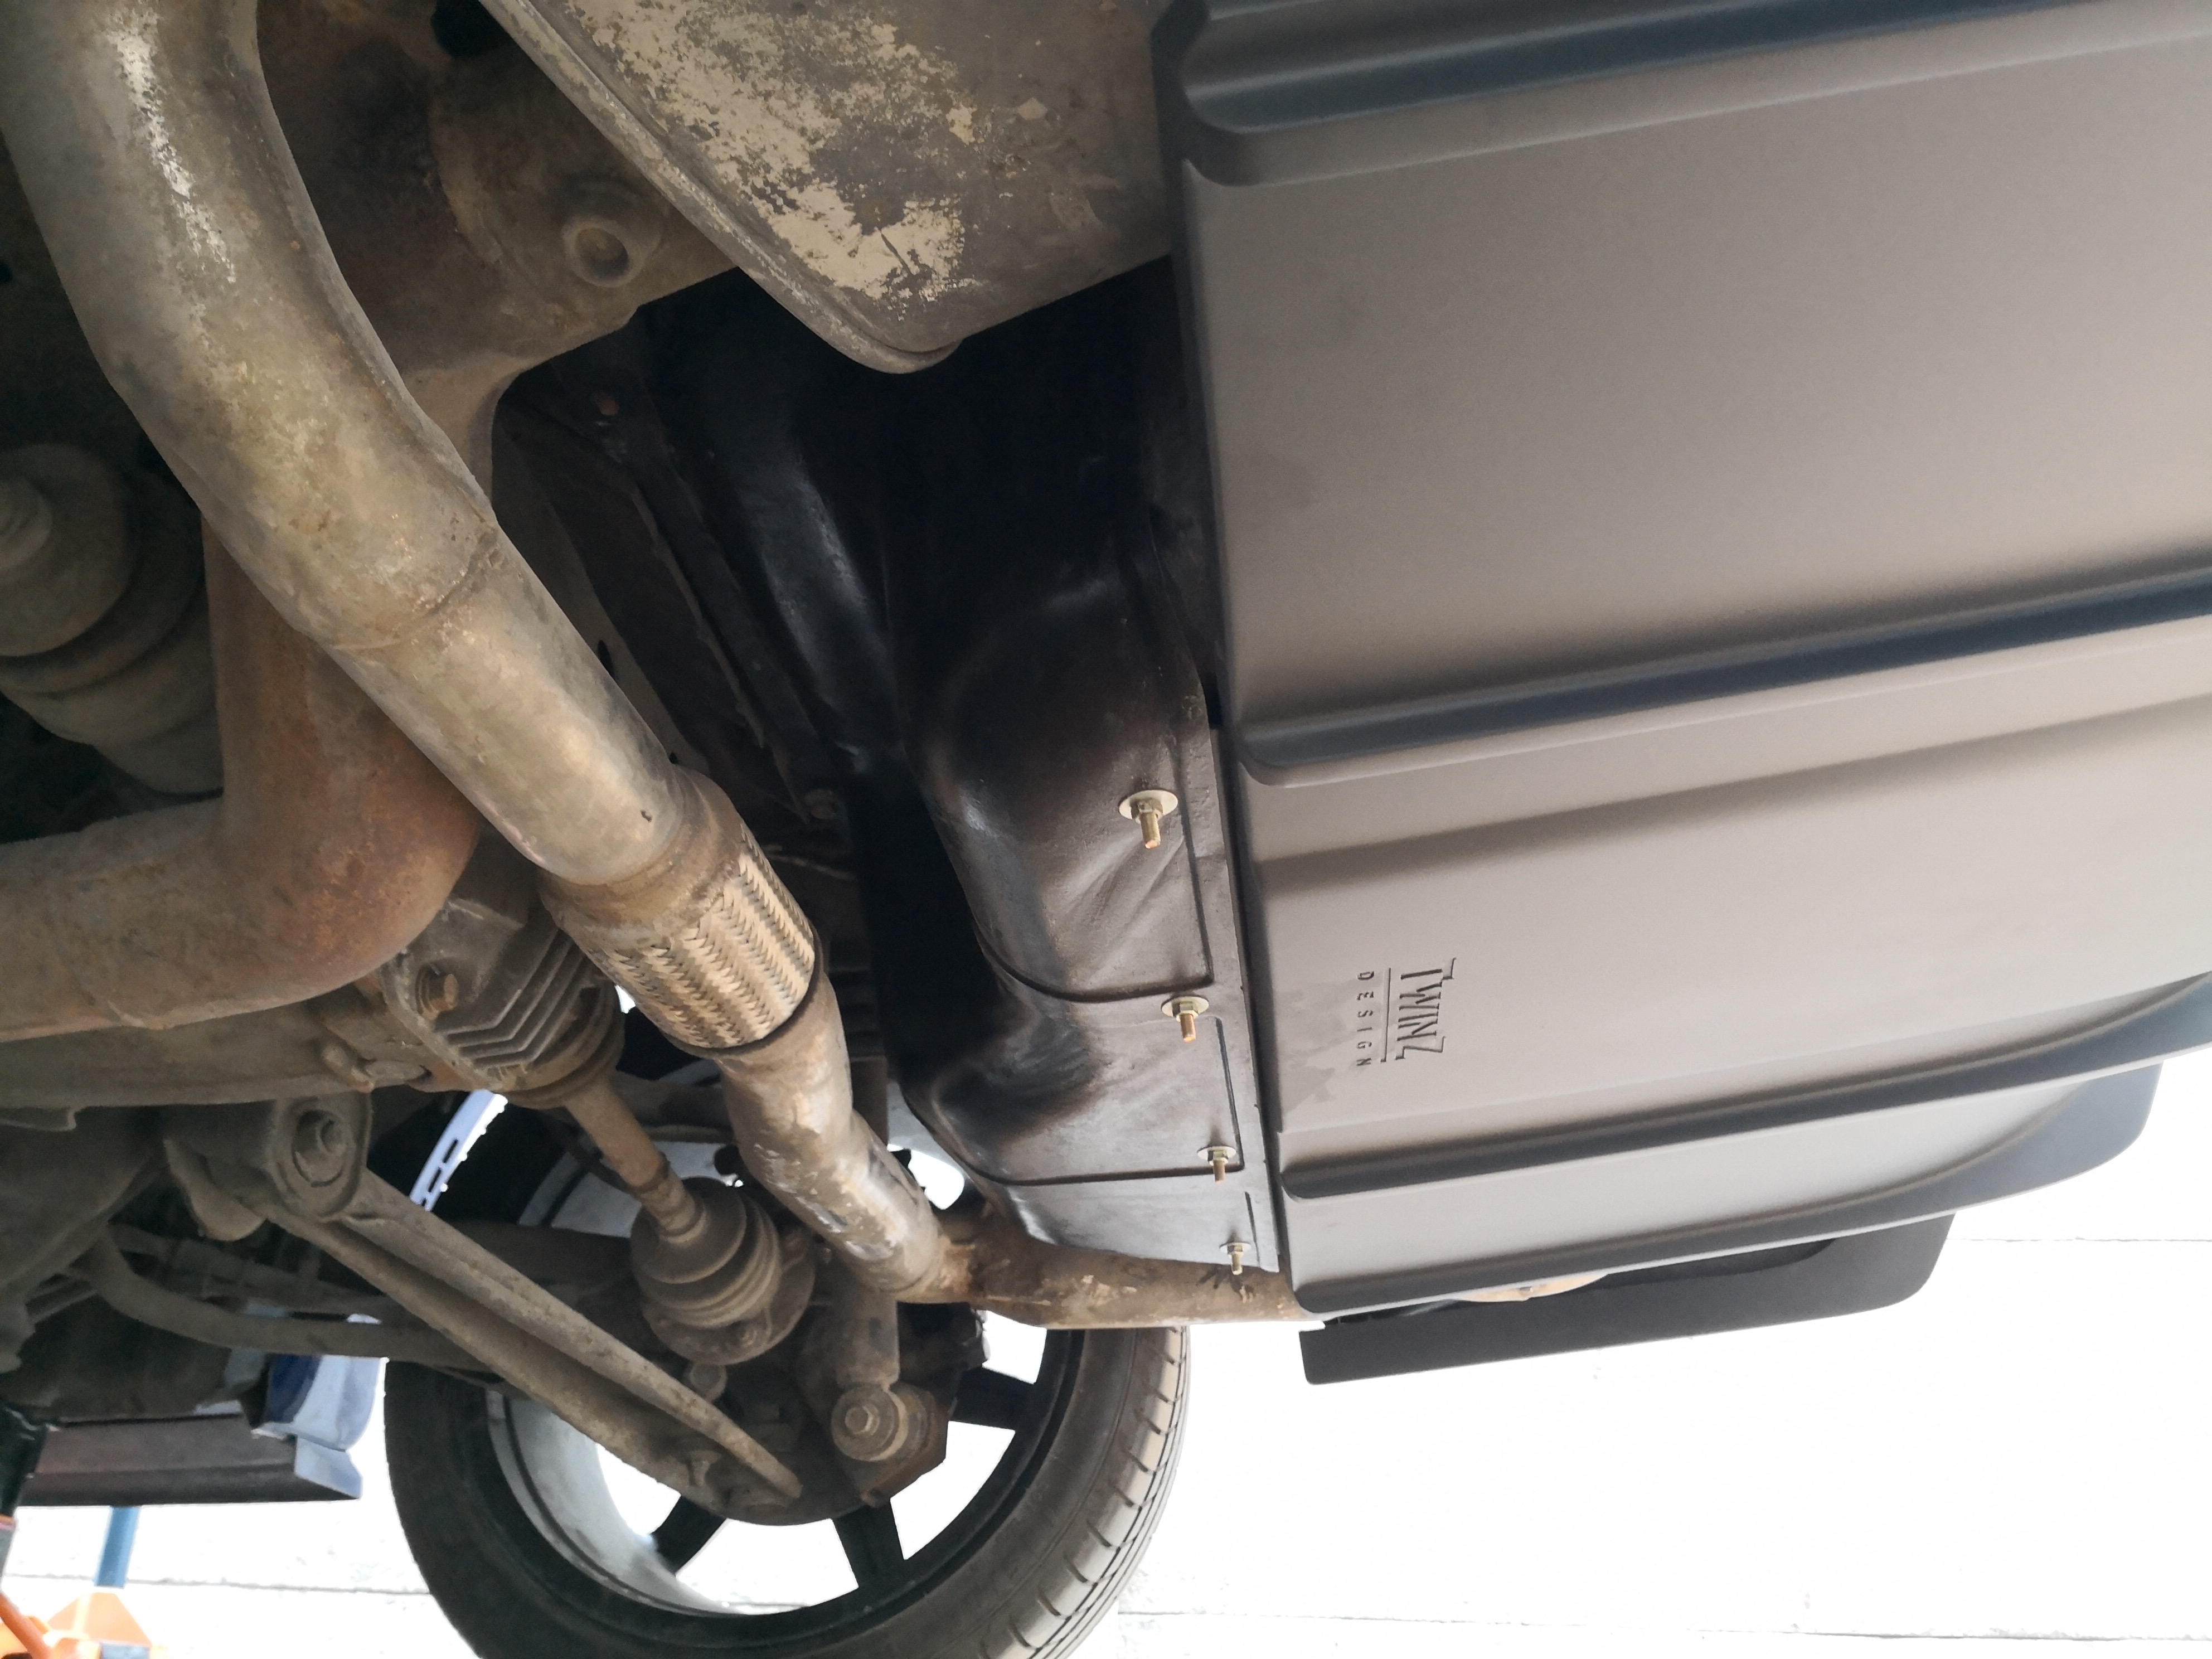
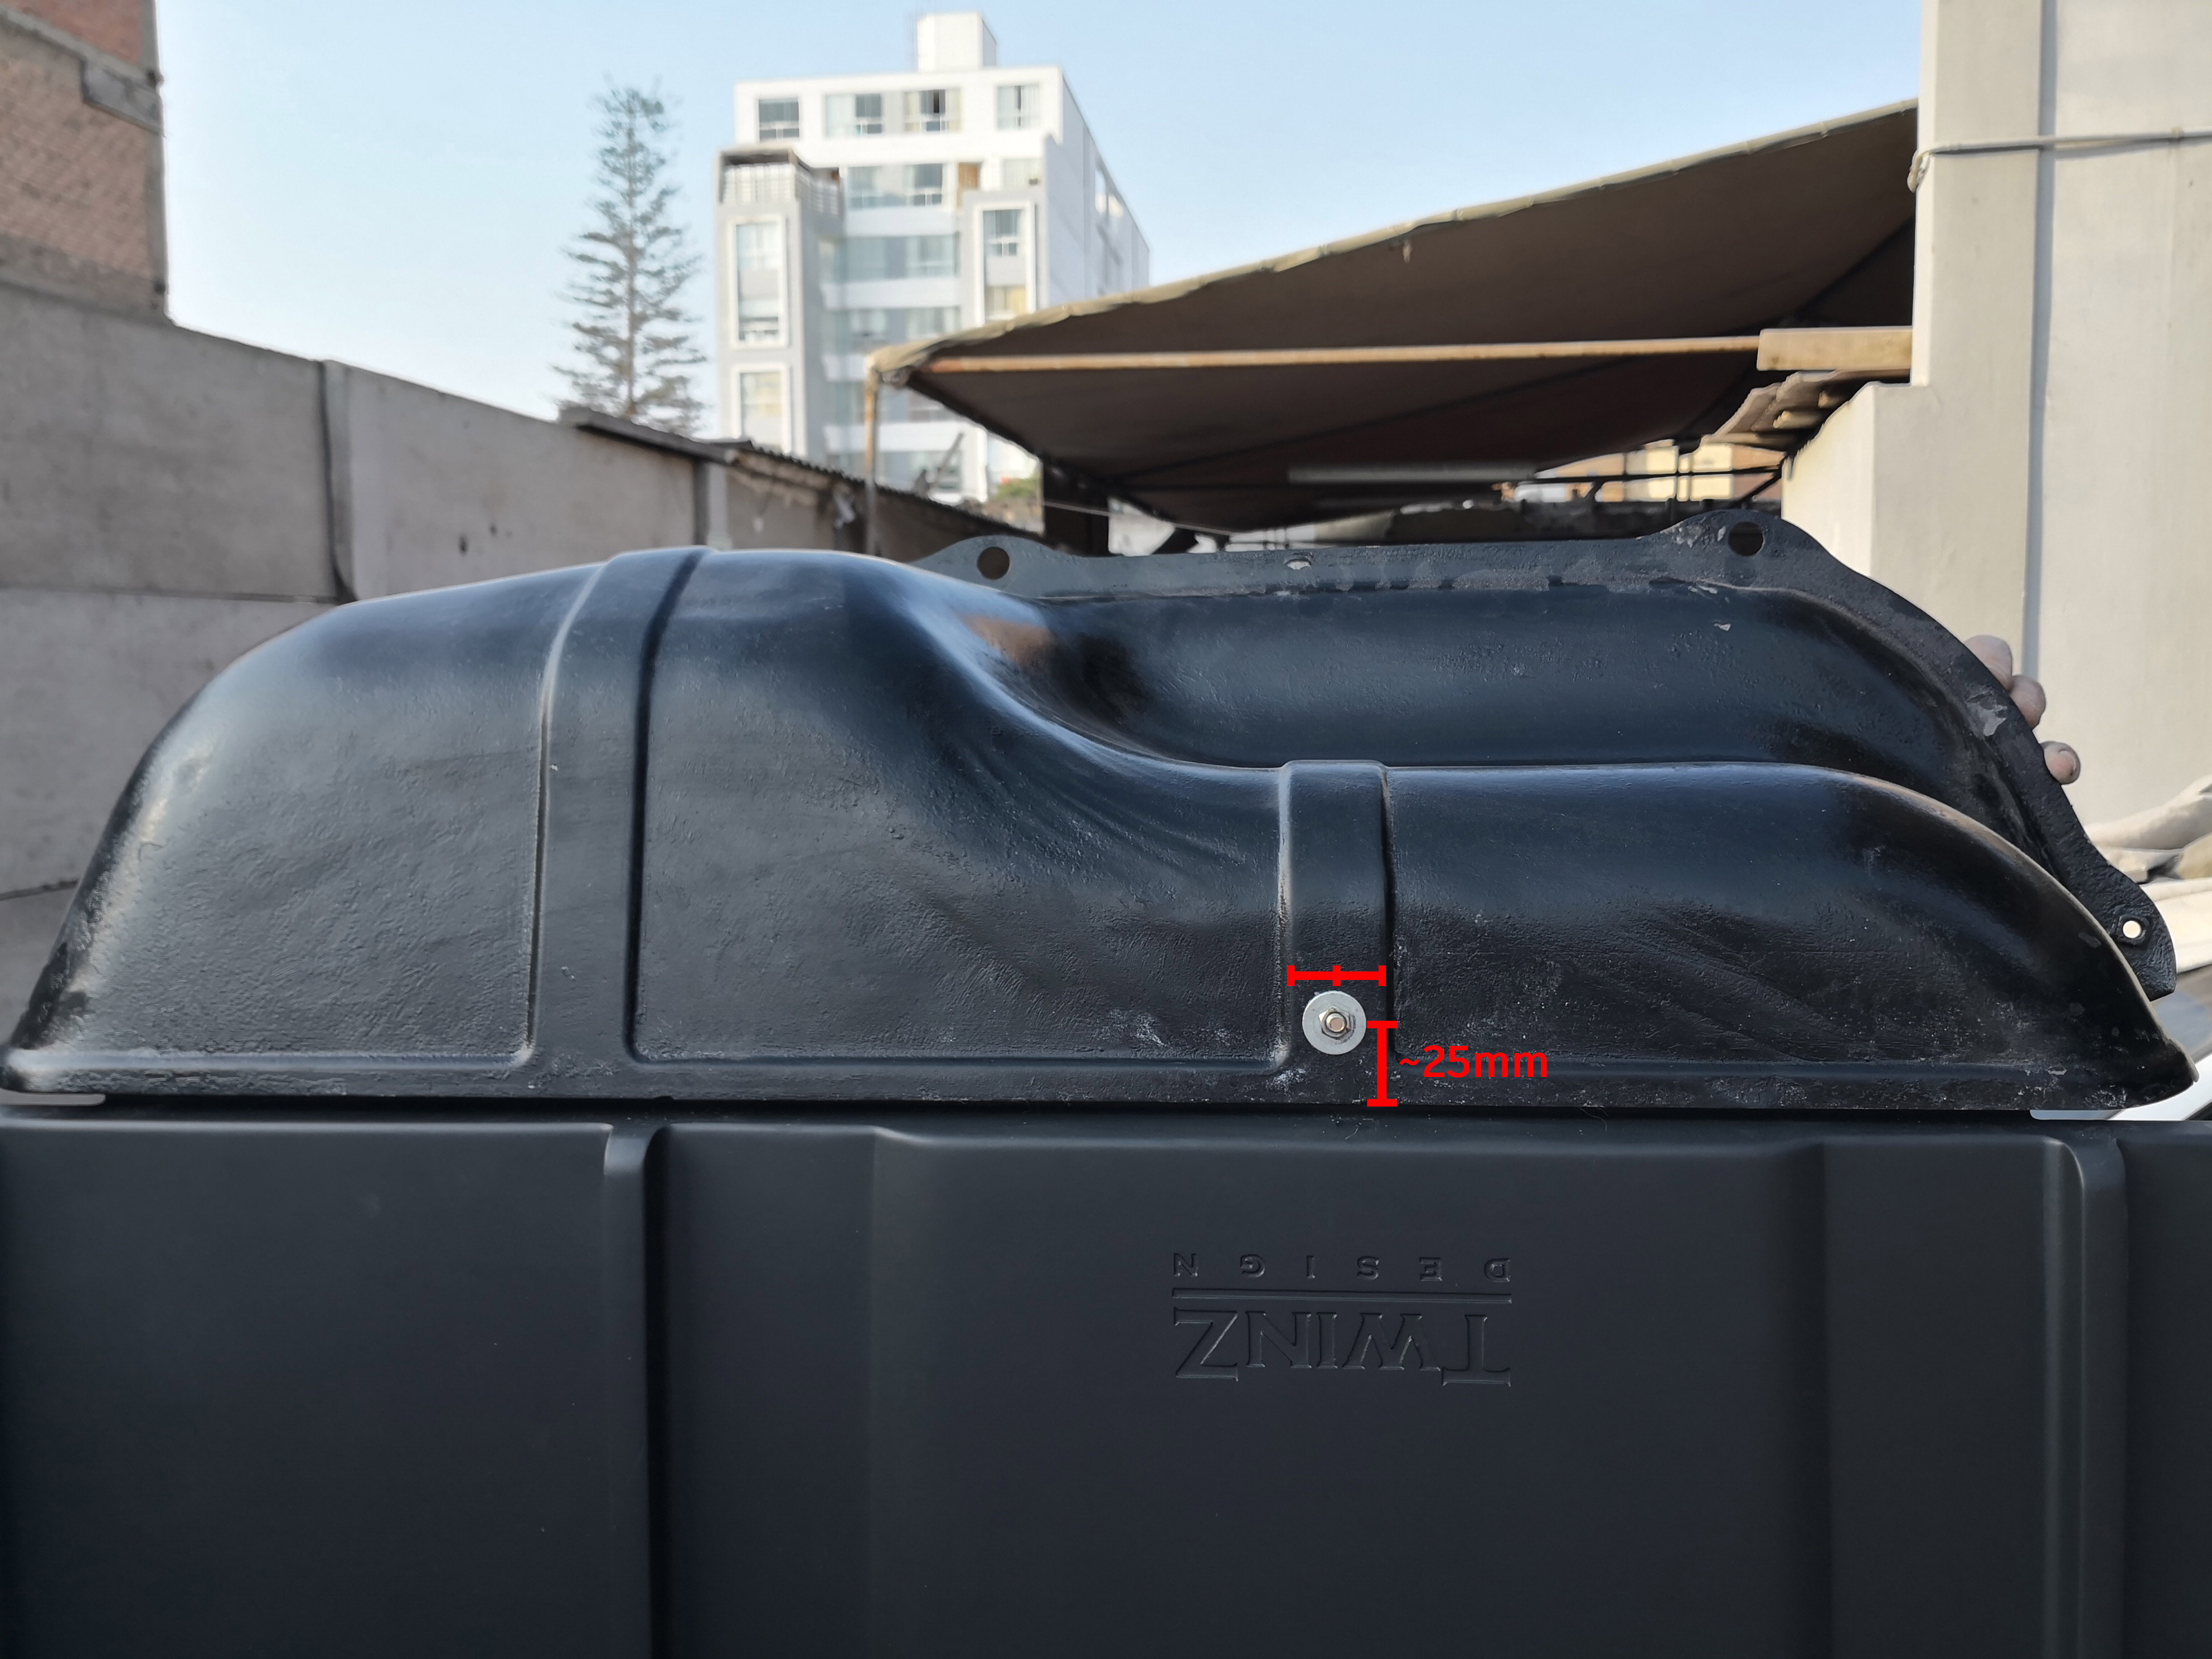
- Remove the fuel tank shield and drill the first hole as measured on the picture for the attaching section on the diffuser.
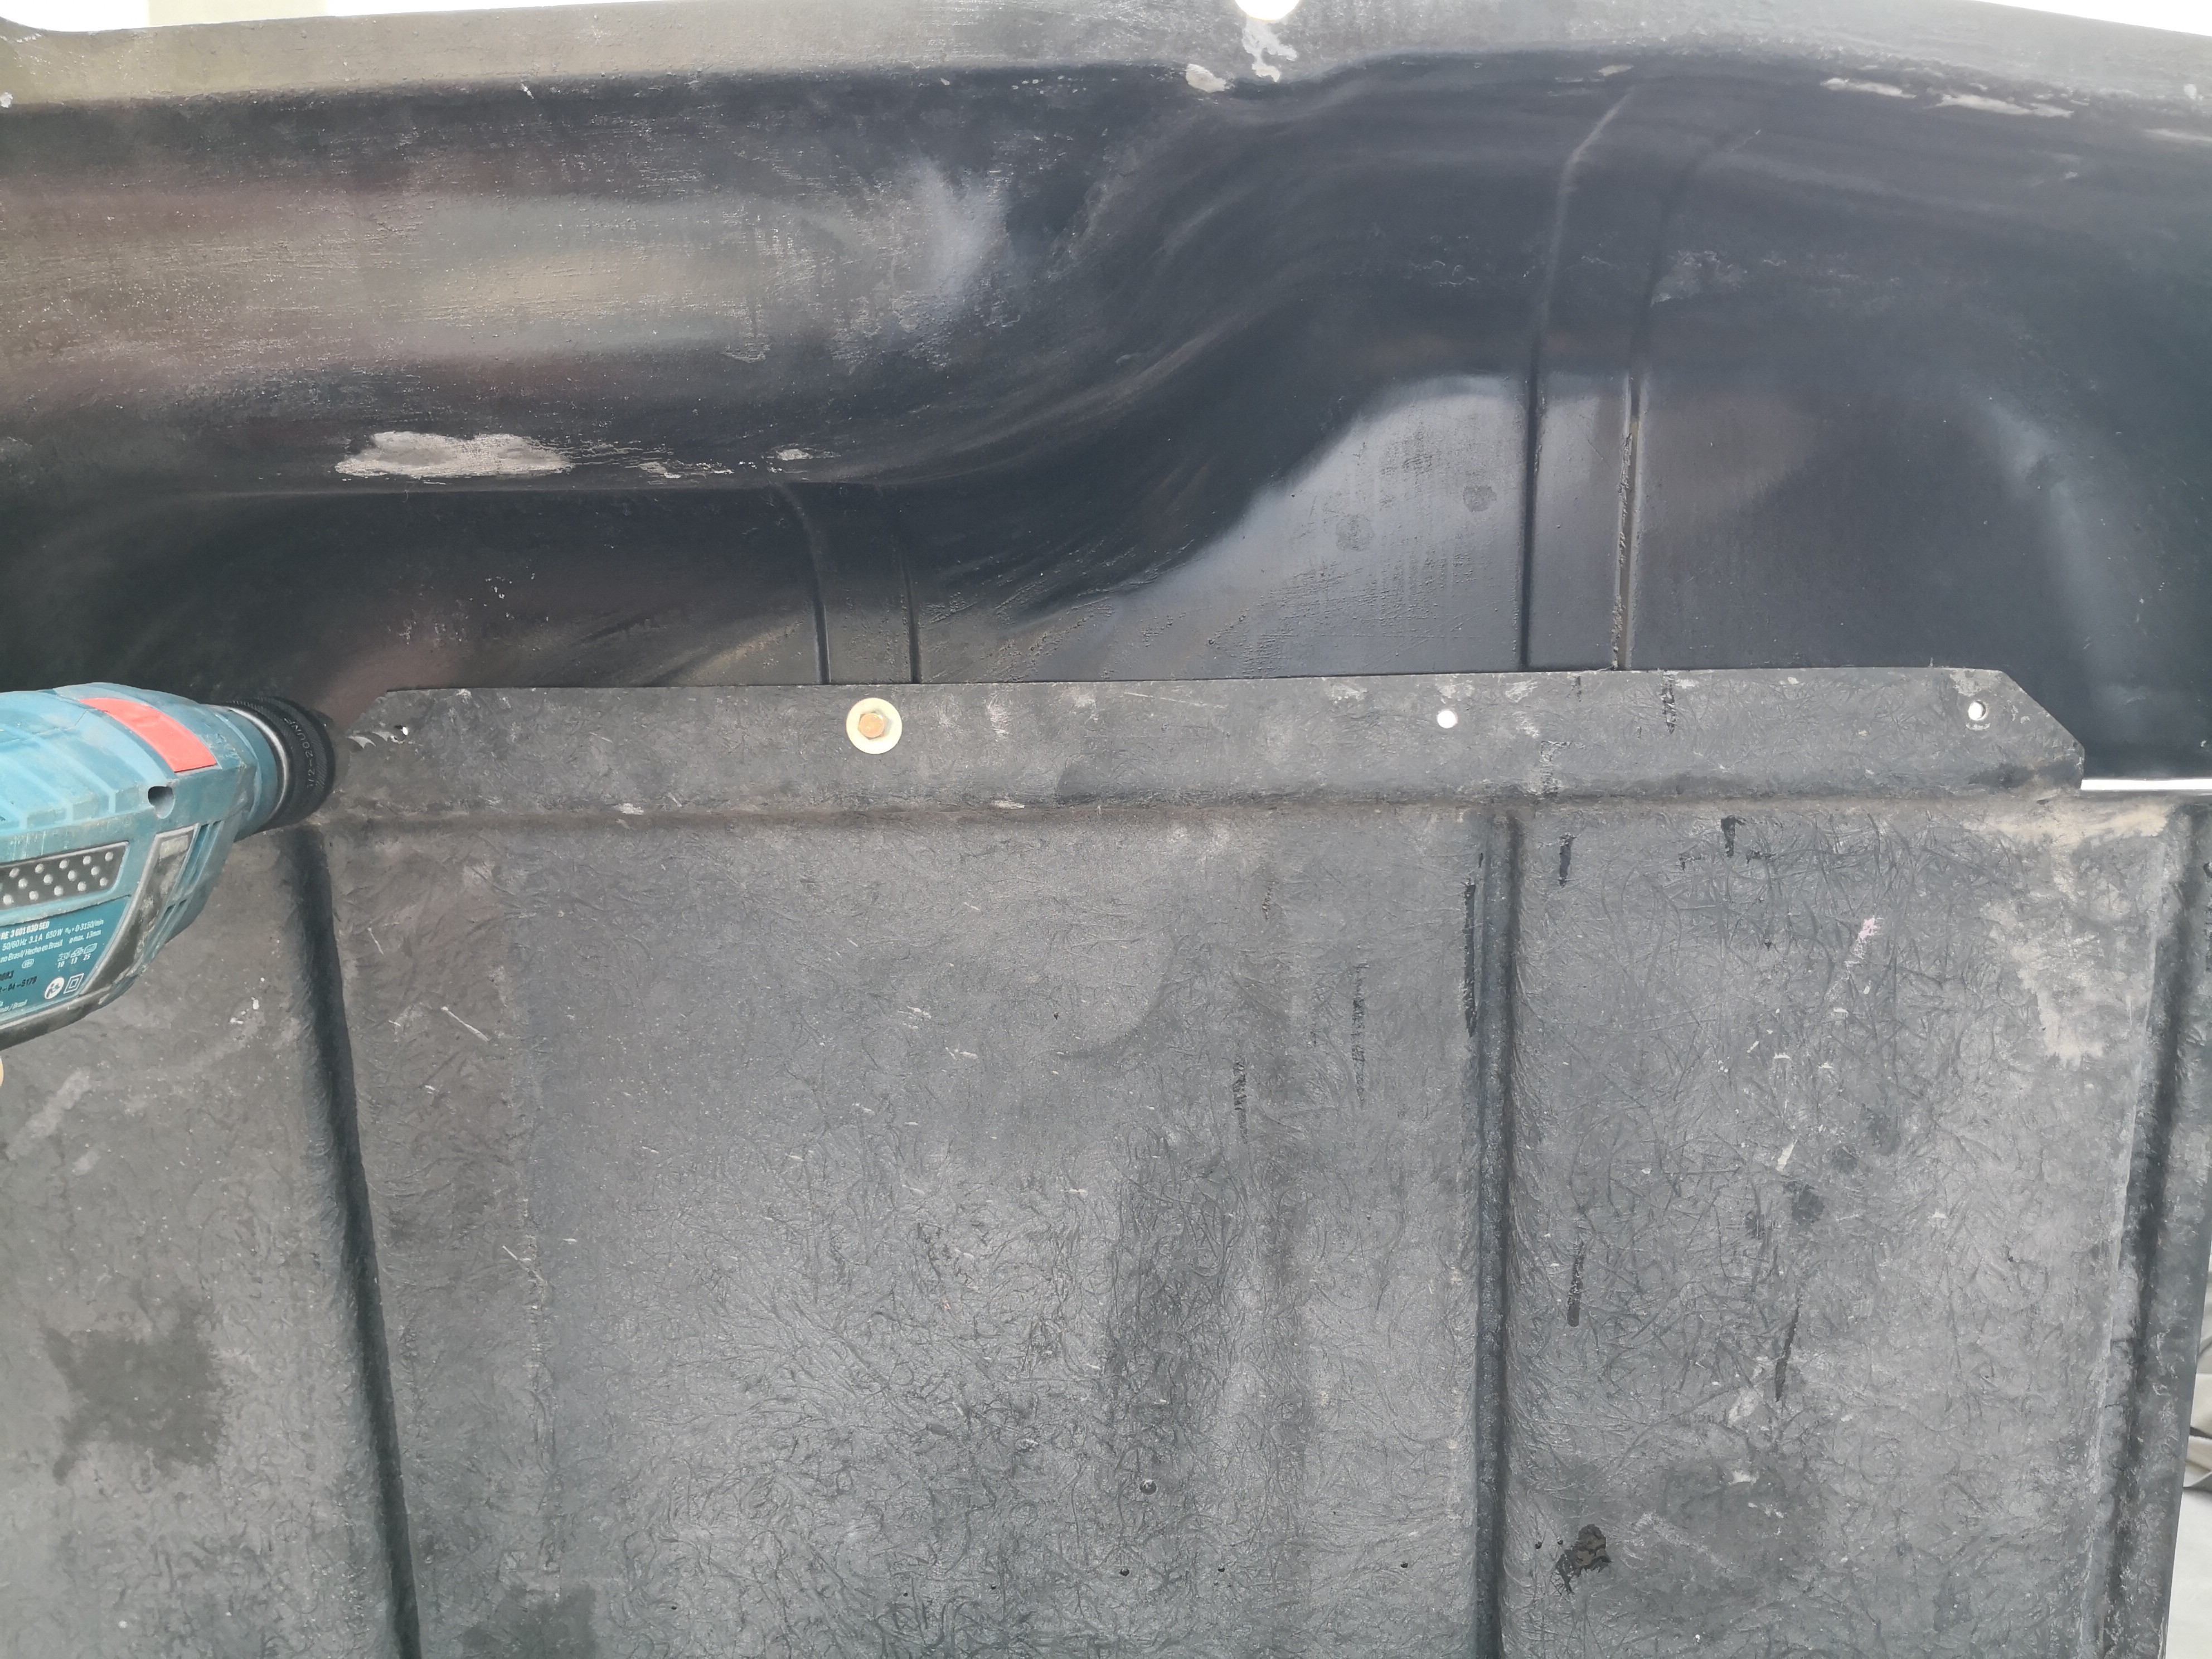
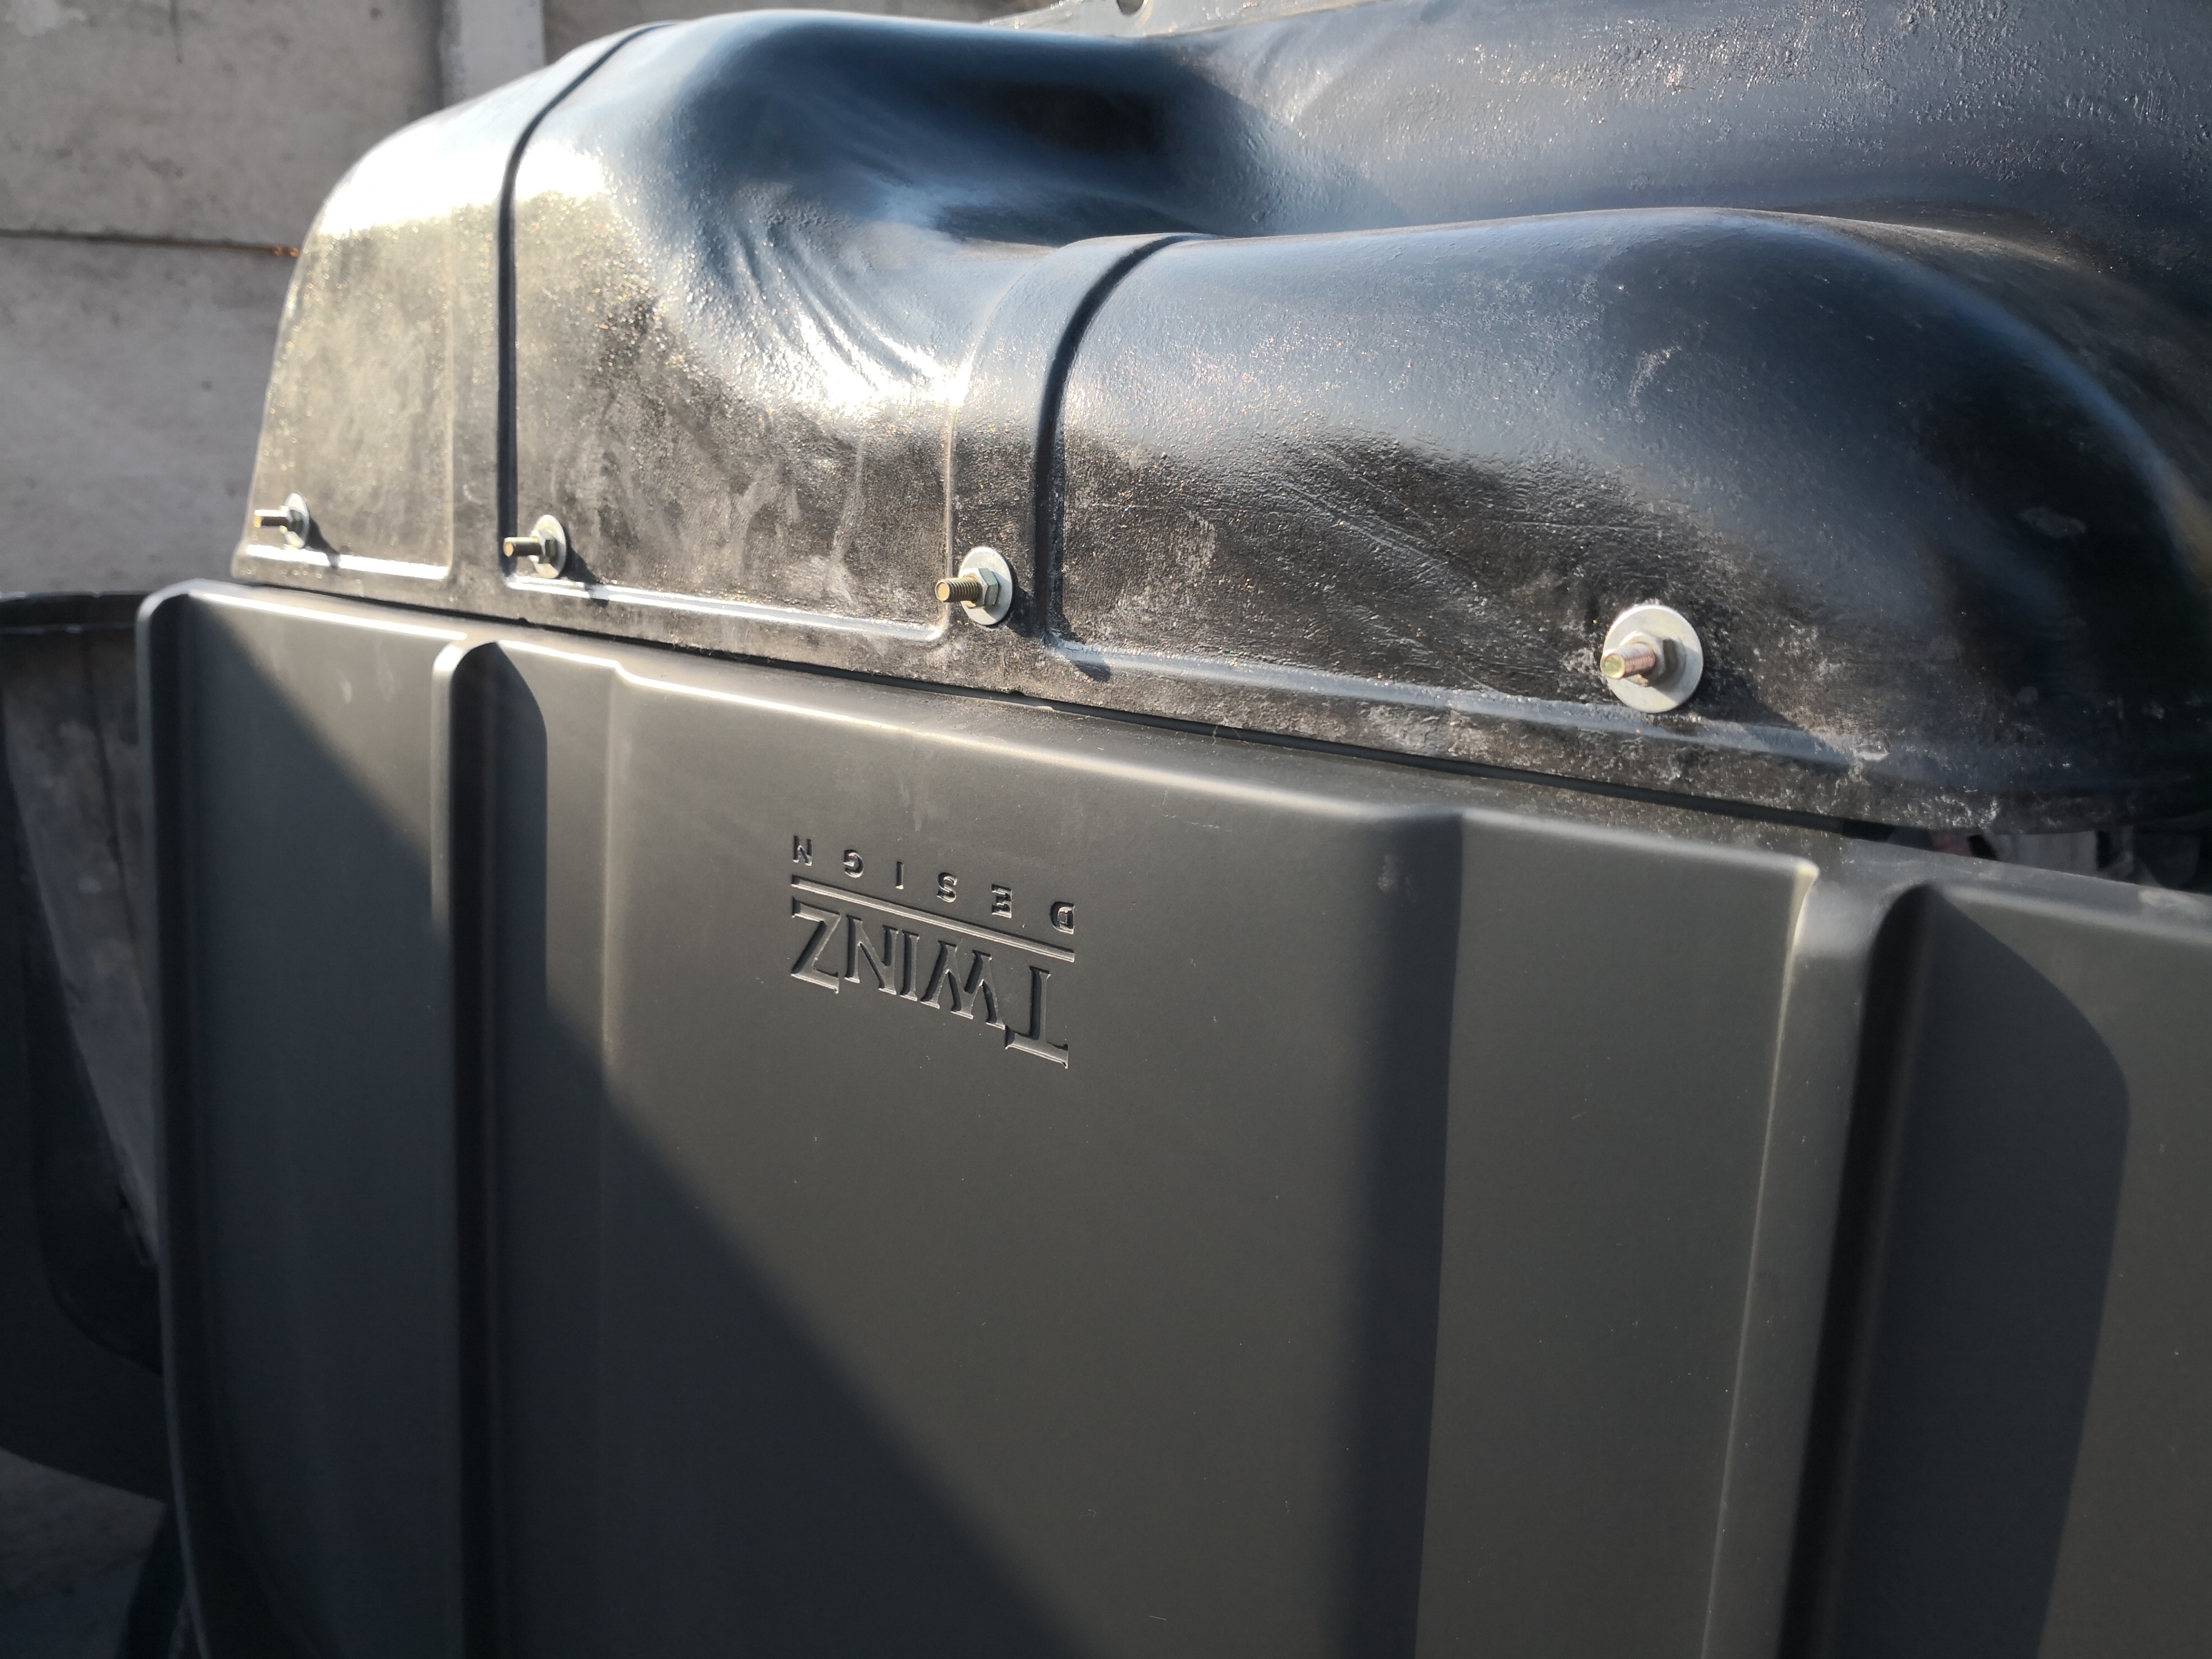
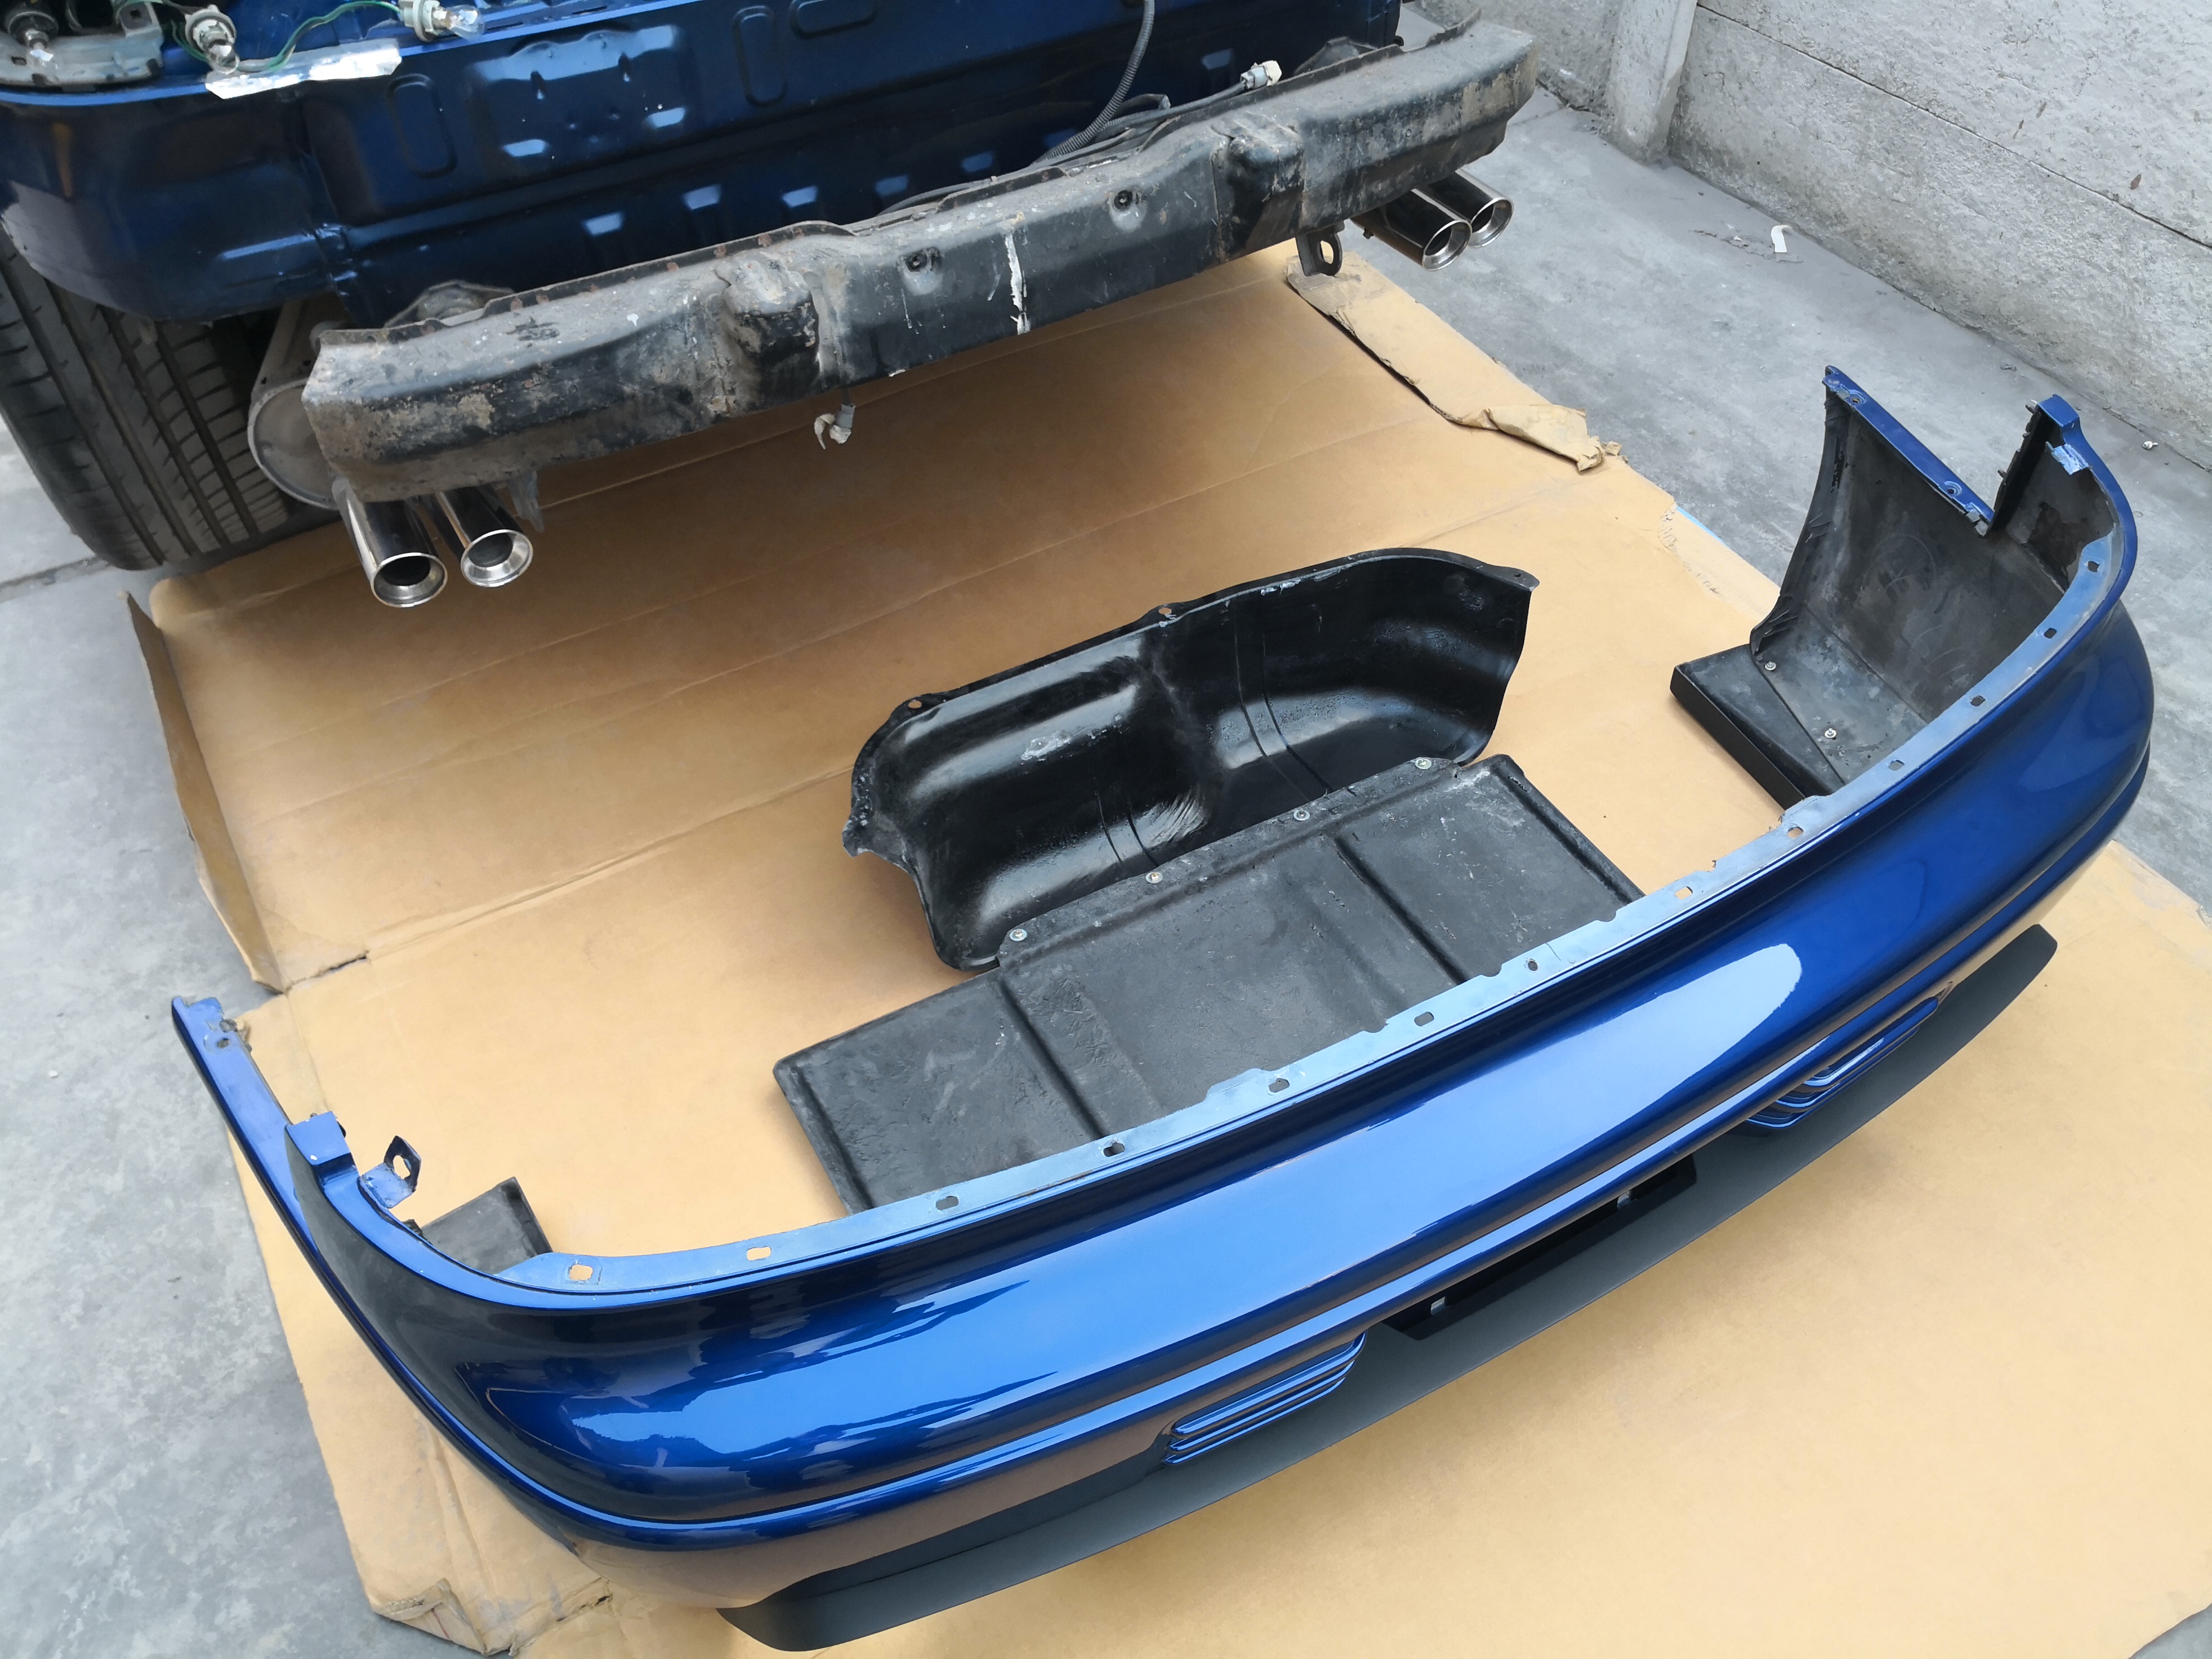
- Install the fuel tank shield and bumper back.
